This protein packed reverse chicken Caesar salad flips everything you think you know about Caesar salad—in the best way. Instead of a lettuce-heavy bowl that leaves you hungry an hour later, this version loads up on juicy chicken, a little bit of lettuce, parmesan cheese, and a creamy, homemade dressing so every bite is actually satisfying and filling.
It’s still got that classic Caesar flavor, but with a high-protein twist that makes it feel like a full meal, not a side. If you’ve made my crispy chicken nuggets or chicken Caesar wraps, this takes those same flavors and turns them into an easy, protein-forward bowl you can throw together for lunch or dinner.
This post may contain affiliate links, please read our disclosure policy for details.
Why You’ll Love the Reverse Chicken Caesar Salad
- High protein and actually filling (not your typical light salad)
- Reverse style = more toppings, less lettuce
- Crispy + creamy texture combo
- Gluten free and made with clean ingredients
- Perfect for meal prep or quick lunches
- Customizable for different dietary needs
Variations to Level this Recipe Up
- Dairy-Free: Use dairy-free dressing and omit parmesan
- Extra Protein: Add boiled eggs or bacon
- Low Carb/Keto: Skip any croutons and add avocado
- Wrap Version: Turn into a chicken Caesar wrap using my homemade tortilla recipe
- Spicy: Add chili flakes or spicy dressing twist
Common Mistakes to Avoid
- Using too much lettuce (defeats the “reverse” concept)
- Overcooking chicken → dry texture
- Adding dressing too early → soggy salad
- Skipping seasoning on chicken leaves it bland and flavorless
- Not adding enough texture (crunch factor matters) be sure to air fry until crispy.
“These chicken patties are absolutely delicious! Added to a reverse salad – it’s next level!”
Ingredients
Please see recipe card at the bottom of this post for the full recipe details.
1. Gluten-Free One-to-One Flour
A high-quality gluten-free one to-one flour blend provides structure. I preferBob’s Red Mill Gluten-Free 1-to-1 Baking Flour for this recipe because it produces consistent results and bakes evenly. Be sure to use a one-to-one blend that already contains xanthan gum. If you’d like to substitute this ingredient out completely, increase the Xanthan Gum within the recipe by 1/2 tsp.
2. Caesar Dressing
I love using my homemade caesar salad dressing recipe that can be found in my Everyday Staples Cookbook, but when I’m in a rush, I will grab Primal Kitchen Caesar Dressing.
3. Chicken Breasts
When sourcing quality meat, it helps to connect with local farmers. Farmer’s markets have become a popular way to build community with food producers in the area. For an even more elevated health experience, choose a chicken that is corn and soy free.
4. Arrowroot Powder
Arrowroot powder is a light, grain-free starch that works as a natural thickener for sauces, gravies, puddings, and baked goods. It creates a silky, glossy finish without the heaviness of cornstarch and is easier on sensitive stomachs, making it a great clean-ingredient swap for gluten-free and allergen-friendly cooking. If you’d like to sub it out, this can easily be replaced at a 1:1 ratio with Tapioca Flour or Cornstarch.
5. Parmesan Cheese
Freshly grated Parmesan Cheese is the finishing touch that brings a Caesar salad to life—salty, nutty, and perfectly savory against crisp romaine and creamy dressing. It adds that bold, umami depth that balances every bite and ties all the flavors together. Lightly shaved or finely grated, it melts just slightly into the salad for that classic, restaurant-style taste.
6. Eggs
I’m a big fan of supporting local farmers and using farm fresh eggs. It’s also important if you’re navigating more anti-inflammatory foods to source pasture raised, non GMO, corn and soy free eggs. If you need to be egg free, my favorite egg replacer is Bob’s Red Mill Egg Replacer. I’ve used it within this recipe and it came out amazing!
7. Spices
This recipe calls for ginger and pepper and both are important for shaping the flavor profile.
8. Baking Powder
Baking powder gives just enough lift to the breading. I recommend using a corn-free and aluminum-free baking powder, which is easier on digestion and keeps the flavor clean. This is my go-to option for all gluten-free baking.
9. Salt
A small amount of salt balances the flavor within the spice mix.
Additional Allergens/Suggested Modifications
- Dairy: Sub out topping ingredients for dairy free alternatives.
This recipe is naturally free of: eggs, nuts, fish, crustacean shellfish, tree nuts, peanuts, wheat, soybeans, seed oils and sesame.

The Gluten Free Kitchen Cookbook Series
Healthy GLUTEN-FREE Recipes for Every Day LIFE
Your go-to cookbooks for all of the delicious & nutritious meals, sides, breads (yeast & sourdough), baking staples, snacks, desserts, drinks and more. With easy-to-follow instructions and beautiful step-by-step photography, every page invites you to explore nostalgic, healthy meals that make being gluten free a “get to” instead of a “have to”.
Whether you’re cooking for yourself or sharing with loved ones, The Gluten Free Kitchen Cookbook Series brings healthy living to your table every day.
Helpful Tools & Accessories
Shop The Tools
Parchment Pape 
Hand Mixer 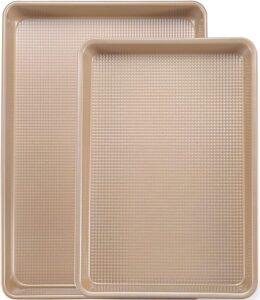
Baking Pans
No special tools? Here’s how to make it work:
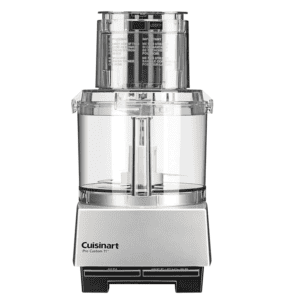
- No food processor → use a sharp knife to cut the chicken breasts into tiny pieces. Cut at different angles and repeat until chicken looks ground.
- No parchment → Use a silicone baking sheet instead of parchment paper.
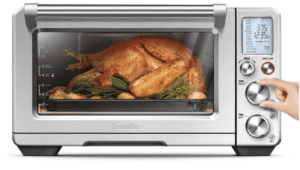
- No hand mixer → mix the seasoning in with your hands.
How to Form an Extra Large Chicken Patty:
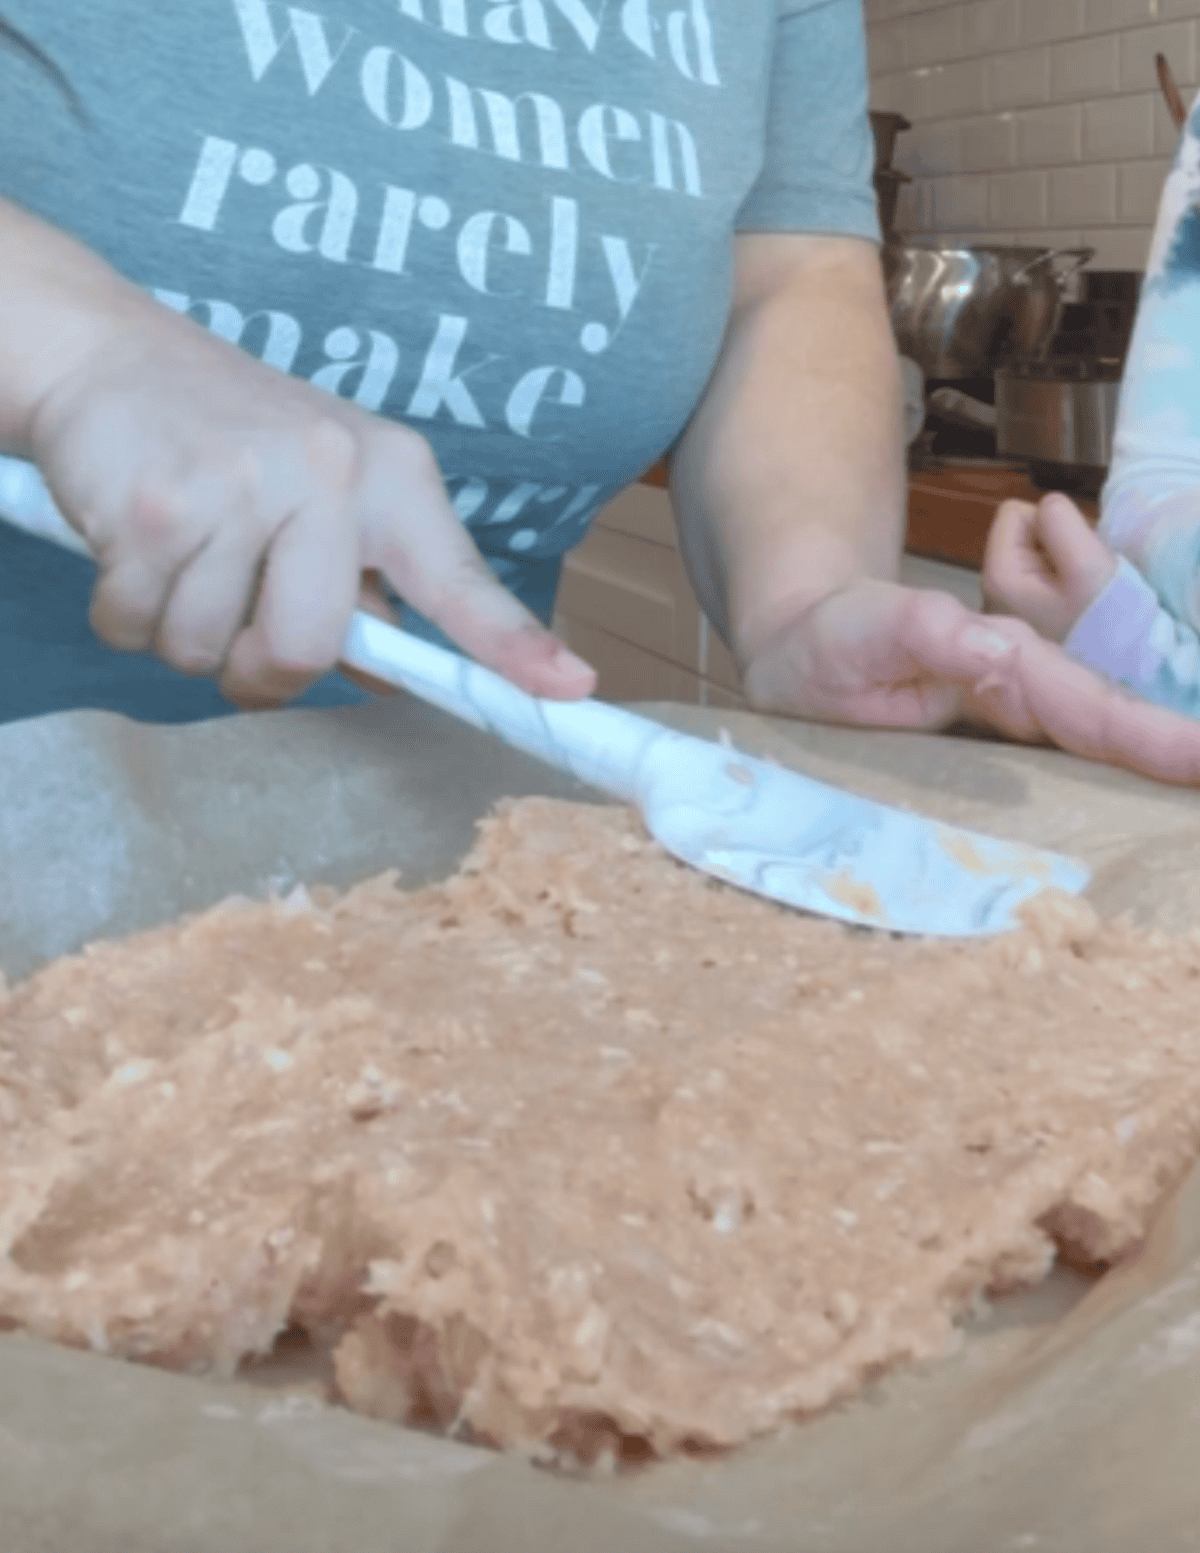

1. Spread the meat onto a parchment paper lined cookie sheet.
2. Once flat, coat the chicken with arrowroot powder.
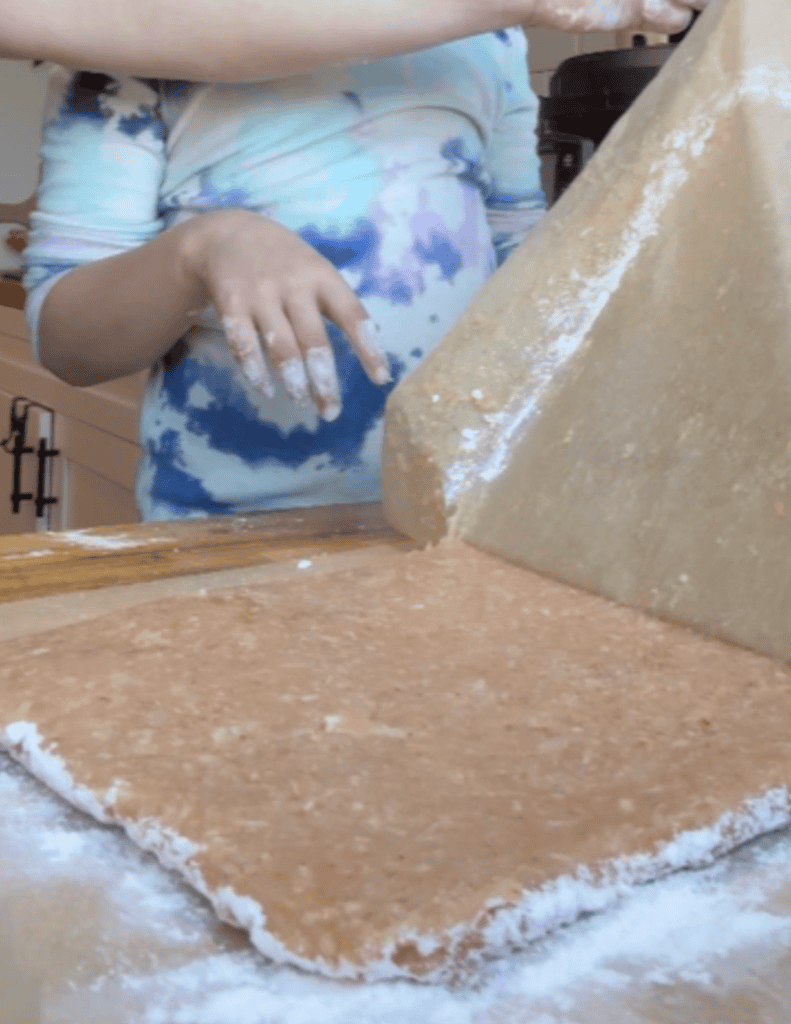
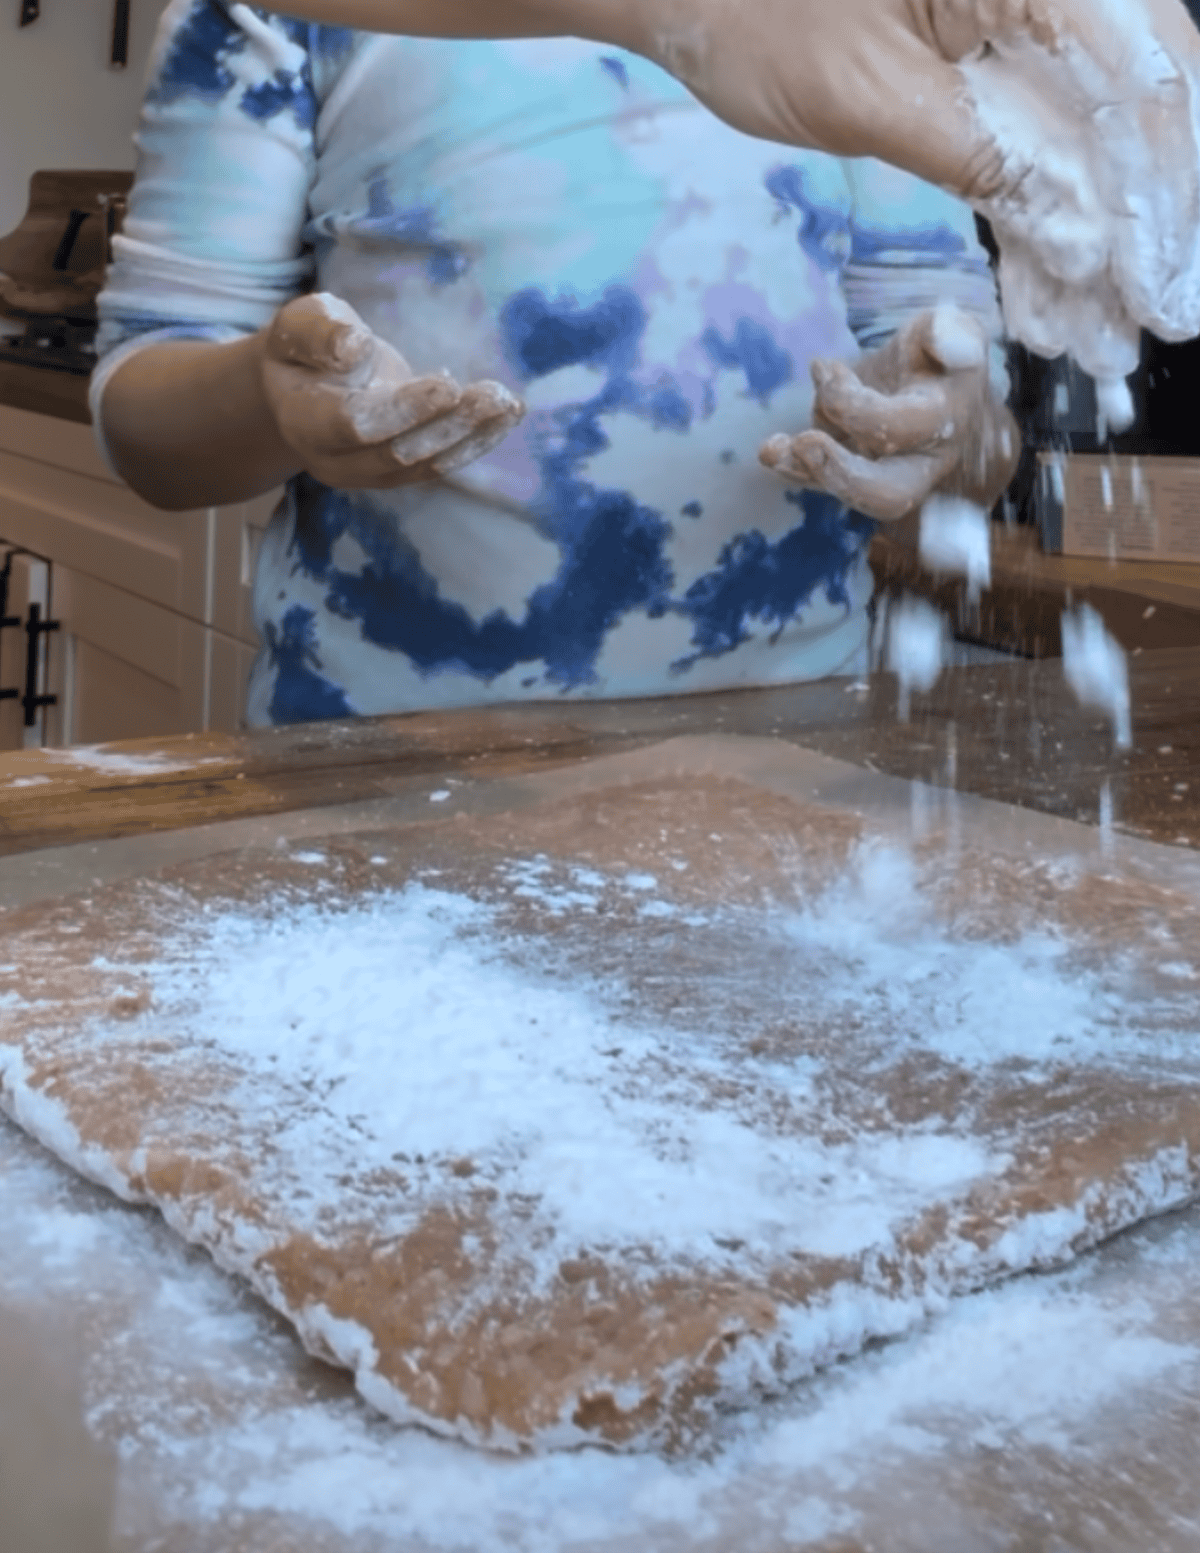
3. Use another piece of parchment paper and a flat board to flip the chicken over. remove the parchment paper from.
4. Coat that side with arrowroot powder and store the patty in the freezer to set.
At this point you can choose to freeze the patty and then wrap it in Saran Wrap or a freezer safe plastic bag until ready to use. If you want to make it even easier on yourself in the future, once it’s frozen, cover both sides of the chicken in the slurry and freeze. For best results cover one side at a time and flip the chicken over. I have made it with both sides covered in the slurry and just one side to save time. They both taste delicious. The one-sided slurry option is a little less crunchy than the other. When ready, airfare the chicken patty for best results. No need to thaw it out.
Assembling the Reverse Gluten Free Caesar Salad:
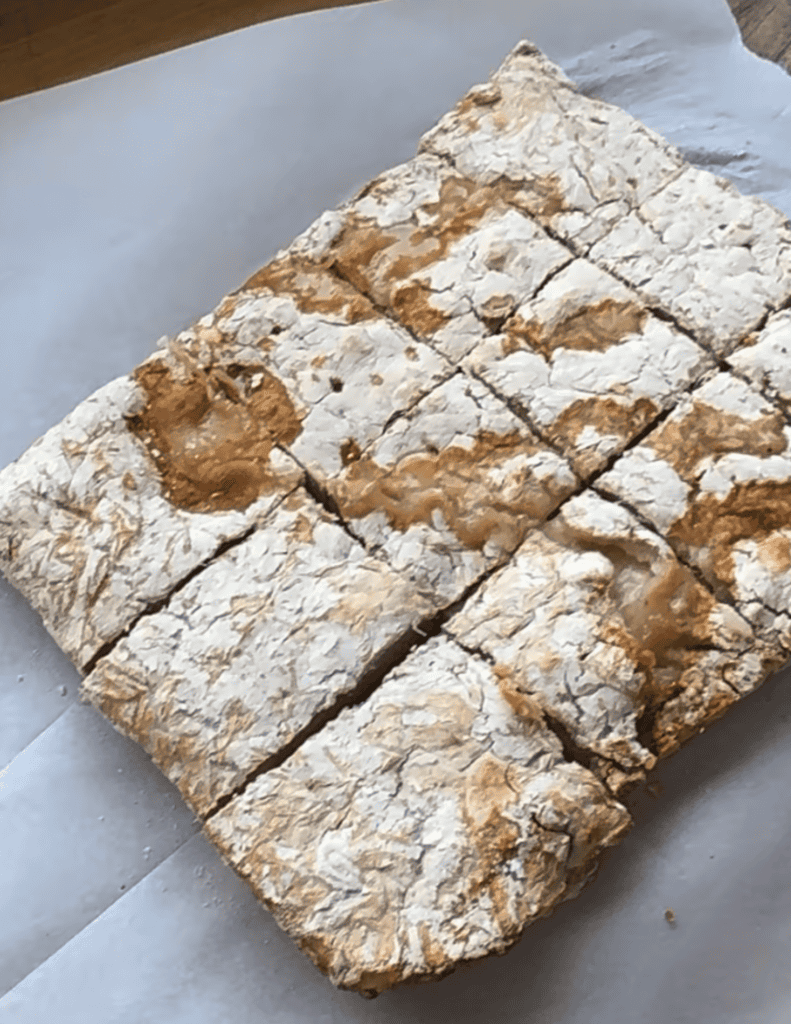
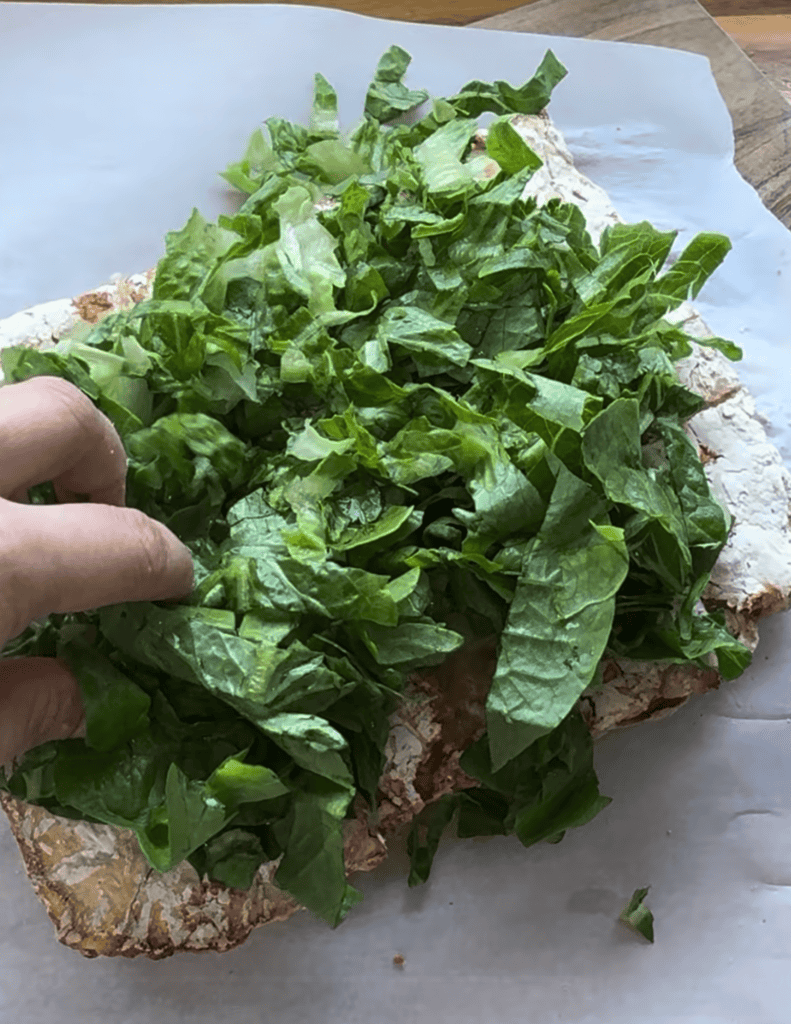
1. After the patty is air fried, cut it into smaller portions.
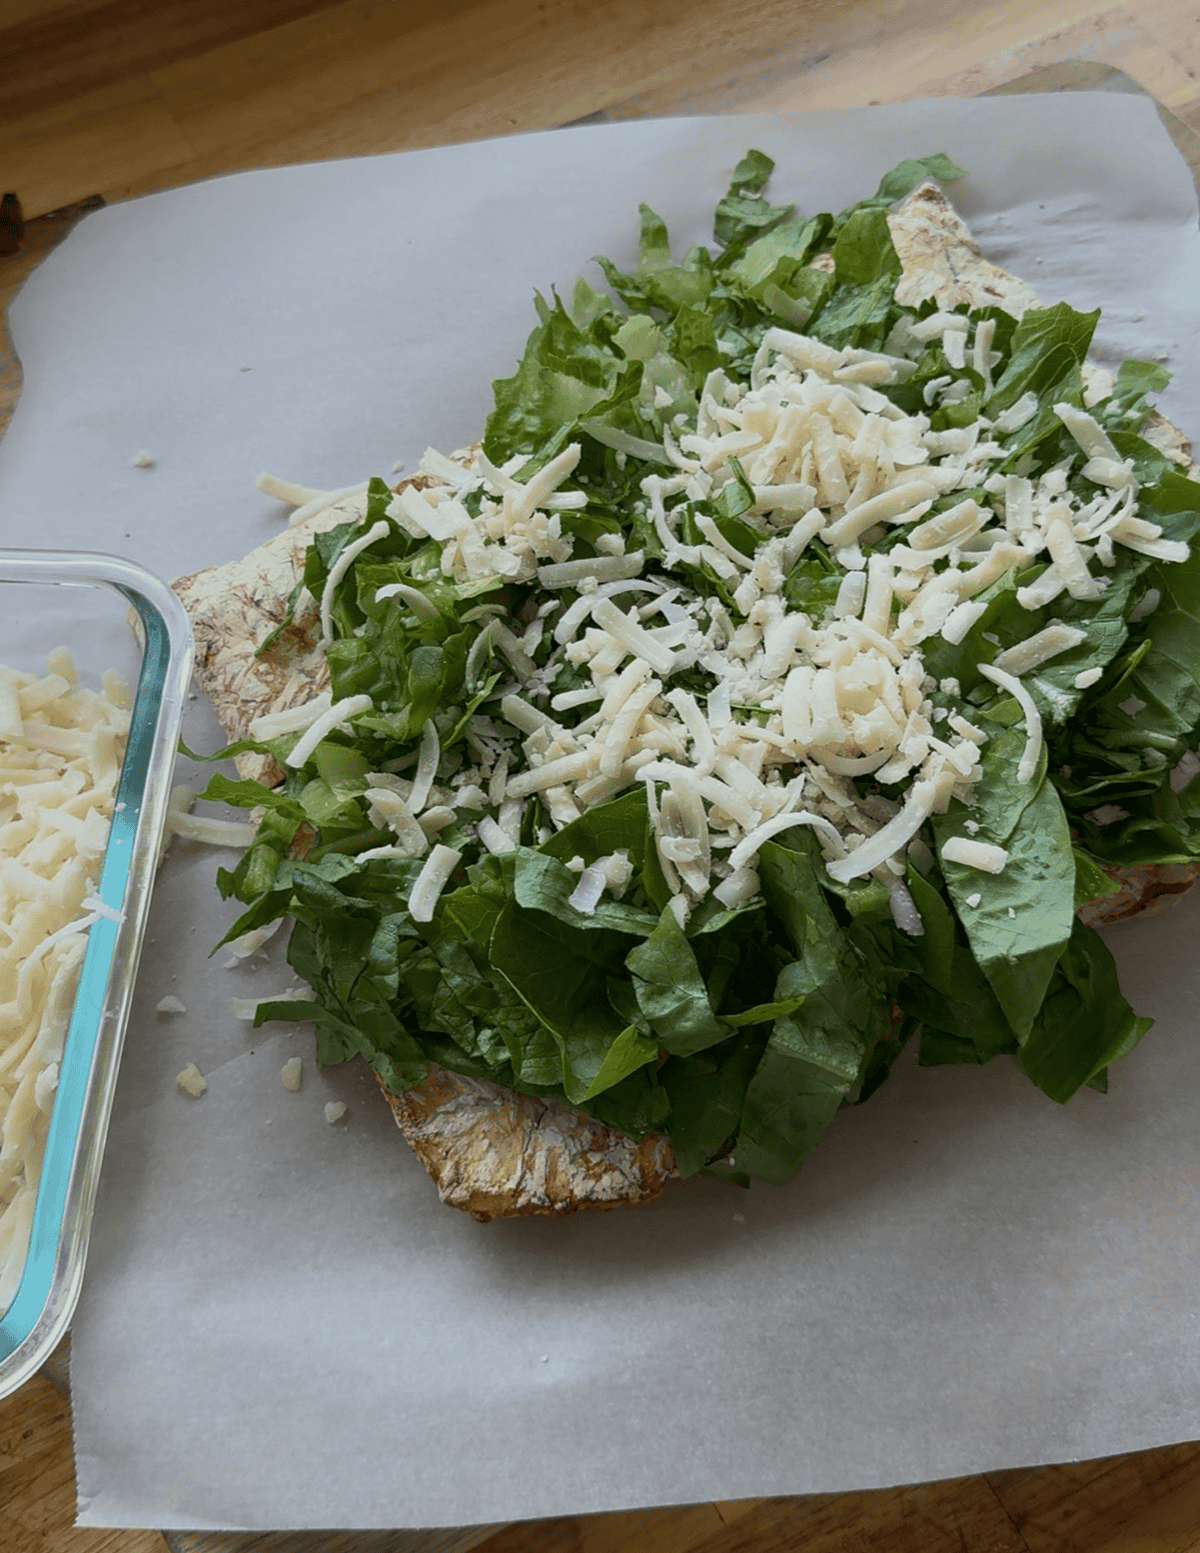
2. Take a portion of the chicken and cover it with shredded lettuce.
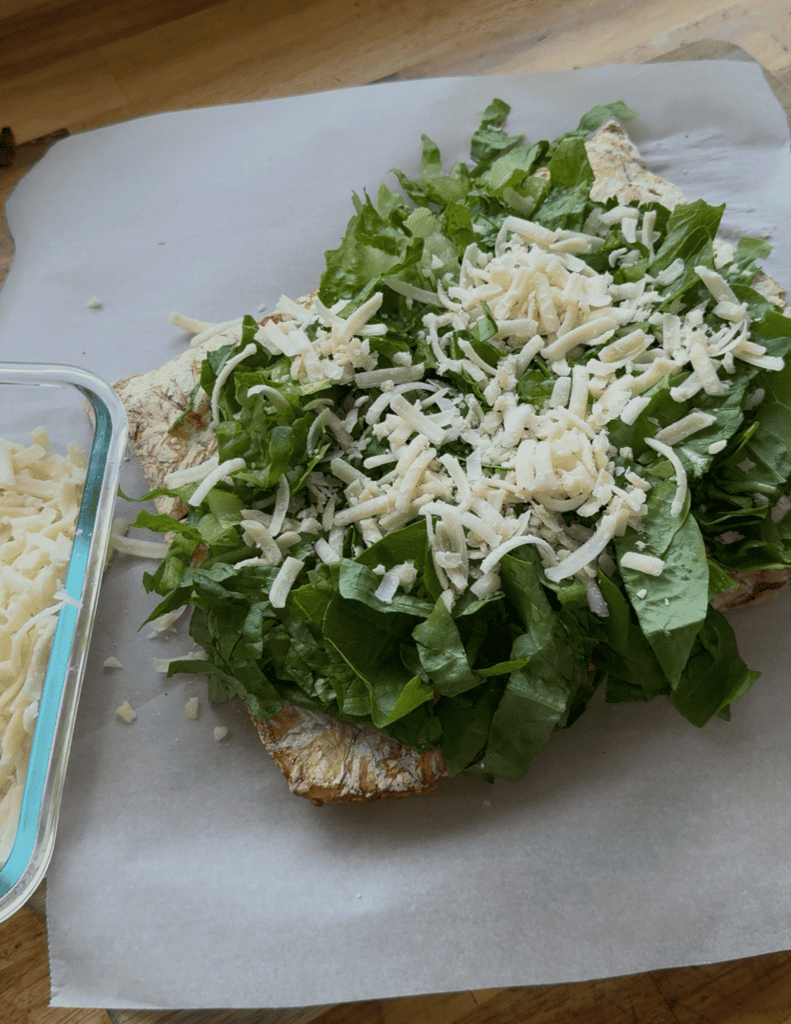
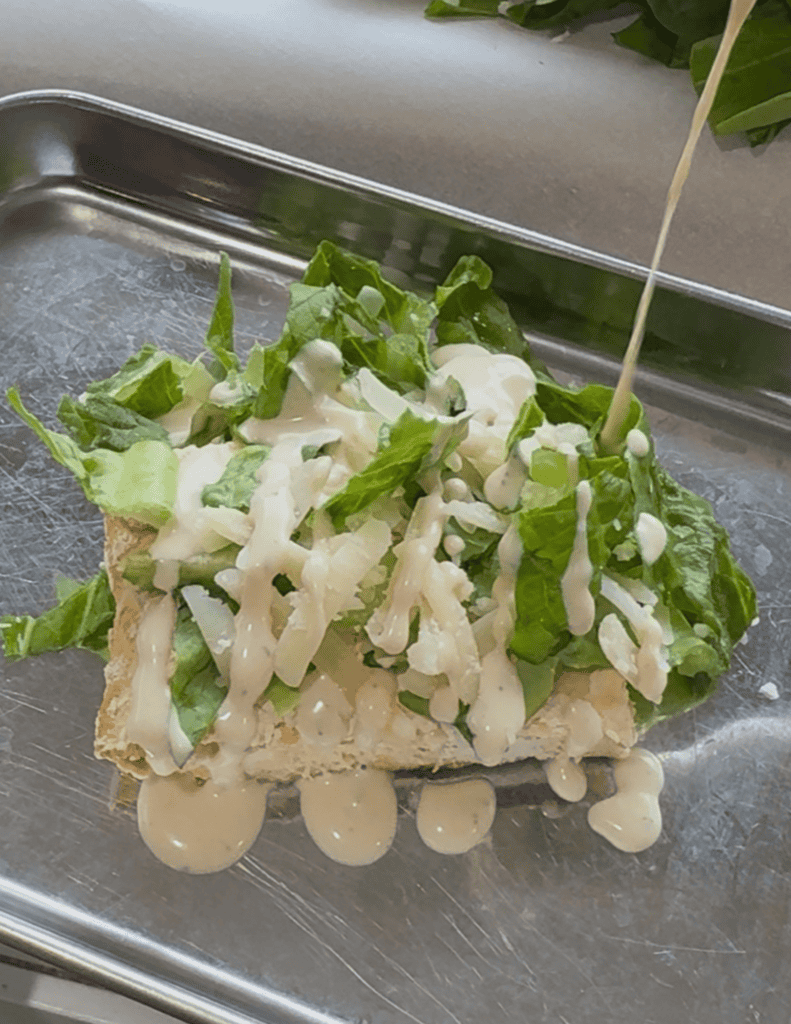
3. Sprinkle parmesan cheese on top.
4.Drizzle with caesar dressing.
Protein Packed Reverse Chicken Caesar Salad
Equipment
- Air Fryer
Ingredients
Chicken Caesar Salad
- Caesar Dressing as desired
- Romain Lettuce as desired
- Parmesan Cheese as desired
Chicken Base
- 6 Chicken Breasts
- 2 tsp Salt
- 1/4 tsp Black Pepper
- 2 tsp Smoked Paprika
- 2 tsp Garlic Powder
- 1 tsp Onion Powder
- 2 Eggs Optional
Coating the Meat
- 1 cup Arrowroot Powder for coating
Slurry Batter for Chicken
- 1 cup Gluten Free Flour 1-to-1
- 1 cup Arrowroot Powder
- 2 tsp Baking Powder
- 2 cups Filtered Water
- 1 1/2 tsp Smoked Paprika
- 1 tsp Garlic Powder
- 1/2 tsp Onion Powder
- 2 tsp Salt
- 1/4 tsp Black Pepper Ground
Instructions
- Place chicken breasts into the food processor with all of the Chicken Base ingredients .
- Prepare a cookie sheet with parchment paper on it and spread the mixture out onto it.
- Shape the mixture into a rectangle that is about 1 -2 inches thick and coat generously with arrowroot powder..
- Freeze the chicken patty.
- Once frozen, prep the slurry batter and coat one side of the patty with it. (Optional: flip the patty over and coat the other side).
- Freeze the patty again.
- Once frozen, air fry the patty (or bake) at 400F for 12-14 minutes.
- Prepare the toppings (cut lettuce, shred the parmesan, make the dressing).
- Once done, cut the chicken into squares and plate a chicken patty topped with lettuce, cheese, and dressing.
Notes
Recipe Tips
Cook chicken until golden and slightly crispy for the best texture contrast
Let chicken rest before slicing to keep it juicy
For better coverage, toss dressing lightly first, then add more on top for flavor layering
Add crunch (croutons, parmesan crisps, or seeds) right before serving if you want to jazz it up.
If meal prepping, store dressing separately to keep everything fresh.
Cut the chicken into smaller portions and dress each piece as it’s served to keep all ingredients fresh and prevent sogginess.
Pre-Prep/Storage Options:
- Pre-Prep: To get ahead and make this an even easier meal, you can prep things ahead of time. Clean and cut the lettuce, shred the parmesan cheese, and shape the nugget meat into a square covered in arrowroot powder to freeze.
- Storage: Store each part individually in the refrigerator in an airtight container for the best results. When ready to use, re-heat the chicken at 350F for 10-12 minutes in the oven or air fryer until crispy and build your salad.
- Freezing: This option works for the chicken portion best. When reheating, heat the oven or air fryer at 350F for 15-20 minutes.
Recipe FAQs
Get on the List
Subscribe to Receive the Gluten Free Pantry Must Haves Ebook
Did you make this recipe?
We’d love to see! Tag @farmfreshfamily on Instagram!