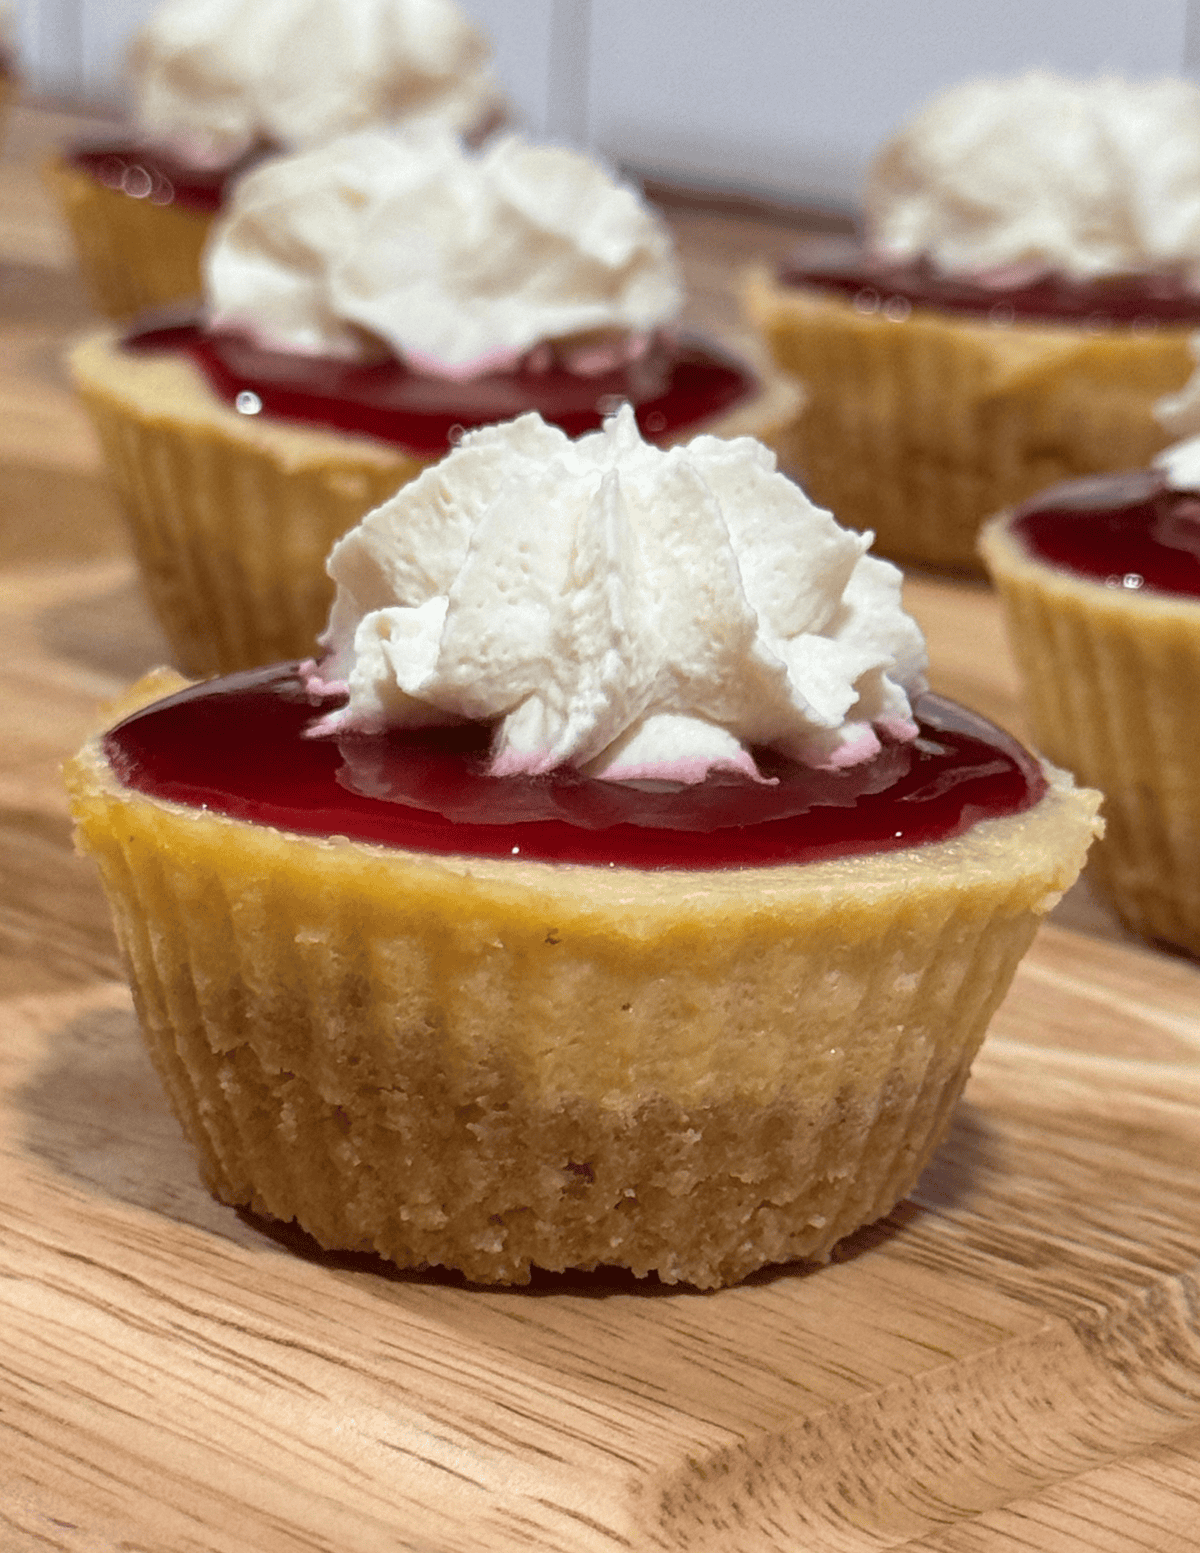
Gluten free raspberry cheesecake bites are creamy, rich, and perfectly sweet with a bright raspberry swirl—everything you want in a cheesecake, just in an easy, bite-sized version. If you’ve ever wanted a dessert that feels fancy but takes minimal effort, this is one you’ll come back to again and again.
They’re smooth, slightly tangy, and balanced with that fresh raspberry flavor, all sitting on a simple gluten free base. If you’ve made my gluten free cheesecake, nilla wafer crust, or triple layer dessert bars, this recipe fits right into that same category—simple ingredients, big payoff, and perfect for prepping ahead. These are ideal for gatherings, holidays, or just keeping something sweet in the fridge or freezer.
Why You’ll Love Gluten Free Raspberry Cheesecake Bites
- Creamy, smooth cheesecake texture in every bite
- Fresh raspberry flavor that balances the richness
- No-bake option available for easy prep
- Gluten free with simple, clean ingredients
- Perfect bite-sized portions for serving
- Great make-ahead dessert
Ingredients Overview
Full measurements are listed in the recipe card below
Ingredients for Raspberry Cheesecake Bites
1. Gluten-Free Nilla Wafers
Gluten-free Nilla wafers create a light, crisp, and subtly sweet crust that perfectly complements creamy desserts like cheesecake or pudding pies. When crushed and combined with a binding fat, they form a cohesive base that holds together while still maintaining a delicate, slightly crumbly texture.
2. Arrowroot Powder
Arrowroot powder is a light, grain-free starch that works as a natural thickener for sauces, gravies, puddings, and baked goods. It creates a silky, glossy finish without the heaviness of cornstarch and is easier on sensitive stomachs, making it a great clean-ingredient swap for gluten-free and allergen-friendly cooking.
3. Gluten-Free One-to-One Flour
A high-quality gluten-free one to-one flour blend provides structure while keeping the cheesecakes shape fluffy.. I prefer Bob’s Red Mill Gluten-Free 1-to-1 Baking Flour for this recipe because it produces consistent results and bakes evenly. Be sure to use a one-to-one blend that already contains xanthan gum.
4. Raw Cream
Raw cream is simply the naturally separated cream that comes from raw milk. If you do not choose to or have access to drinking/using raw cream, it can easily be substituted out for heavy whipping cream or coconut cream (for a dairy free alternative). The cream is used to drizzle over the proofed rolls and help them to maintain moisture while they bake.
5. Eggs
I’m a big fan of supporting local farmers and using farm fresh eggs. It’s also important if you’re navigating more anti-inflammatory foods to source pasture raised, non GMO, corn and soy free eggs. If you need to be egg free, my favorite egg replacer is Bob’s Red Mill Egg Replacer. I’ve used it within this recipe and it came out amazing!
6. Butter
Butter adds richness and helps create a beautiful crumb in the crust. Using a high-fat butter like Kerrygold works especially well here. If you need a dairy-free option, you can substitute a dairy-free butter alternative without issue.
7. Vanilla Extract
Vanilla extract rounds out the cheesecake and crust flavor and adds warmth. Use a pure vanilla extract for the best results.
8. Cream Cheese
Cream cheese is creamy and the literal staple for cheesecake. It adds a rich, creamy texture and tangy flavor to the cheesecake layer.
9. Maple Syrup
Maple syrup provides natural sweetness while adding moisture and depth to the dessert. It also helps create a smooth, cohesive texture without refined syrups.
10. Sour Cream
Sour cream plays a key role in creating a smooth, creamy cheesecake with balanced flavor and texture. Its natural acidity gently softens the richness of cream cheese, preventing the cheesecake from tasting too heavy while adding a subtle tang that enhances the overall flavor.
11. Raspberries
Raspberries add a bright, slightly tart contrast that balances the richness of cheesecake and prevents it from feeling overly heavy. Their natural acidity cuts through the creamy filling, creating a more layered, well-rounded flavor profile.
12. Lemon Juice
Lemon juice enhances cheesecake by adding a subtle acidity that brightens and balances the richness of the cream cheese. Even in small amounts, it sharpens the overall flavor, making the cheesecake taste lighter and more vibrant rather than overly dense or sweet.
Helpful Gadgets and Accessories
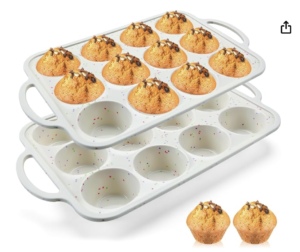
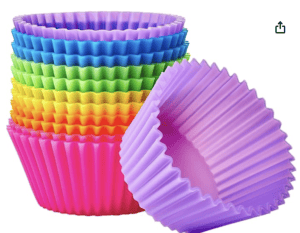
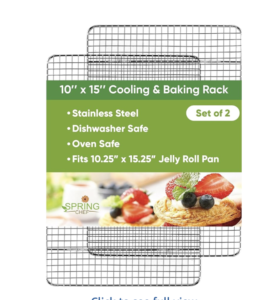
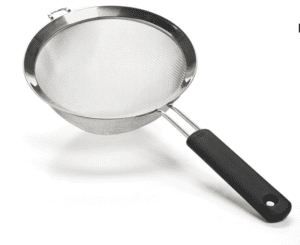
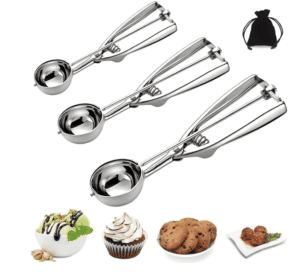
No special tools? Here’s how to make it work:
- No muffin tin → use a small dish and slice into squares
- No mixer → mix by hand (just allow extra time for smoothness)
- No liners → lightly grease pan and chill well before removing
Additional Allergens/Suggested Modifications
- Dairy: sub dairy free alternatives
- Egg: sub egg replacer
This recipe is naturally free of: nuts, fish, crustacean shellfish, tree nuts, peanuts, wheat, soybeans, yeast, seed oils, and sesame.
The Gluten Free Kitchen Cookbook Series
Healthy GLUTEN-FREE Recipes for Every Day LIFE
Your go-to cookbooks for all of the delicious & nutritious meals, sides, breads (yeast & sourdough), baking staples, snacks, desserts, drinks and more. With easy-to-follow instructions and beautiful step-by-step photography, every page invites you to explore nostalgic, healthy meals that make being gluten free a “get to” instead of a “have to”.
Whether you’re cooking for yourself or sharing with loved ones, The Gluten Free Kitchen Cookbook Series brings healthy living to your table every day.
How to Make Homemade Gluten-Free Crust
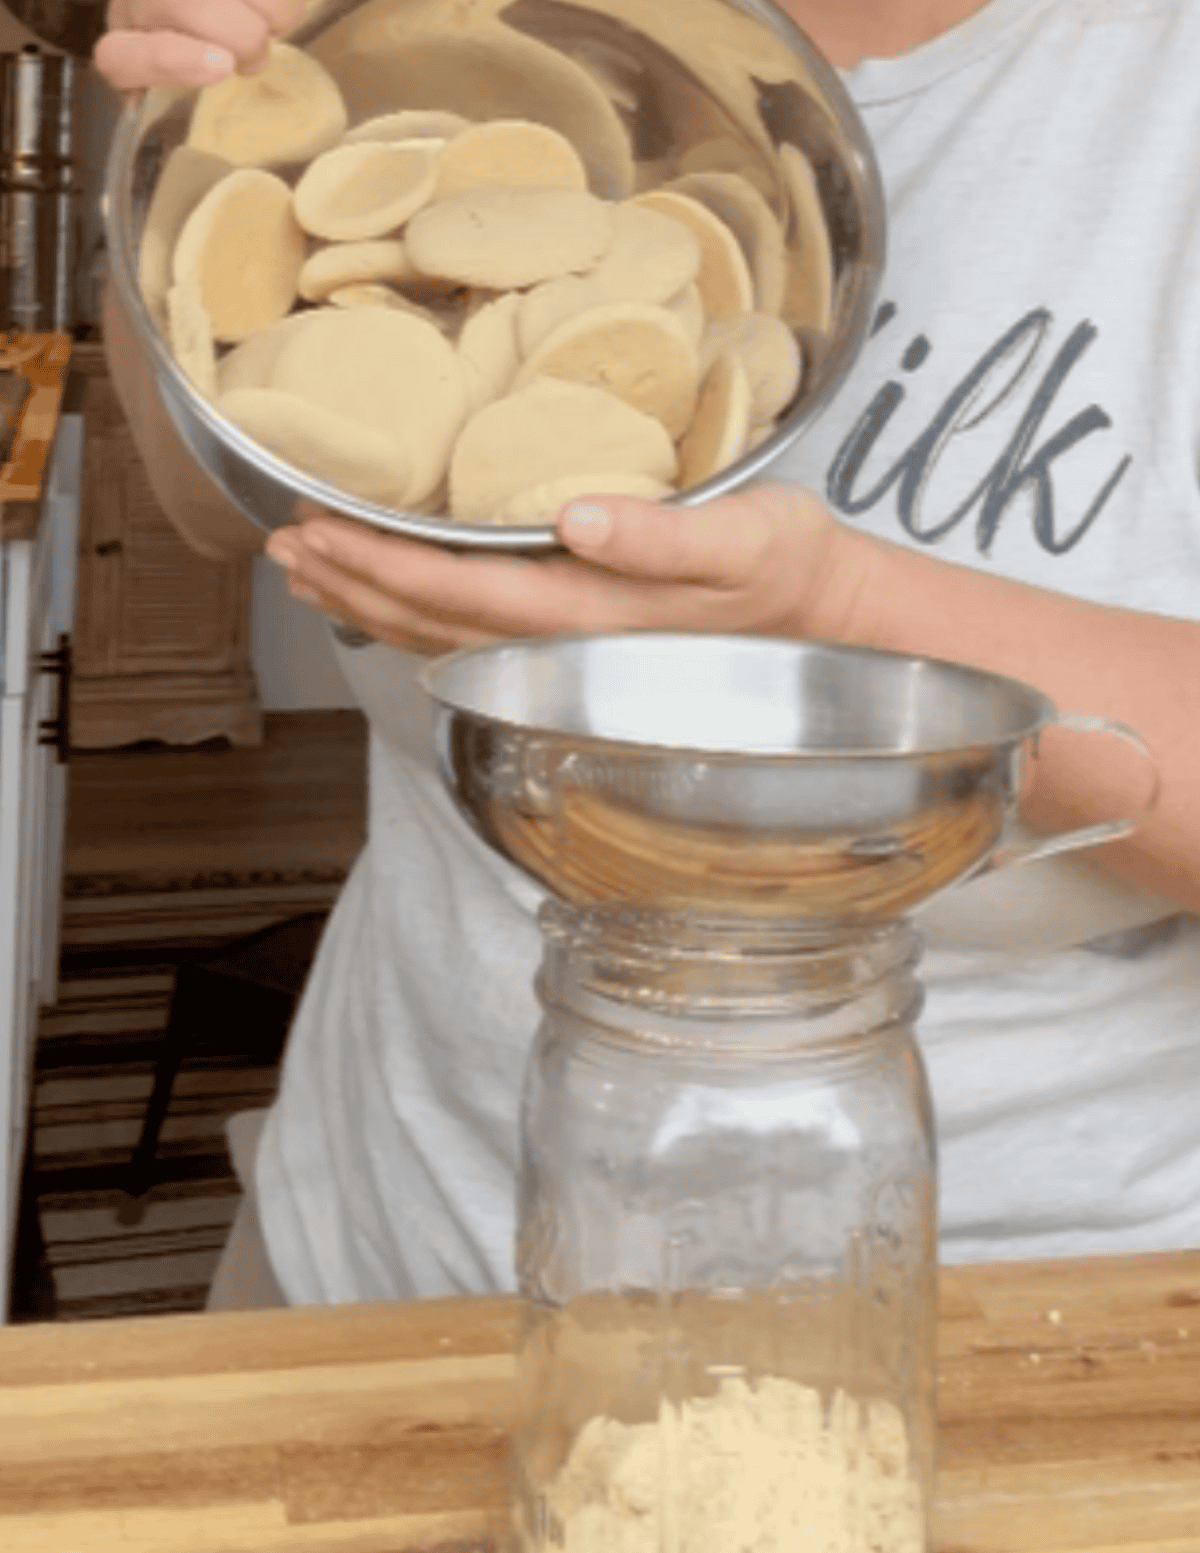
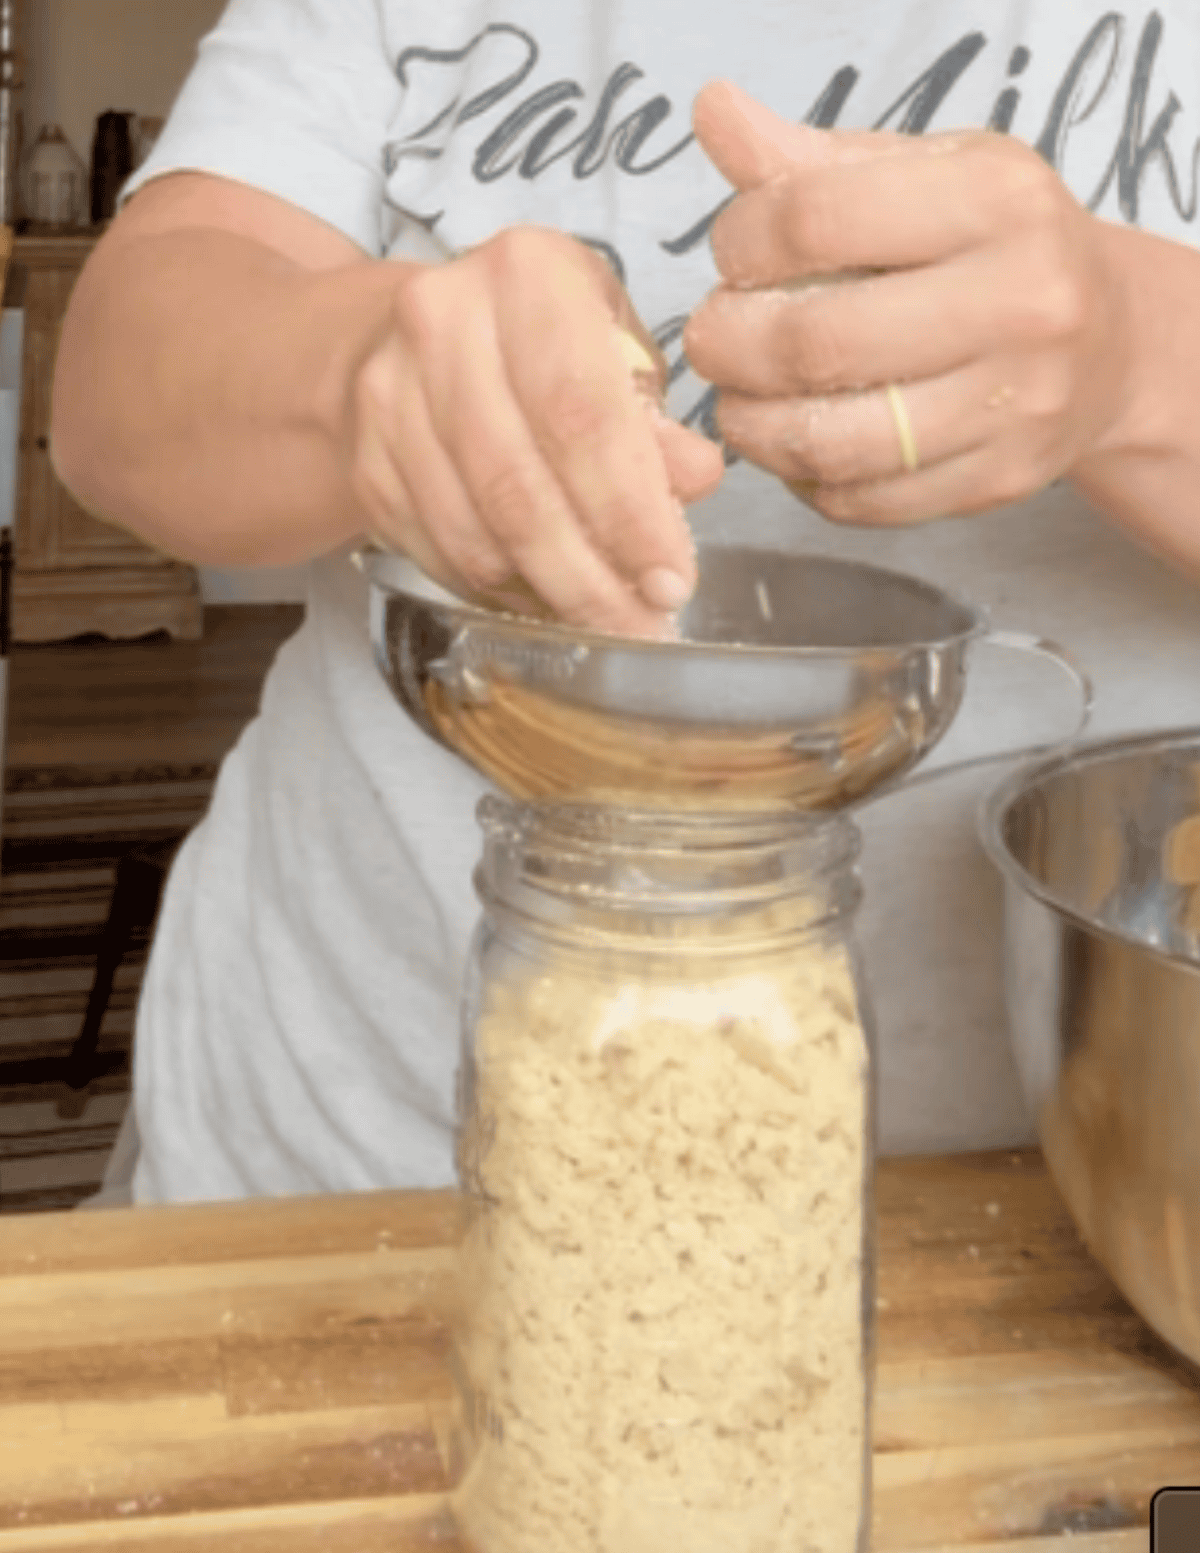
- Prep gluten free Nilla Wafers using my recipe (or the store-bought version).
2. Crush the wafers into small pieces either into a jar for storage, or in a plastic bag with a rolling pin.
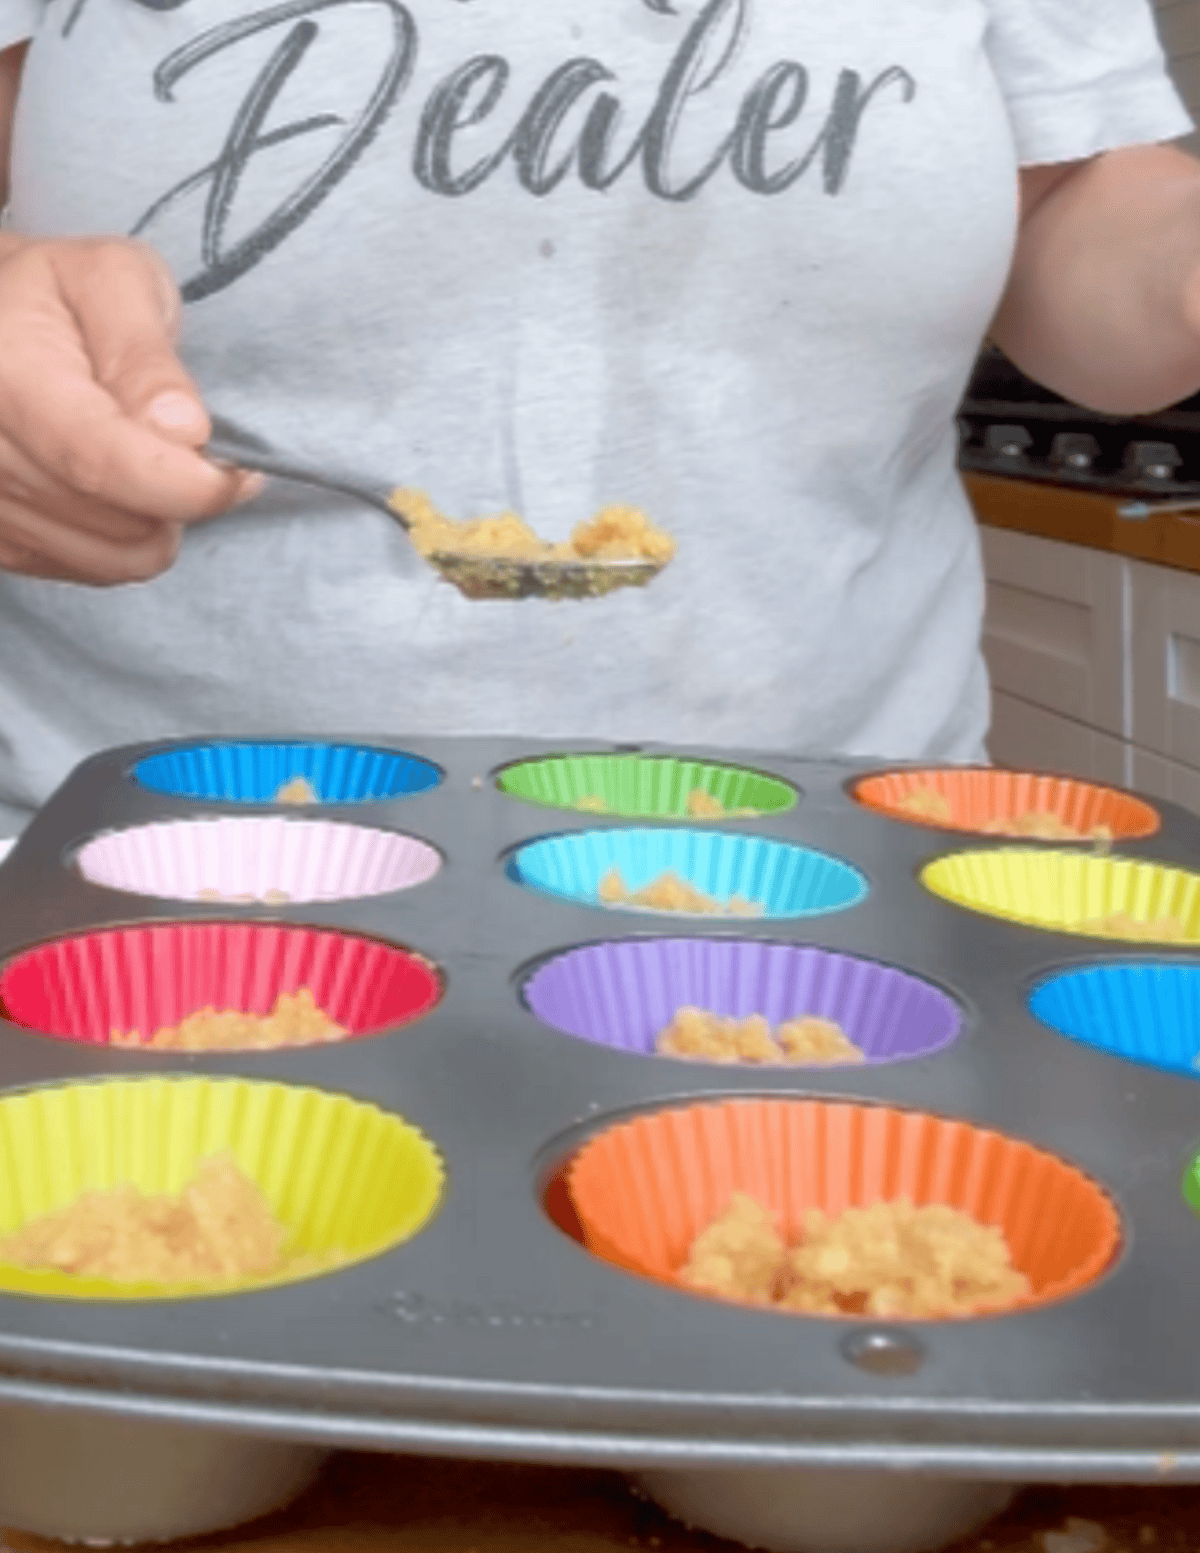
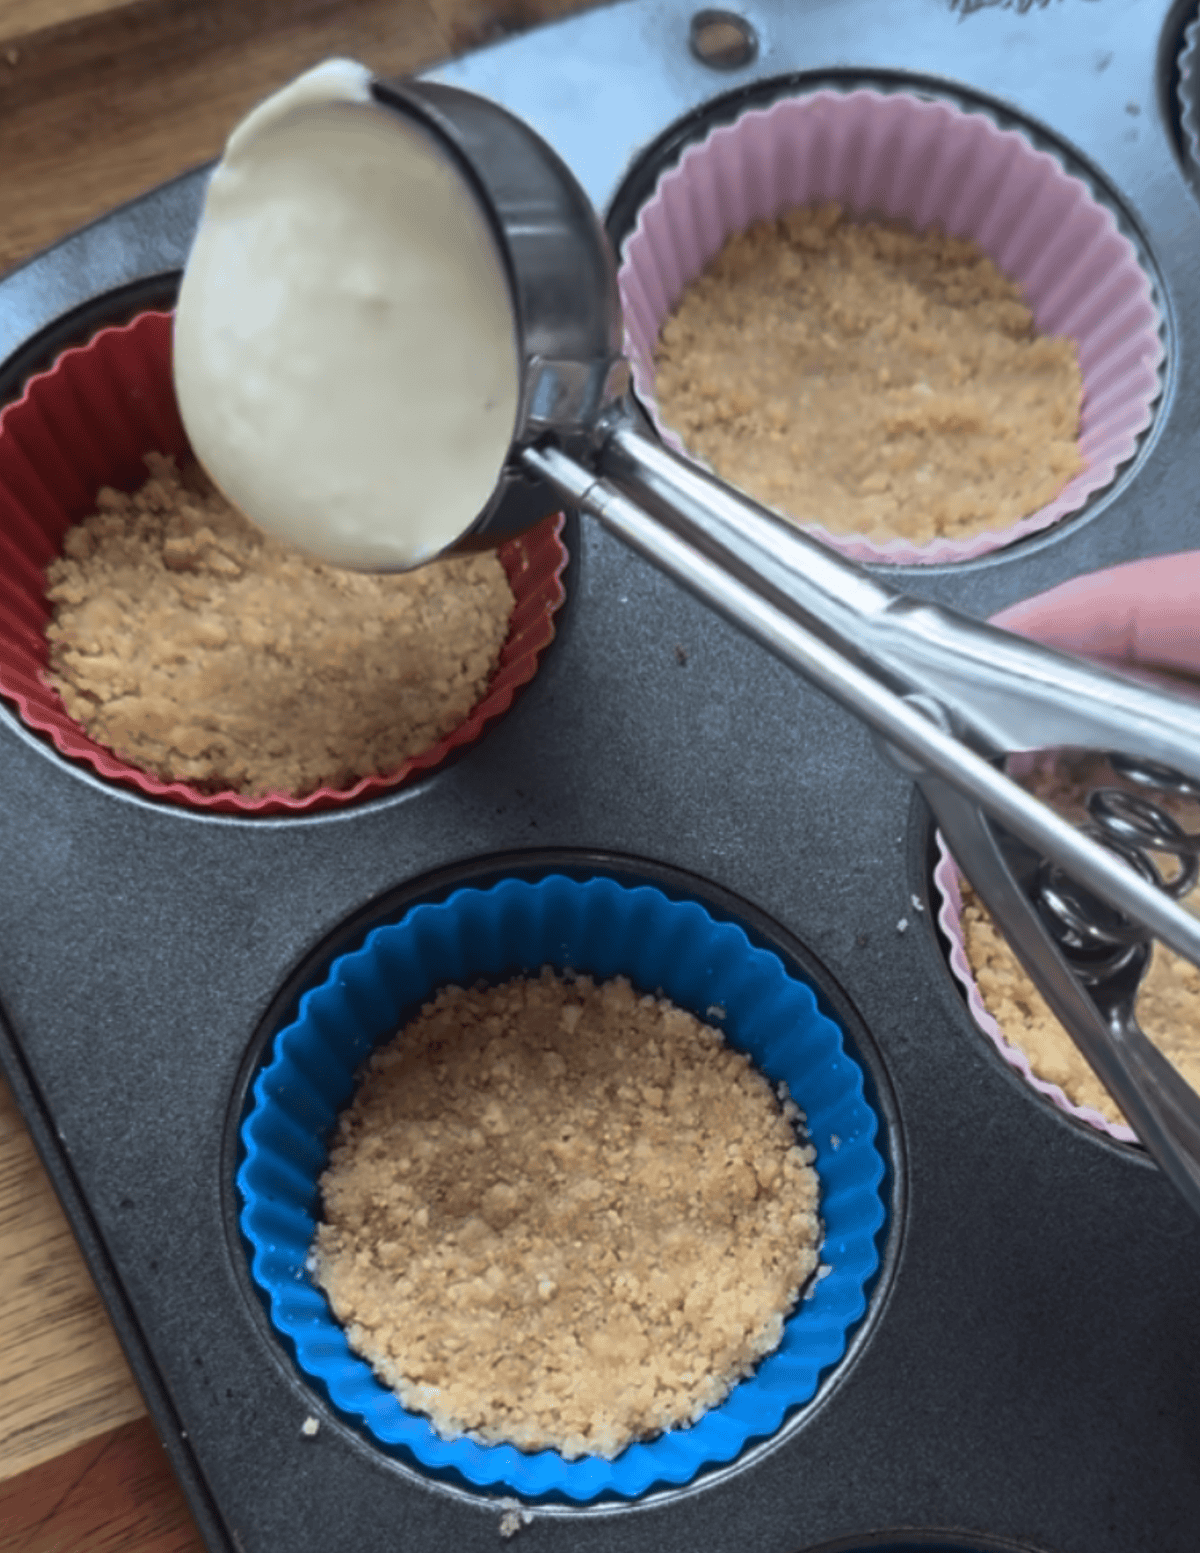
3. Line a cupcake tin with cupcake holders and will with base crust mixture.
4. Press the crust down to form a base and then top with cheesecake layer.
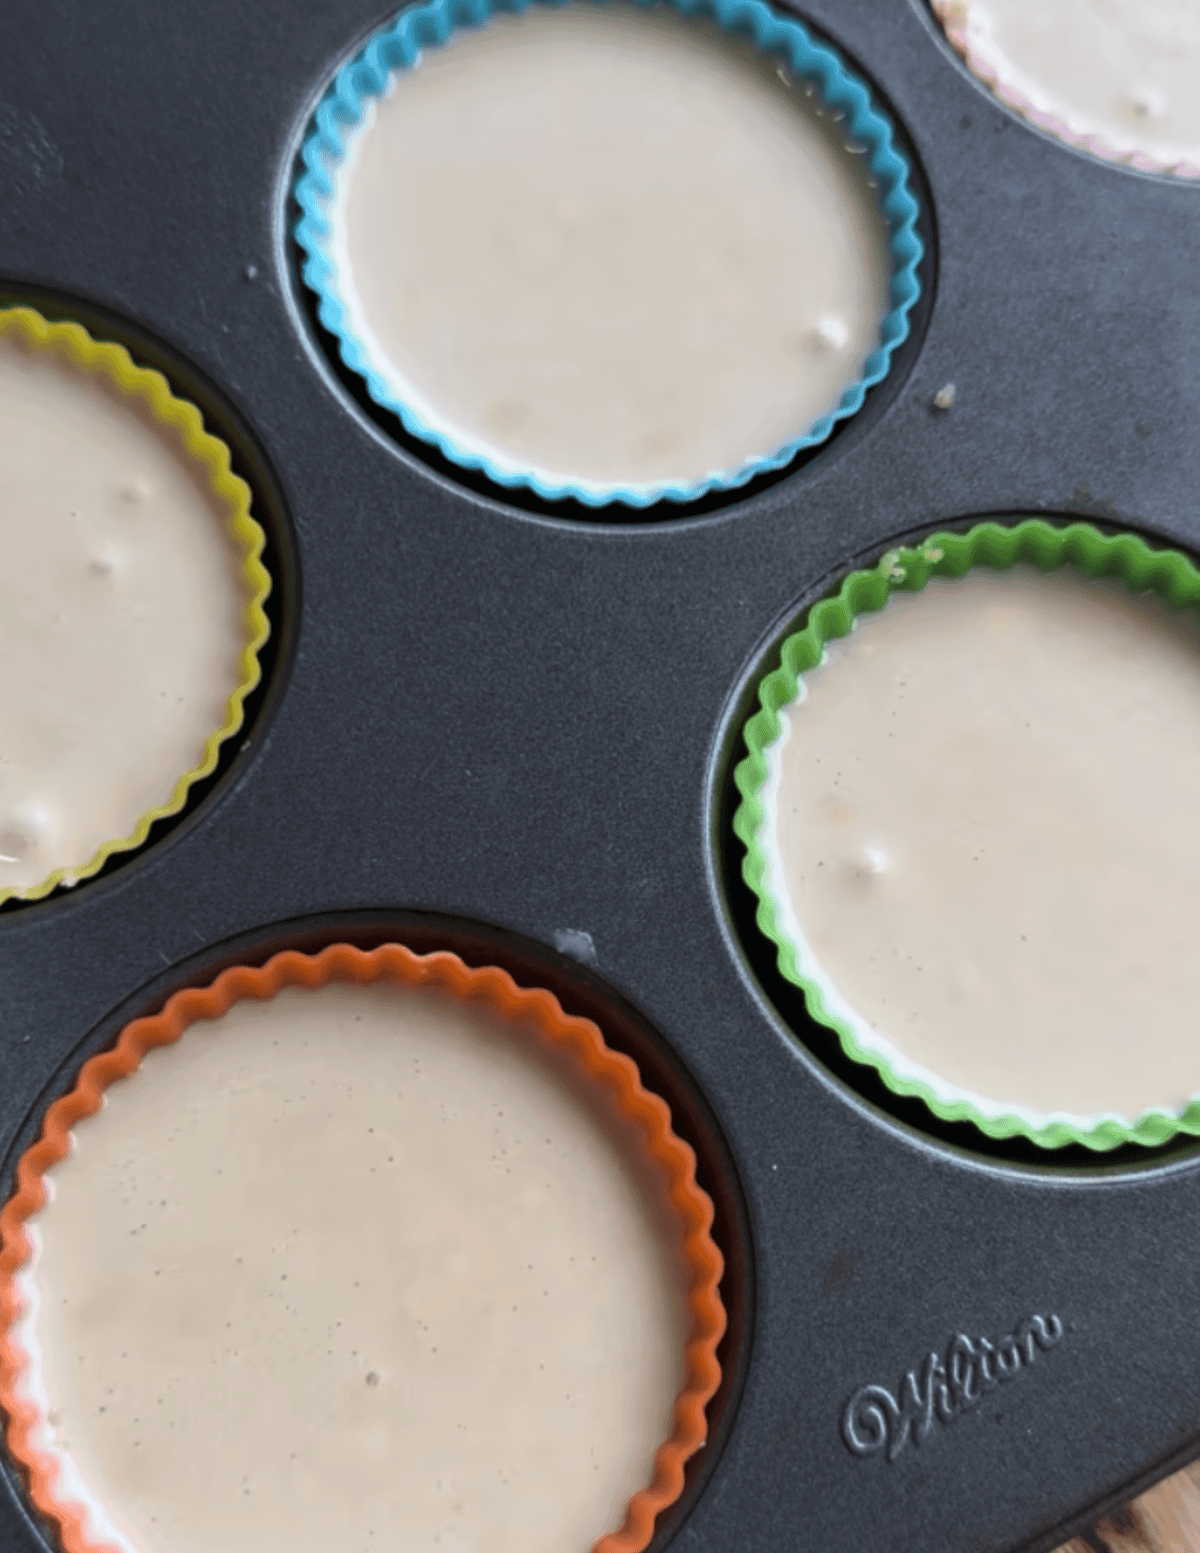
5. Bang the tin on the countertop to release air bubbles. Repeat as needed.
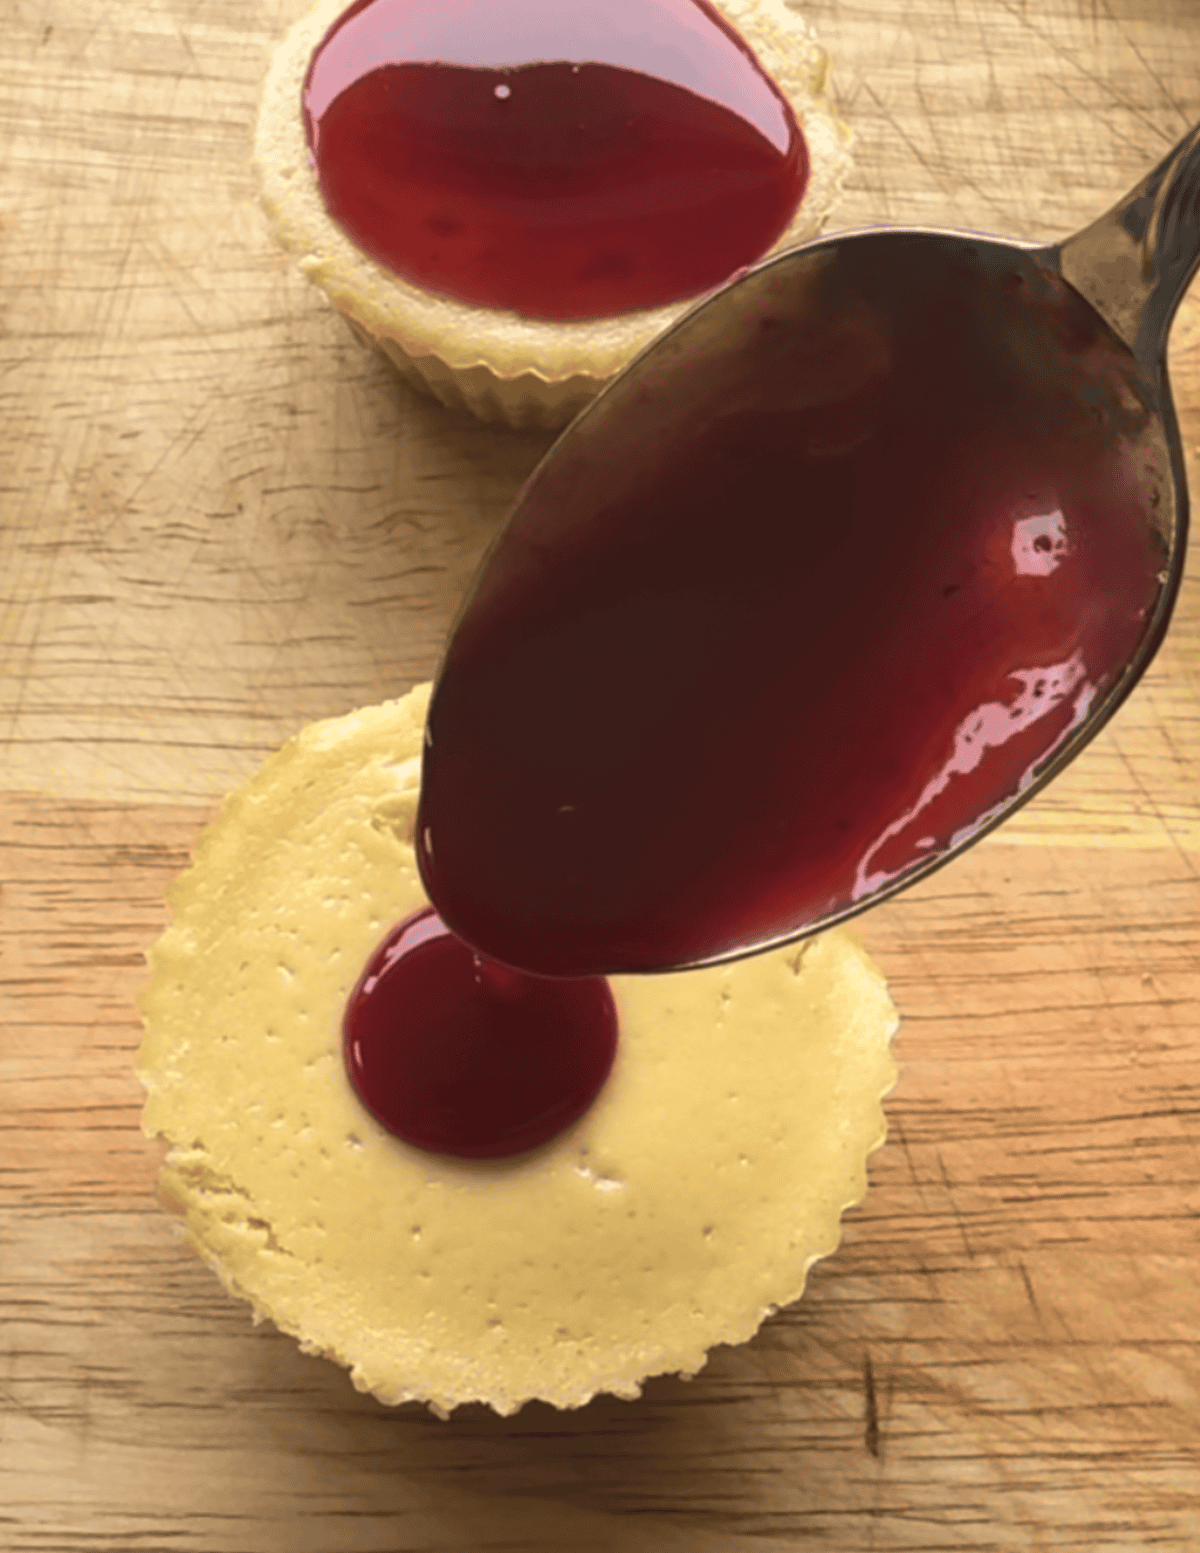
6. In a saucepan over medium heat make the raspberry sauce then strain and pour onto the top of the cheesecakes.
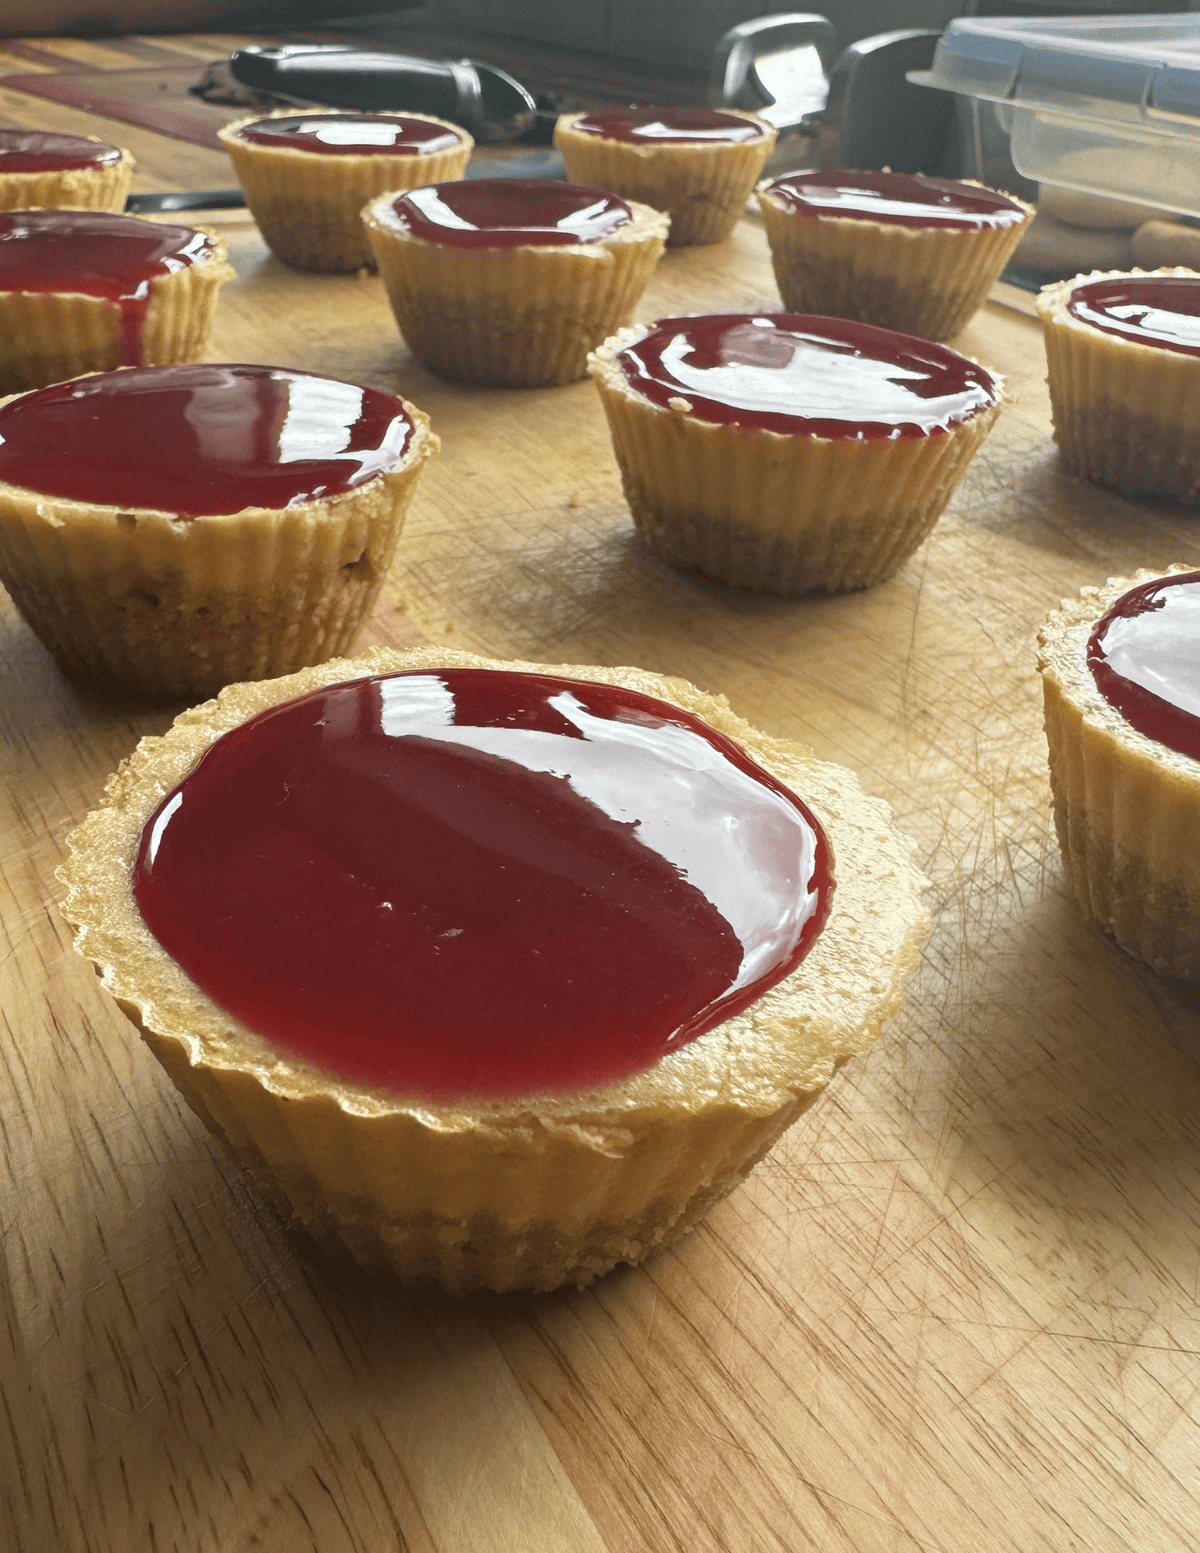
7. Let the topping set for a bit and whip up whipped cream.
8. Serve and enjoy!
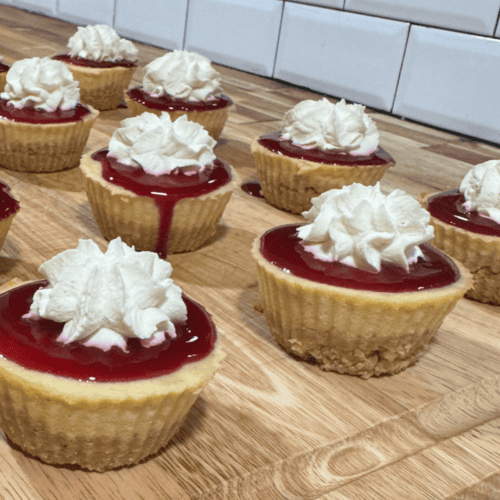
Gluten Free Raspberry Cheesecake Bites
Ingredients
Crust:
- 1 1/2 cup Nilla Wafers crushed
- 8 tbsp Butter melted
Cheesecake:
- 8 oz Cream Cheese
- 1 tbsp Gluten Free Flour One-to-One
- 1/2 cup Maple Syrup
- 1 Egg
- 1/2 tsp Vanilla Extract
- 2 tbsp Sour Cream
- 2 tbsp Raw Cream or heavy whipping cream
Raspberry Topping:
- 1 1/2 cup Raspberries
- 1 1/2 tbsp Arrowroot Powder
- 4 tbsp Maple Syrup
- 1/2 tsp Lemon Juice
- 1/3 cup Water cold
Whipped Cream
- 1 cup Raw Cream or heavy whipping cream
- 1/4 cup Maple Syrup
- 1/2 tsp Vanilla Extract
Instructions
Crust
- Crush Vanilla Wafers up into small pieces. Melt butter and mix into the crushed Vanilla Wafers. Pro Tip: Make a large batch of cookies and store them crushed in pantry in a mason jar with lid for easy baking!
- Press the mixture into the base of cupcake liners.
Cheesecake
- Preheat oven to 325°F.
- Whisk together the gluten free flour and maple syrup until well combined.
- In a mixing bowl, add softened cream cheese and whip for a few seconds. Add in maple syrup mixture until well combined.
- On low speed, add in the egg followed by vanilla extract, sour cream and raw cream.
- Press about 1/2 TBSP of the mixture into silicone cupcake molds in a cupcake tin. For a thicker cookie crust, do 1 TBSP. Repeat until 12 cupcakes are filled.
- Mix until well combined.
- Remove the bowl from the mixer and bang it on the countertop 20 times. The goal is to break up any air bubble in the mixture.
- Bake for 18-23 minutes (or until only the center is a little jiggly).
- Remove from heat and let cool for 30 minutes. Take off the silicone cupcake liners and place on a baking tray.
Raspberry Topping
- Mix ingredients together in a pan and bring to a boil while whisking often to prevent burning.
- Once boiling, reduce heat to low and allow the mixture to simmer for 5 minutes while continuing to whisk.
- Use a strainer to strain out the seeds and allow the topping to cool.
- Once cooled off a bit, spoon the topping onto the cheesecake cupcakes.
Whipped Cream
- Whip the cream until stiff peaks form.
- Whisk in maple syrup and vanilla extract.
- Pipe whipped cream as desired on top of the Raspberry Cheesecakes and refrigerate for 2 hours then serve!
Prep/Storage Options:
- Refrigerator: Store in the fridge in an airtight container for up to a week.
- Freezer: Store in an airtight container for up to 6 months
- Pre-Prep Options: Make the Gluten Free Nilla Wafers, whipped cream, and raspberry topping ahead of time. This makes assembling the cheesecake much faster.
Recipe Tips
Use room temperature cream cheese for a smooth filling
Don’t over-mix—this helps avoid air bubbles in the texture.
After the cupcake liners are filled, bang the container on the counter to get any excess air bubbles out.
When using fresh raspberries, strain seeds for a smoother raspberry topping
Chill long enough for the bites to fully set before serving
Recipe FAQs
Get on the List
Subscribe to Receive the Gluten Free Pantry Must Haves Ebook