It wasn’t until my son started participating in grocery shopping in his early years that I considered the ingredients on the back of Gluten Free Nilla Wafers in stores. I, like most gluten-free people, was just ecstatic to have an option in the store to begin with. I had missed those flavors so much.
However, once I turned the box over I was sad to see seed oils, shortenings, corn syrups, flavorings, additives and other unnecessary ingredients, so I learned how to make them myself. After all, how hard could it be?
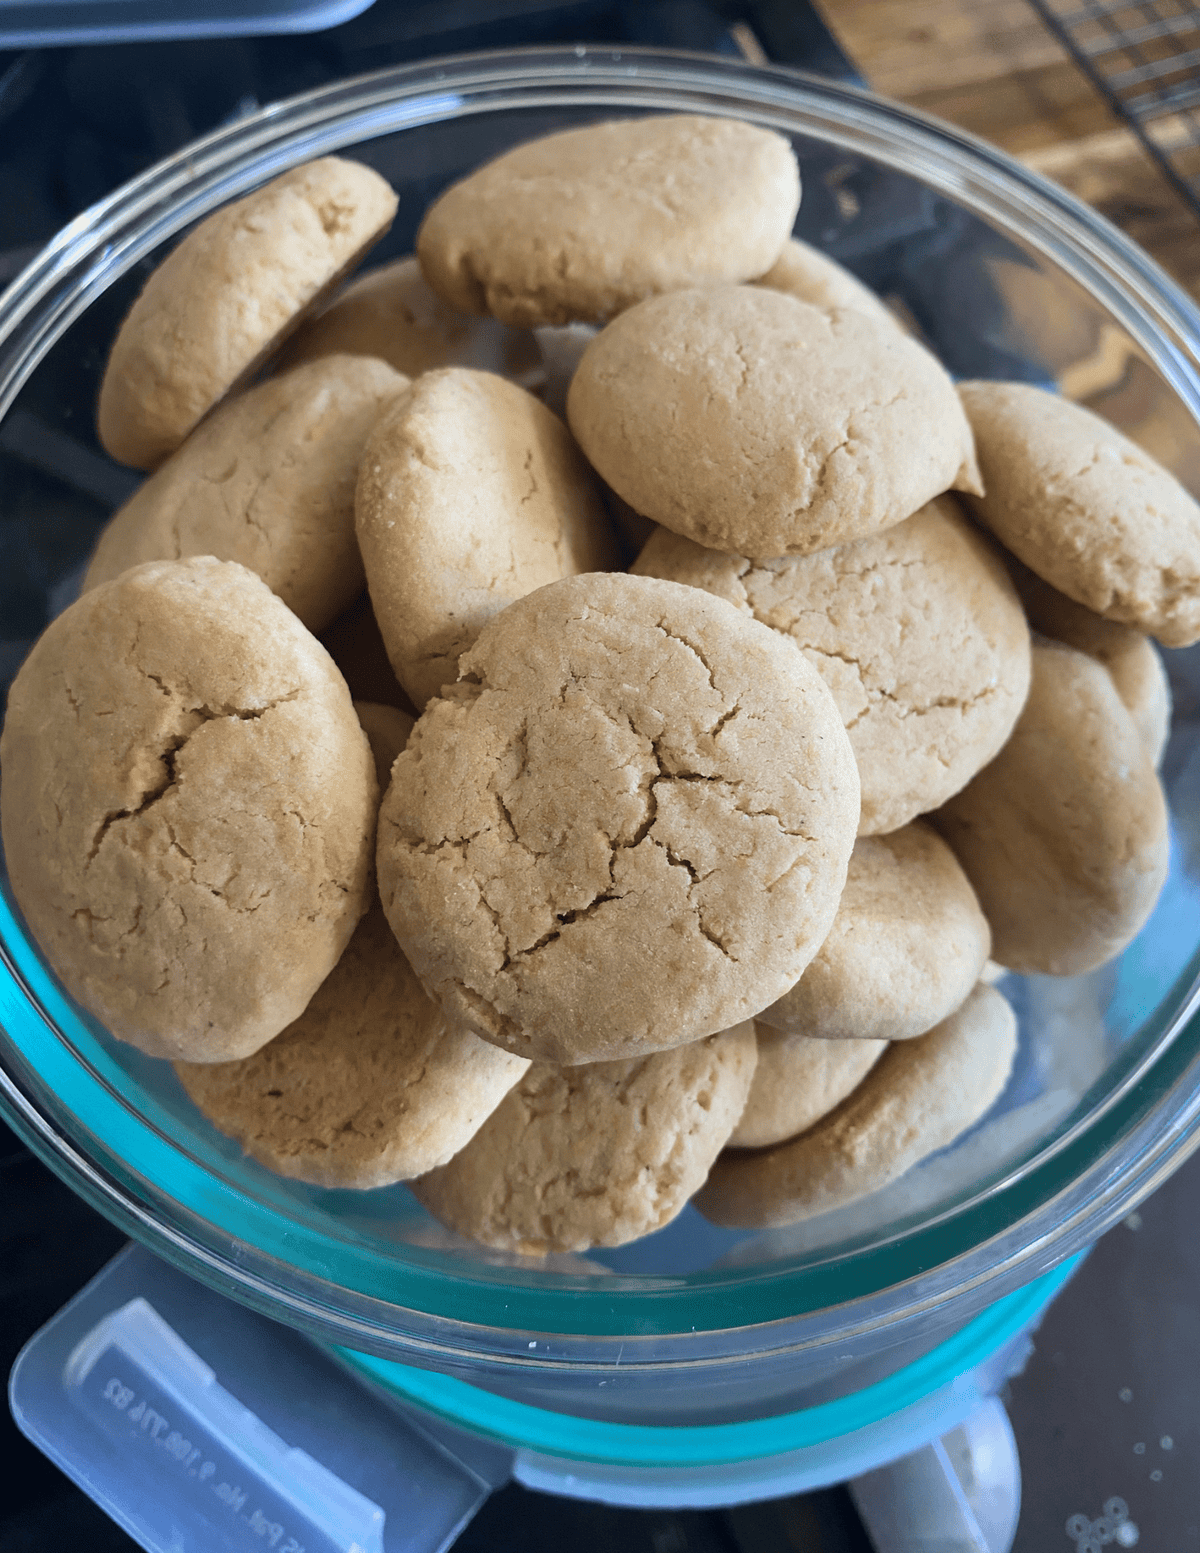
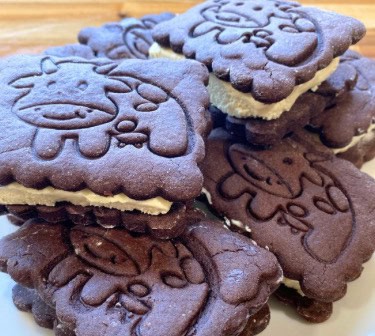
Turns out These gluten free Nilla wafers are so easy to make. They are crisp, lightly sweet, and full of real vanilla flavor—everything you want from the classic cookie, just without the gluten or artificial ingredients. If you’ve been missing that simple, nostalgic cookie that works in everything from banana pudding to pie crusts, this recipe brings it back the right way.
They bake up golden with that signature snap, hold their structure in layered desserts, and taste even better than store-bought versions. If you’ve made my gluten free graham crackers or chocolate cookie crumbles, this fits right into that same “base recipe” category—you make it once, and suddenly you can upgrade multiple desserts at home.
This post may contain affiliate links, please read our disclosure policy for details.
Why you’ll love these clean ingredient Copycat Nilla Wafers
- Crispy, classic texture with that signature snap
- Real vanilla flavor (no artificial aftertaste)
- Perfect for desserts like banana pudding or crusts
- Gluten free but tastes like the original
- Made with simple, clean ingredients
- Batch-friendly and freezer-friendly
Recipes You’ll Find Nilla Wafers In
- Raspberry Cheesecake Bites
- Key Lime Pie Crusts
- Banana Pudding
Ingredients
Please see recipe card at the bottom of this post for the full recipe details.
1. Gluten-Free One-to-One Flour
A high-quality gluten-free one to-one flour blend provides structure while keeping the cookies crisp, not crumbly. I prefer Bob’s Red Mill Gluten-Free 1-to-1 Baking Flour for this recipe because it produces consistent results and bakes evenly. Be sure to use a one-to-one blend that already contains xanthan gum. If you’d like to substitute this ingredient out completely, increase the Xanthan Gum within the recipe by 1/2 tsp.
2. Eggs
I’m a big fan of supporting local farmers and using farm fresh eggs. It’s also important if you’re navigating more anti-inflammatory foods to source pasture raised, non GMO, corn and soy free eggs. If you need to be egg free, my favorite egg replacer is Bob’s Red Mill Egg Replacer. I’ve used it within this recipe and it came out amazing!
3. Butter
Butter adds richness to the cookie flavor profile. Using a high-fat butter like Kerrygold works especially well here. If you need a dairy-free option, you can substitute a dairy-free butter alternative without issue.
4. Maple Syrup
Maple syrup helps balance the sweetness from the powdered sugar by provides natural sweetness while adding moisture and depth to the cookie.
5. Baking Powder
Baking powder gives the cookies just enough lift. I recommend using a corn-free and aluminum-free baking powder, which is easier on digestion and keeps the flavor clean. This is my go-to option for all gluten-free baking.
4. Powdered Sugar
Powdered sugar (also called confectioners sugar) creates smooth, fluffy cookies with that classic melt-in-your-mouth texture. For the cleanest option, look for organic or tapioca-based versions without cornstarch, or blend your own at home for a simple, from-scratch swap that keeps ingredients wholesome and allergy-friendly.
5. Salt
A small amount of salt balances the sweetness and enhances the chocolate flavor. Don’t skip it—it makes a noticeable difference.
6. Vanilla Extract
Vanilla extract rounds out the cookie flavor and adds warmth. Use a pure vanilla extract for the best results.
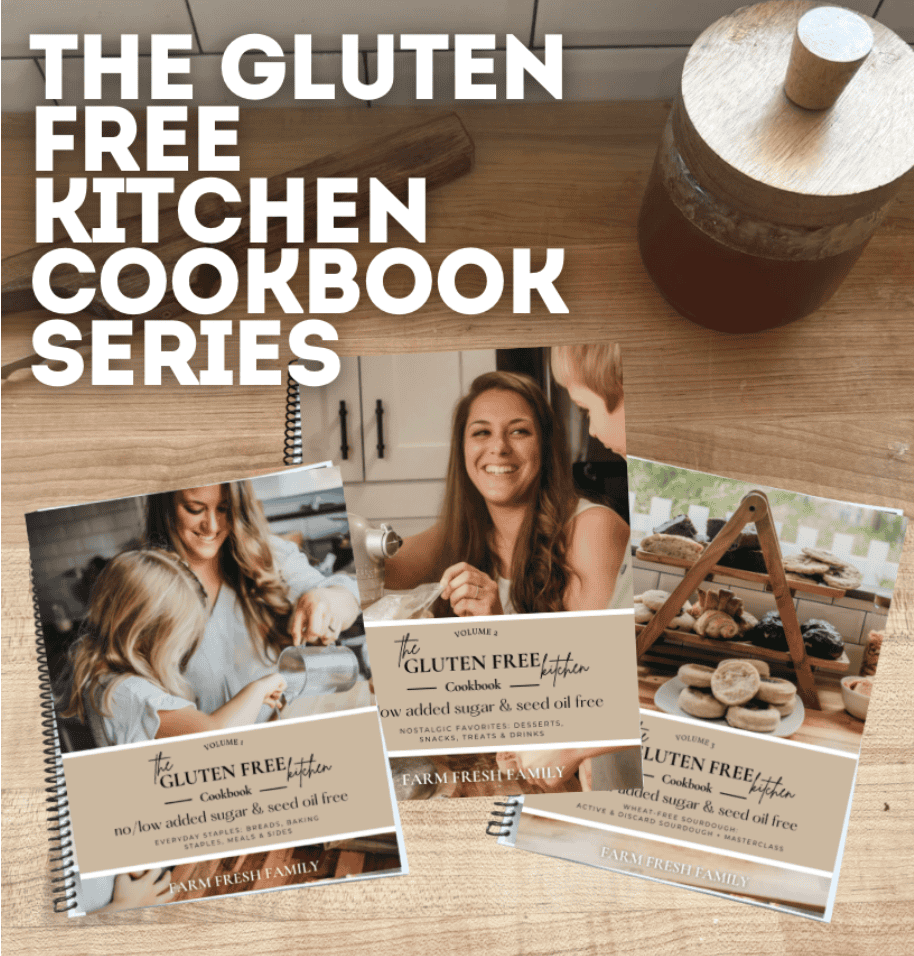
The Gluten Free Kitchen Cookbook Series
Healthy GLUTEN-FREE Recipes for Every Day LIFE
Your go-to cookbooks for all of the delicious & nutritious meals, sides, breads (yeast & sourdough), baking staples, snacks, desserts, drinks and more. With easy-to-follow instructions and beautiful step-by-step photography, every page invites you to explore nostalgic, healthy meals that make being gluten free a “get to” instead of a “have to”.
Whether you’re cooking for yourself or sharing with loved ones, The Gluten Free Kitchen Cookbook Series brings healthy living to your table every day.
Making the Nilla Wafers
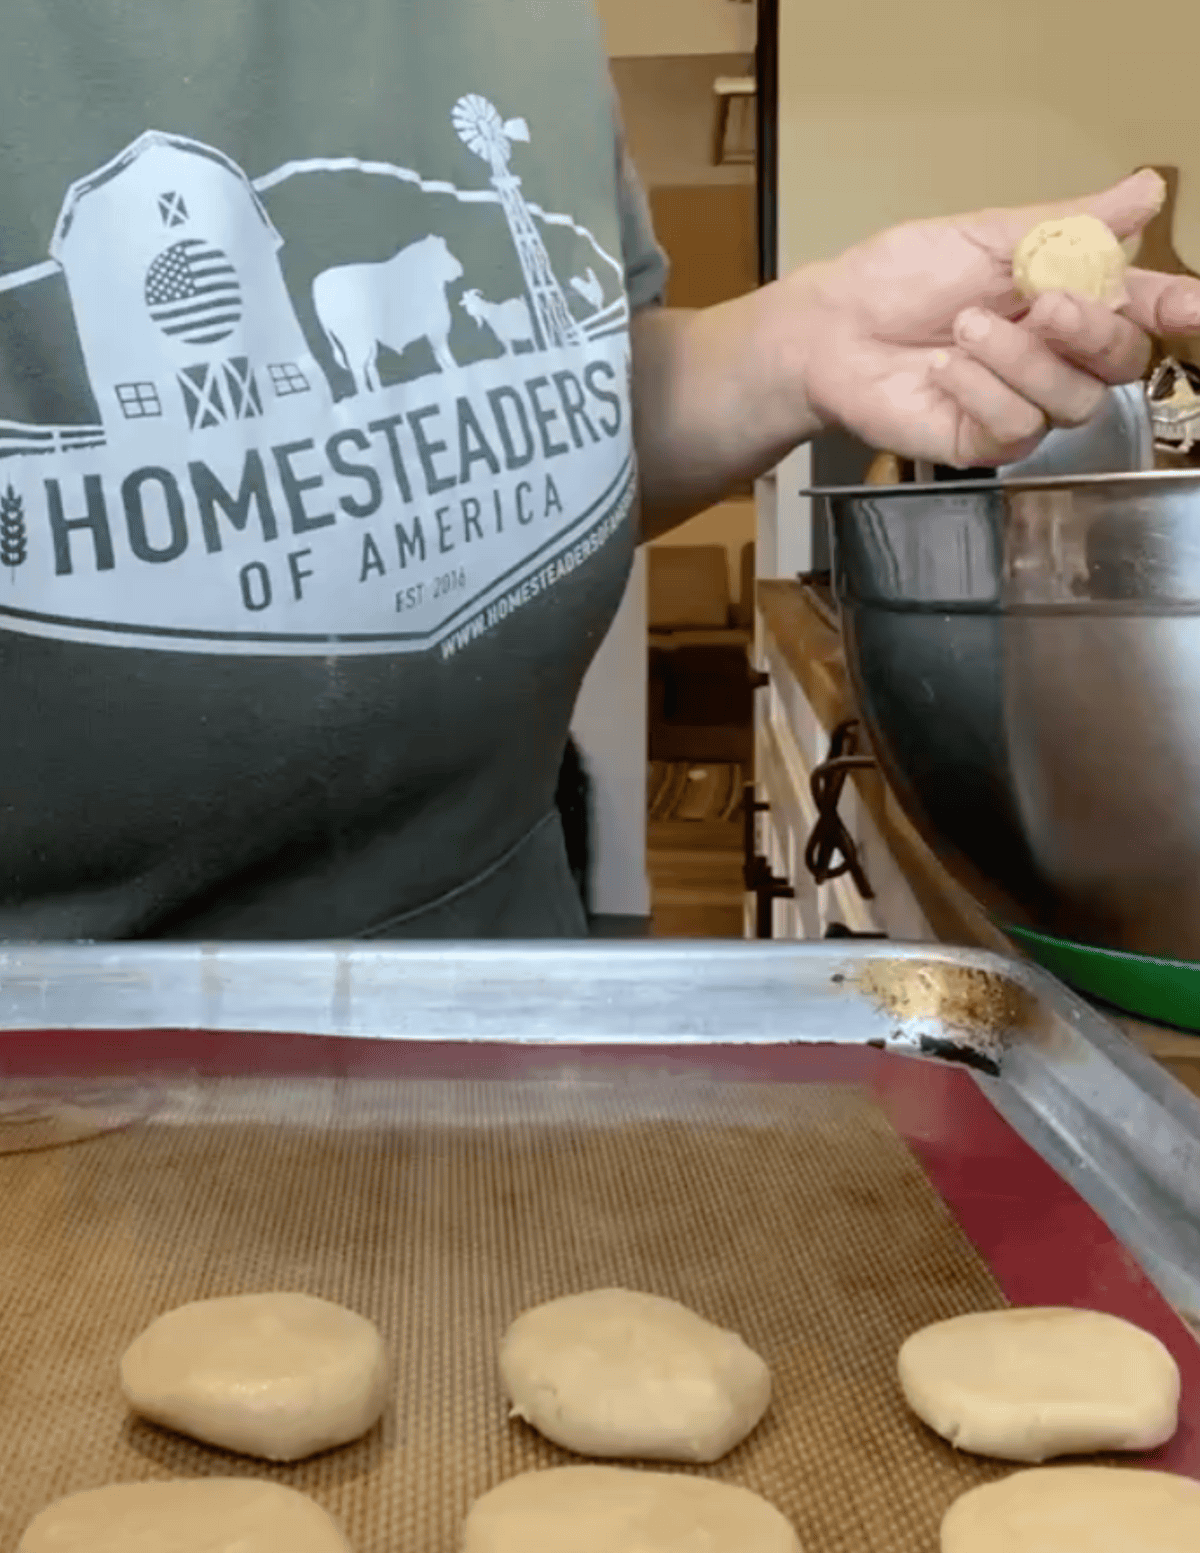
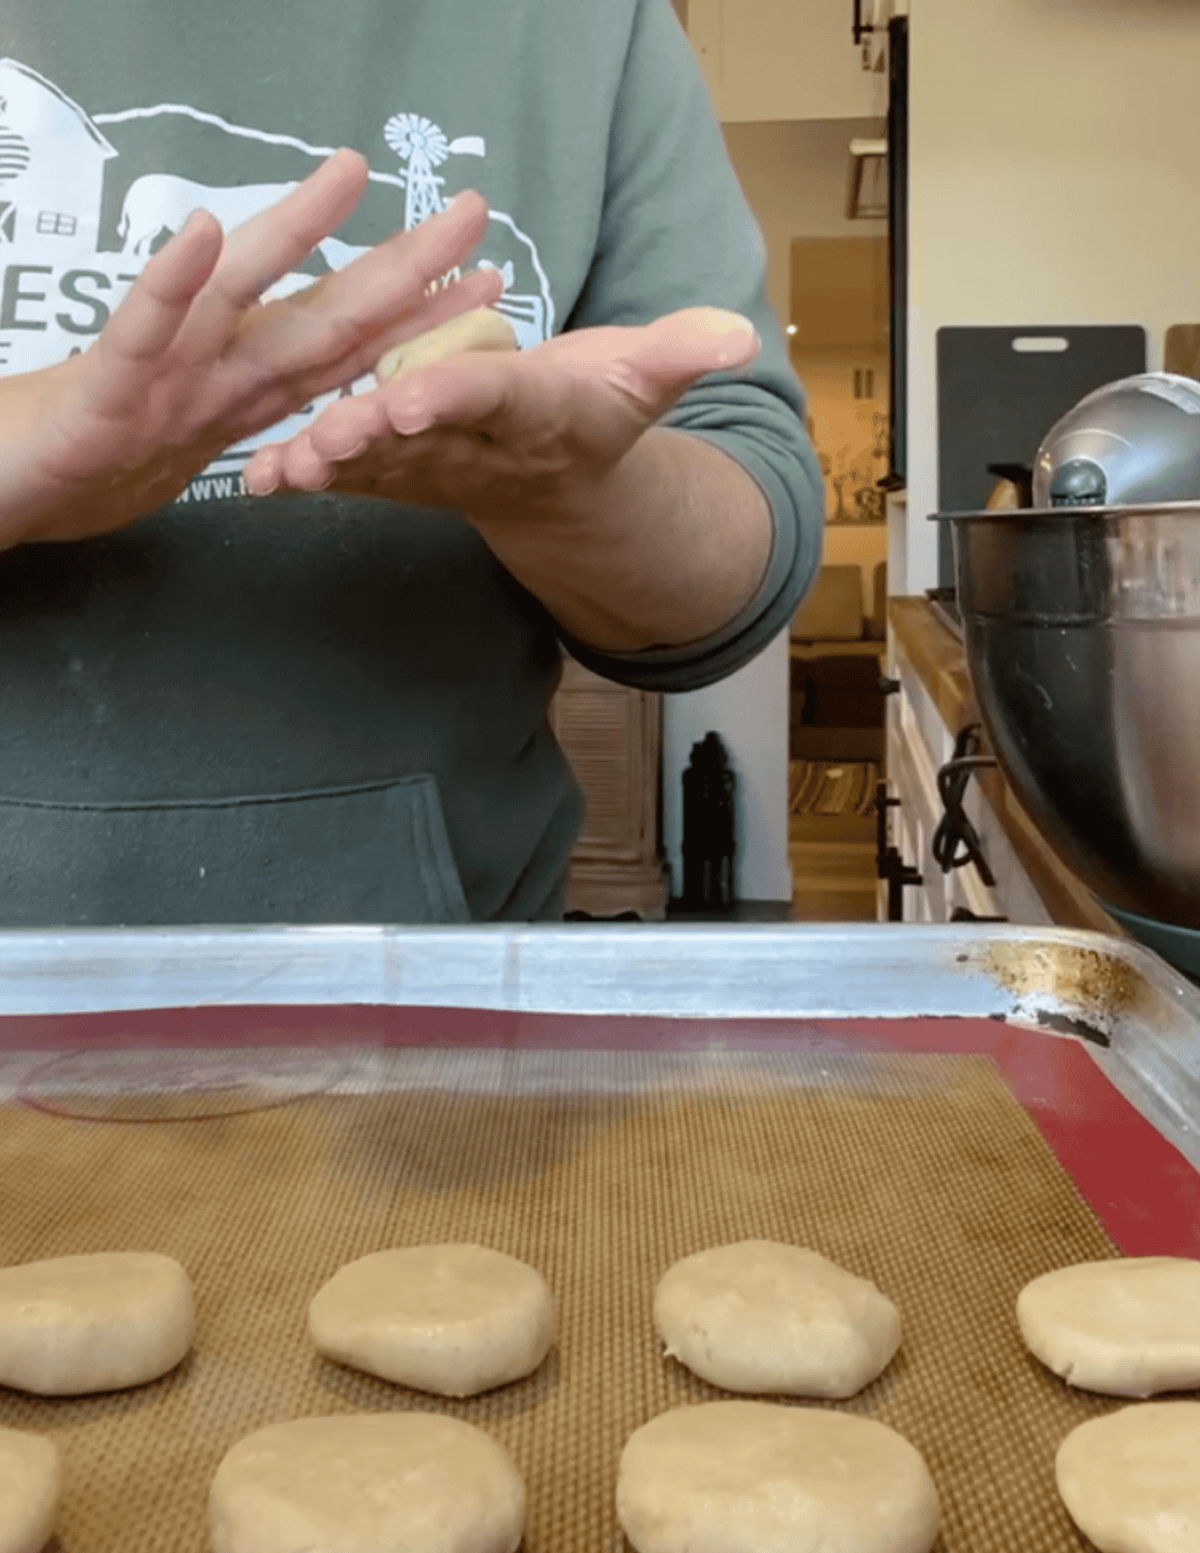
1. Once the dough is mixed, roll the dough into a small ball in your hands.
2. Use your palm and fingers to gently flatten and shape the cookie.
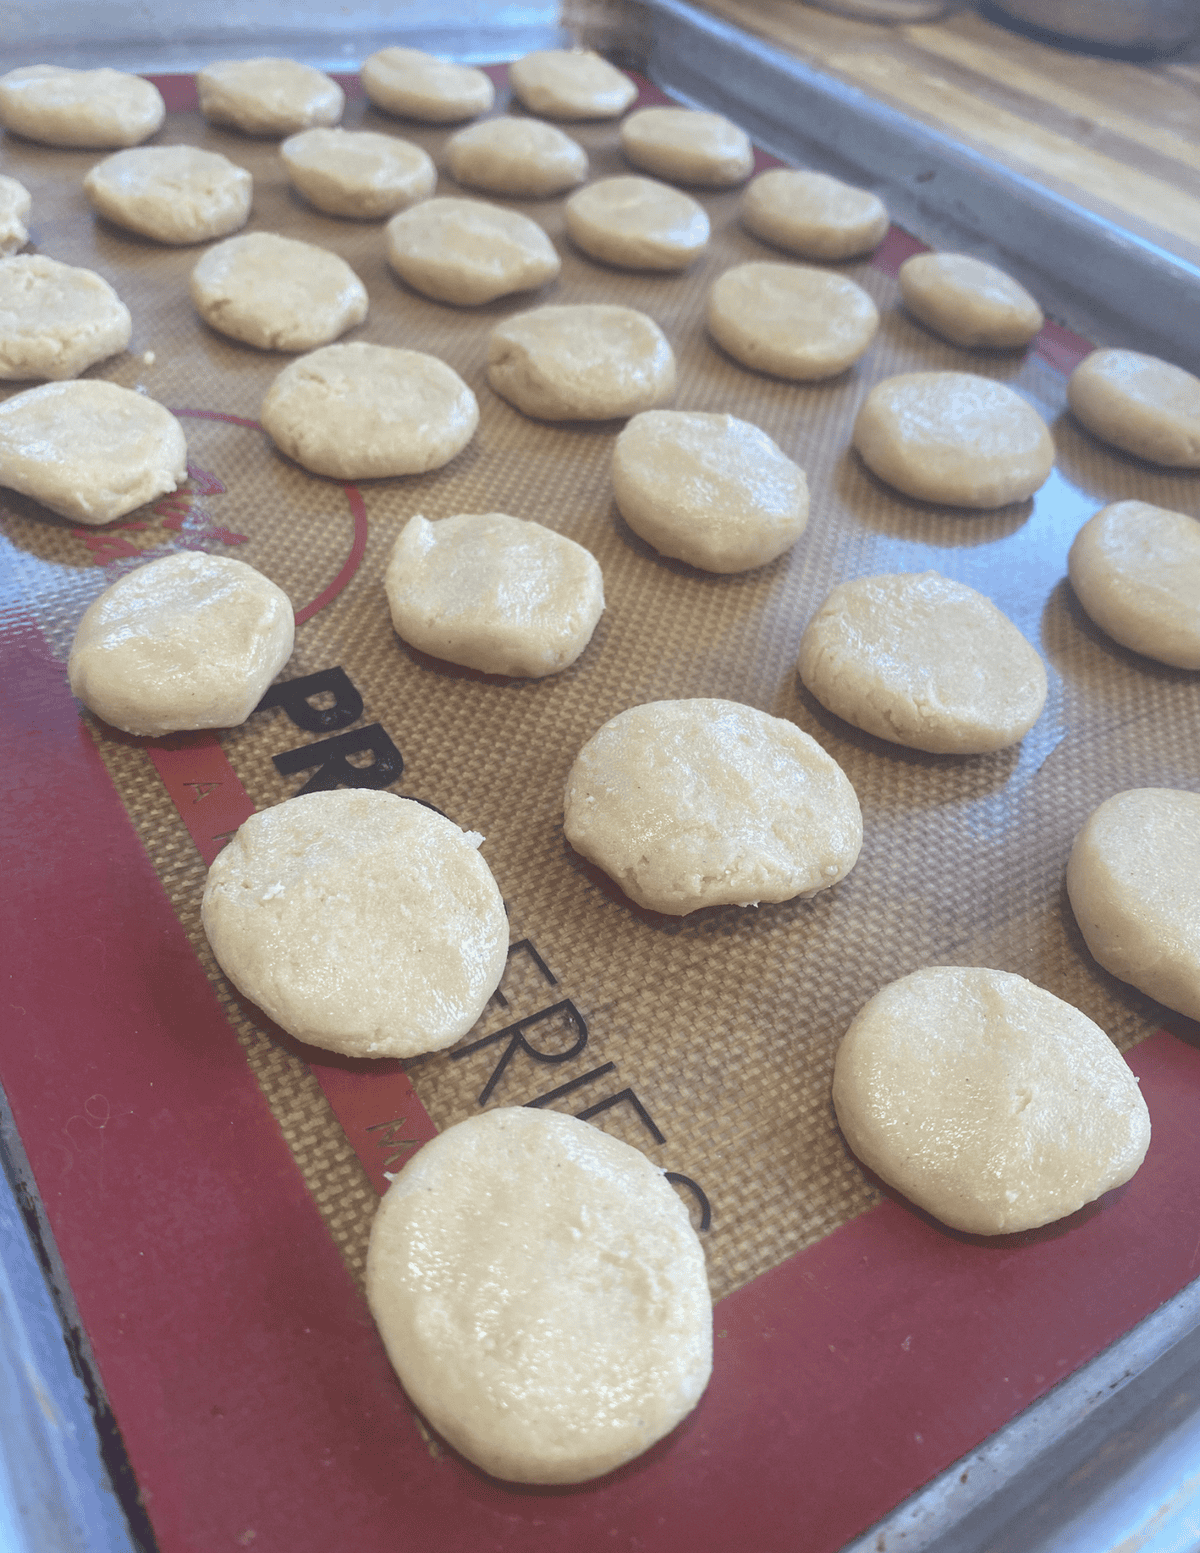
3. Once a full tray is lined with cookies, bake them at 350F for 15- 18 minutes (or longer if you want them to be crispier)
4. After they bake, place them on a cooling rack and then store in an airtight container on the counter or in the pantry.
Gluten Free Nilla Wafers (No Corn Syrup)
Ingredients
- 3 cup Gluten Free One-to-One Flour
- 2 tsp Baking Powder
- 1 tsp Salt
- 1/2 cup Powdered Sugar
- 3/4 cup Maple Syrup
- 1 Egg
- 2 tbsp Vanilla Extract
- 1 cup Butter
Instructions
- Preheat oven to 350°F. Mix all ingredients together until well combined.
- Scoop small amounts of dough into hands and form little circle shaped cookies. They will bake to the size you roll them to.
- Place the dough onto a baking sheet with a silicone mat.
- Note: silicone mats do increase bake time and make cookies less likely to burn.
- Bake for 15-18 minutes. The longer you cook them, the crispier they will get. Cookies will firm up a bit once they cool as well. Enjoy warm or wait until they cool. Store in an air tight container.
Additional Allergens/Suggested Modifications
- Dairy: Sub butter and chocolate chips for dairy free alternative
- Egg: Use egg replacer
This recipe is naturally free of: nuts, fish, crustacean shellfish, tree nuts, peanuts, wheat, soybeans, seed oils and sesame.
Recipe Tips
Bake until golden, not pale → this gives you that crisp texture
Let cookies cool completely to crisp up fully
Roll dough evenly so cookies bake at the same rateIf dough is sticky, chill briefly before rolling if the dough isn’t easy to work with.
For extra flavor, use high-quality vanilla extract or vanilla bean paste
Want extra crisp? Bake slightly longer at a lower temp to dry out
Storage Options:
- Room Temperature: Store in an airtight container for up to 2 weeks.
- Freezer: Freeze the pre-baked dough into small rolled and flattened cookie portions on a silicone mat lined baking sheet with a little separation in between. Once frozen, place the cookies in a gallon sized freezer bag. When ready to use, pop out and bake!
Recipe FAQs
If you love nostalgic candy recipes made with simple ingredients, check out more copycat treats inside Volume 2 (desserts & treats) of The Gluten Free Kitchen Cookbook Series.
Get on the List
Subscribe to Receive the Gluten Free Pantry Must Haves Ebook
Did you make this recipe?
We’d love to see! Tag @farmfreshfamily on Instagram!

Love this recipe! So easy to follow and they turned out great!