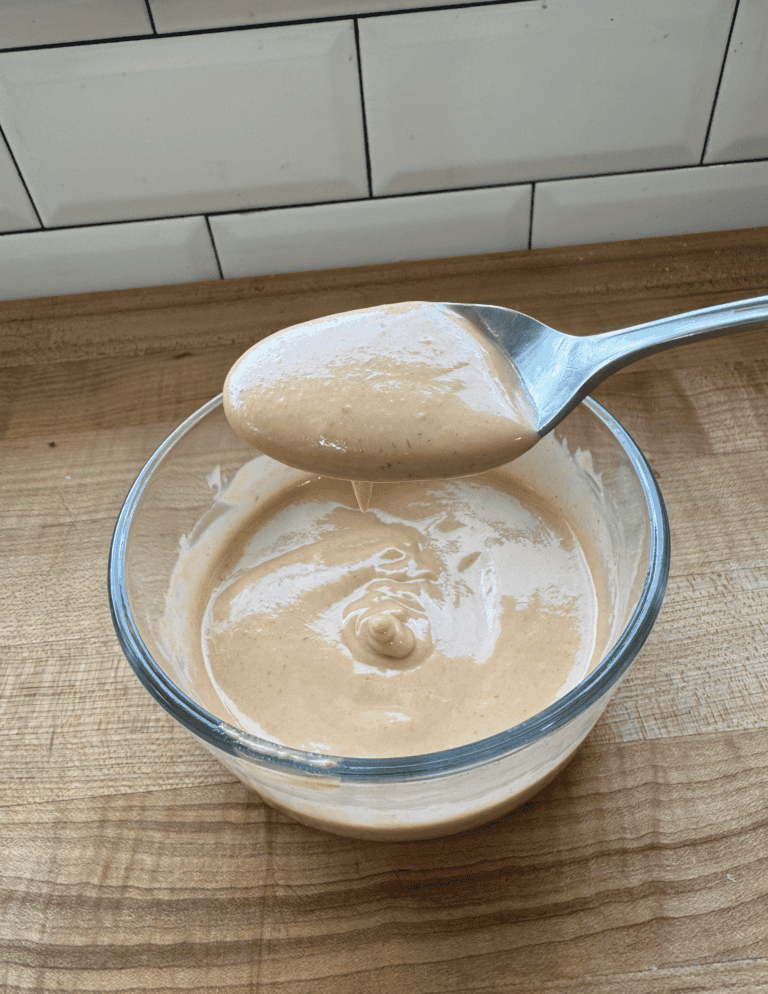
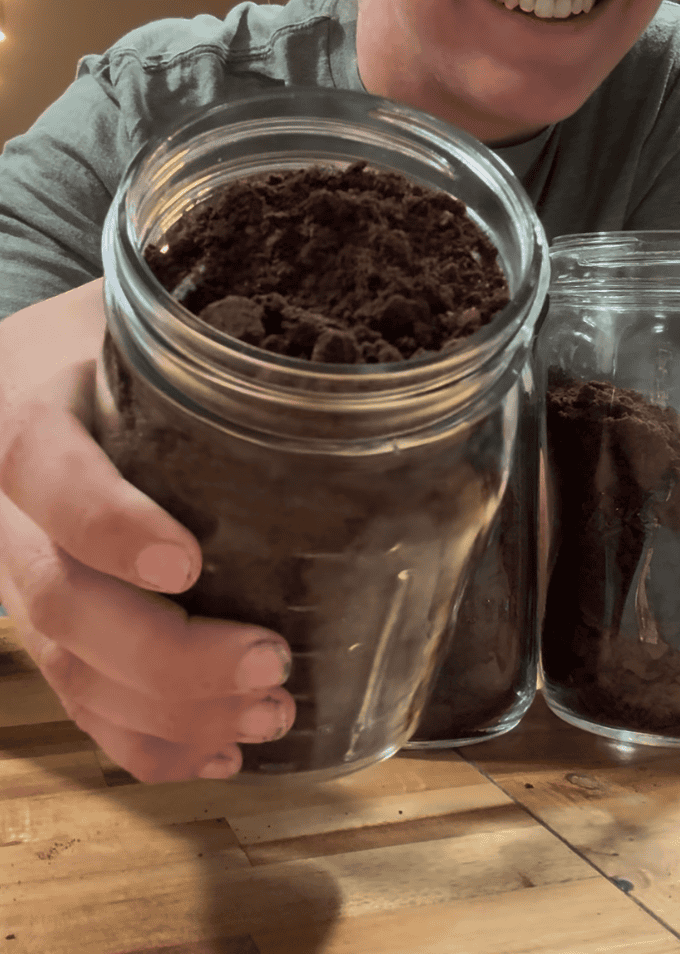
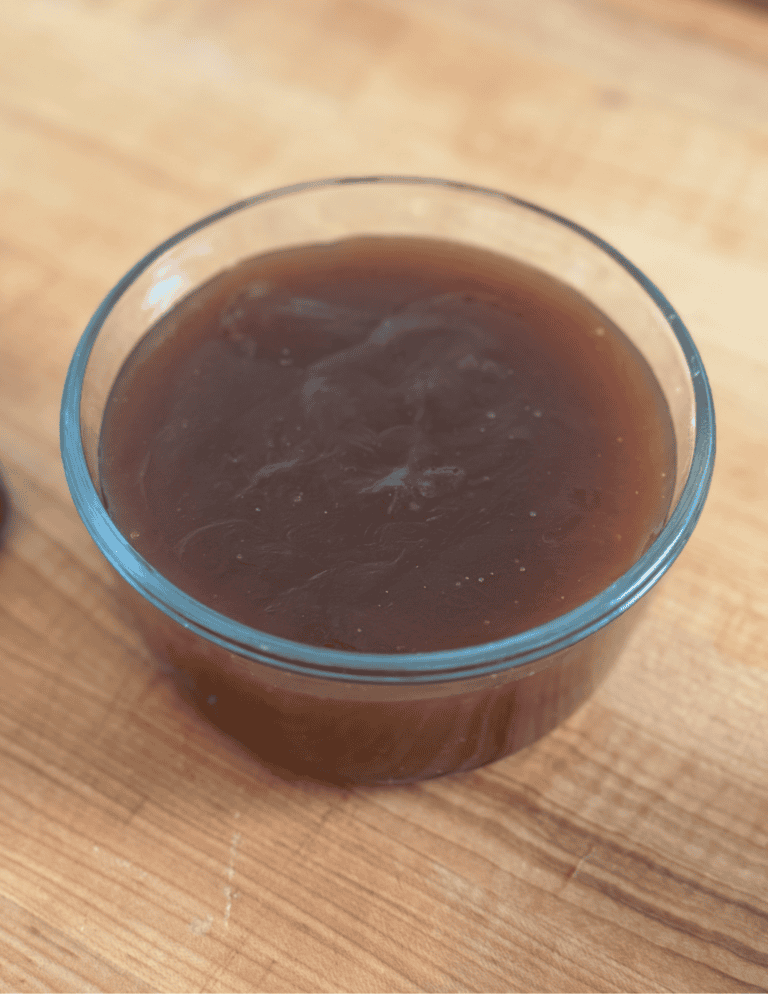
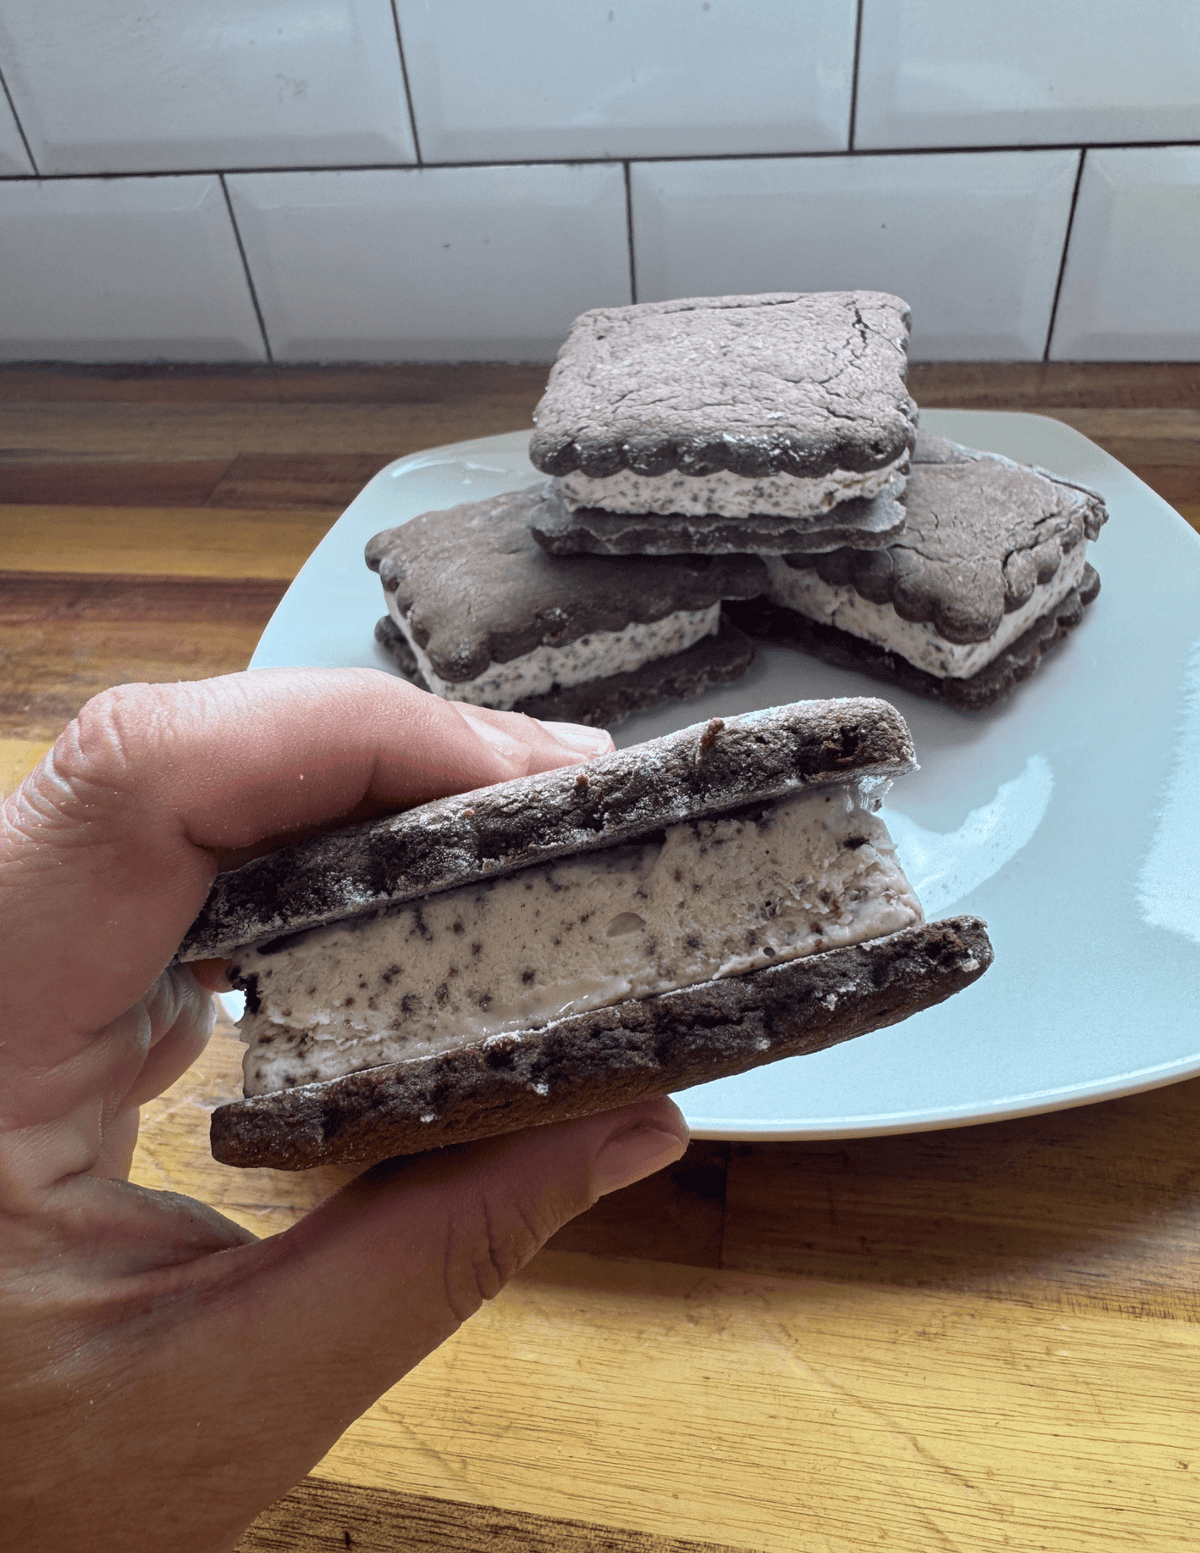
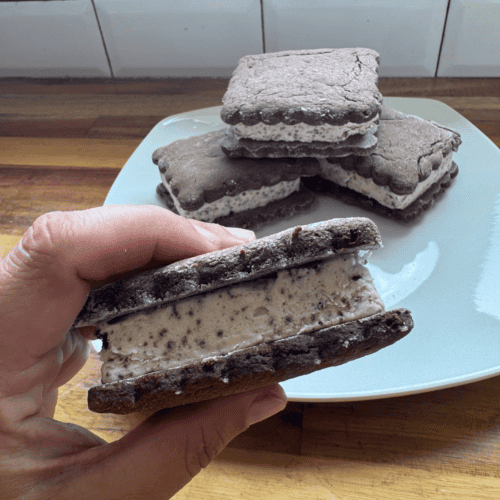
These cookies and cream ice cream sandwiches are soft, chewy, and packed with that classic cookies-and-cream flavor—two chocolate cookies sandwiching a creamy, cookie-loaded ice cream center. If you’ve ever had store-bought ice cream sandwiches that are overly sweet or full of artificial ingredients, this homemade version gives you the same nostalgic feel with real, simple ingredients.
The cookies stay soft even when frozen, and the filling is rich, creamy, and full of cookie crumbles in every bite. If you’ve made my cookies and cream filling, ice cream pops, or chocolate cookies, this is the ultimate way to bring all of those together into one high-impact dessert.
This post may contain affiliate links, please read our disclosure policy for details.
Why You’ll Love These Ice Cream Sandwiches
Recipe Variations to Try
- Vanilla Ice Cream Sandwiches
- Chocolate Chip Cookies Ice Cream Sandwiches
- S’Mores Ice Cream Sandwiches
- Coffee Ice Cream Sandwiches
Ingredients
1. Gluten-Free One-to-One Flour
A high-quality gluten-free one to-one flour blend provides structure while keeping the cookies crisp, not crumbly. I prefer Bob’s Red Mill Gluten-Free 1-to-1 Baking Flour for this recipe because it produces consistent results and bakes evenly. Be sure to use a one-to-one blend that already contains xanthan gum.
2. Unsweetened Cocoa Powder
Unsweetened cocoa powder gives these cookies their rich chocolate flavor without adding excess sweetness. For best results, sift the cocoa powder before mixing to remove any clumps. This ensures a smooth dough and even chocolate distribution. A high-quality cocoa powder makes a big difference in both color and depth of flavor.
3. Butter
Butter adds richness and helps create a crisp yet tender texture in the cookies. Using a high-fat butter like Kerrygold works especially well here. If you need a dairy-free option, you can substitute a dairy-free butter alternative without issue.
4. Baking Soda
Baking soda acts as a leavening agent that creates a soft, slightly fluffy and chewy texture. Be mindful of which baking soda you use as many contain unnecessary ingredients. I prefer to use this brand.
5. Baking Powder
Baking powder gives the cookies just enough lift without making them cakey. I recommend using a corn-free and aluminum-free baking powder, which is easier on digestion and keeps the flavor clean. This is my go-to option for all gluten-free baking.
6. Salt
A small amount of salt balances the sweetness and enhances the chocolate flavor. Don’t skip it—it makes a noticeable difference.
7. Maple Syrup
Maple syrup provides natural sweetness while adding moisture and depth to the cookie dough. It also helps create a smooth, cohesive texture without refined syrups.
8. Vanilla Extract
Vanilla extract rounds out the chocolate flavor and adds warmth. Use a pure vanilla extract for the best results.
9. Raw Cream
Raw Cream is the cream skimmed off the top of raw milk. It is rich, thick and creamy and makes for a fluffier filling option. If you are unable to source raw milk or prefer not to drink it, you can sub raw cream for heavy whipping cream or milk within this recipe.
10. Sweetened Condensed Milk
Sweetened condensed milk plays a key role in creating smooth, creamy ice cream without the need for an ice cream machine. It acts as both a sweetener and a texture stabilizer, helping the ice cream freeze properly while staying soft and scoop-able.
11. Cookie Crumbles
These cookie crumbles really elevate the base layer of this chocolate crust and it is 100% refined sugar free.
Additional Allergens/Suggested Modifications
- Dairy: Use a dairy-free butter, sweetened condensed milk, and cream.
This recipe is naturally free of: eggs, nuts, fish, crustacean shellfish, tree nuts, peanuts, wheat, soybeans, seed oils, and sesame.
“My kids loved going through the desserts in the GF cookbook. An absolute favorite are the ice cream sandwiches. They are always asking when we can make another batch!.”
How to Make Delicious Gluten Free Ice Cream Sandwiches
Please see recipe card at the bottom of this post for the full recipe details.

1. Whip up filling ingredients and place into silicone ice cream sandwich mold.
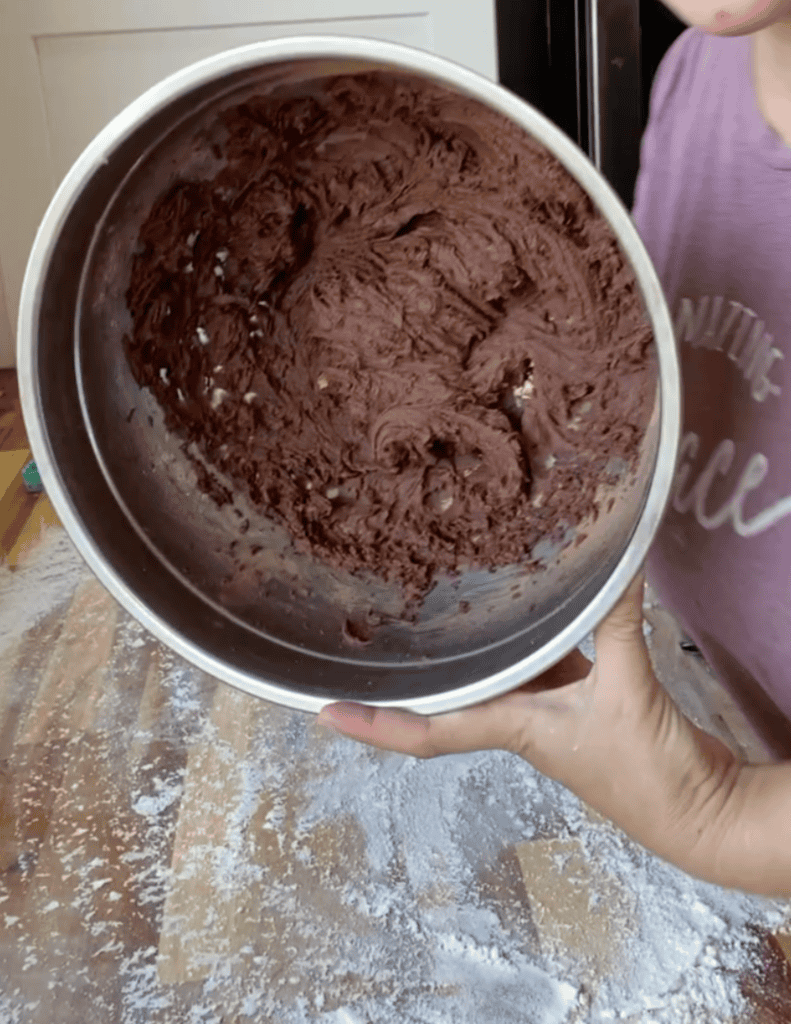
2. Combine all cookie batter ingredients and place it in the refrigerator to make it easier to work with.


3. Flour your surface and roll the dough thin. Instead of using flour as pictured, use cocoa powder.
4. Use a cookie cutter to cut the ice cream sandwich cookies out.
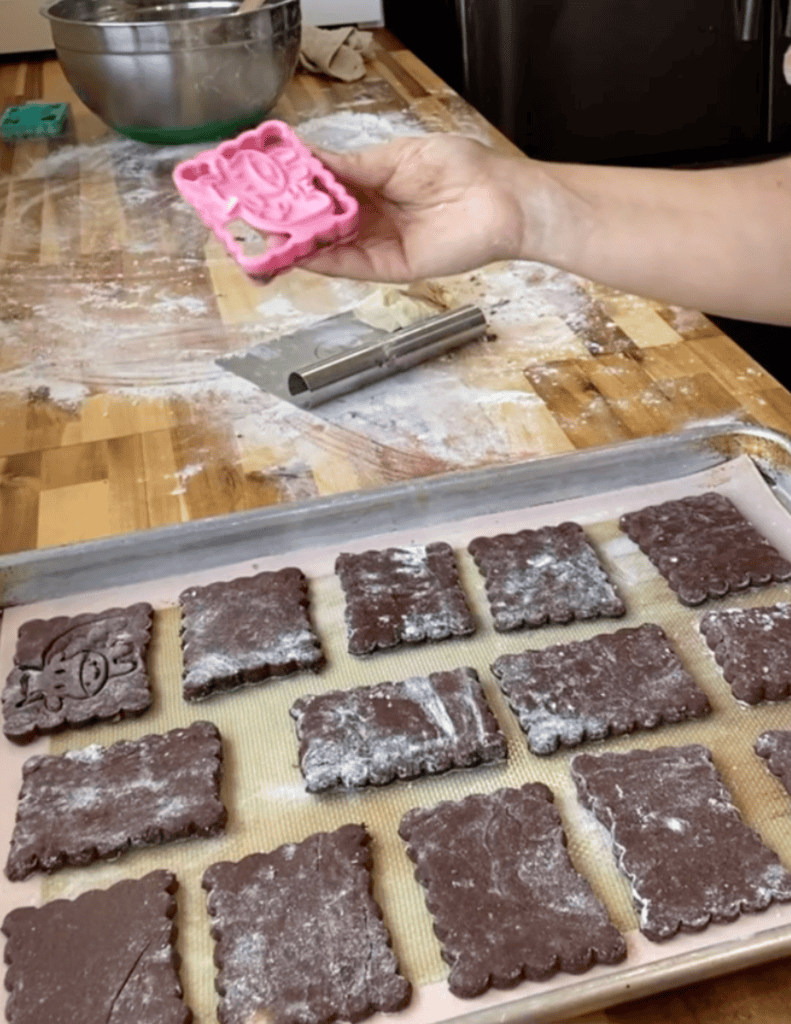
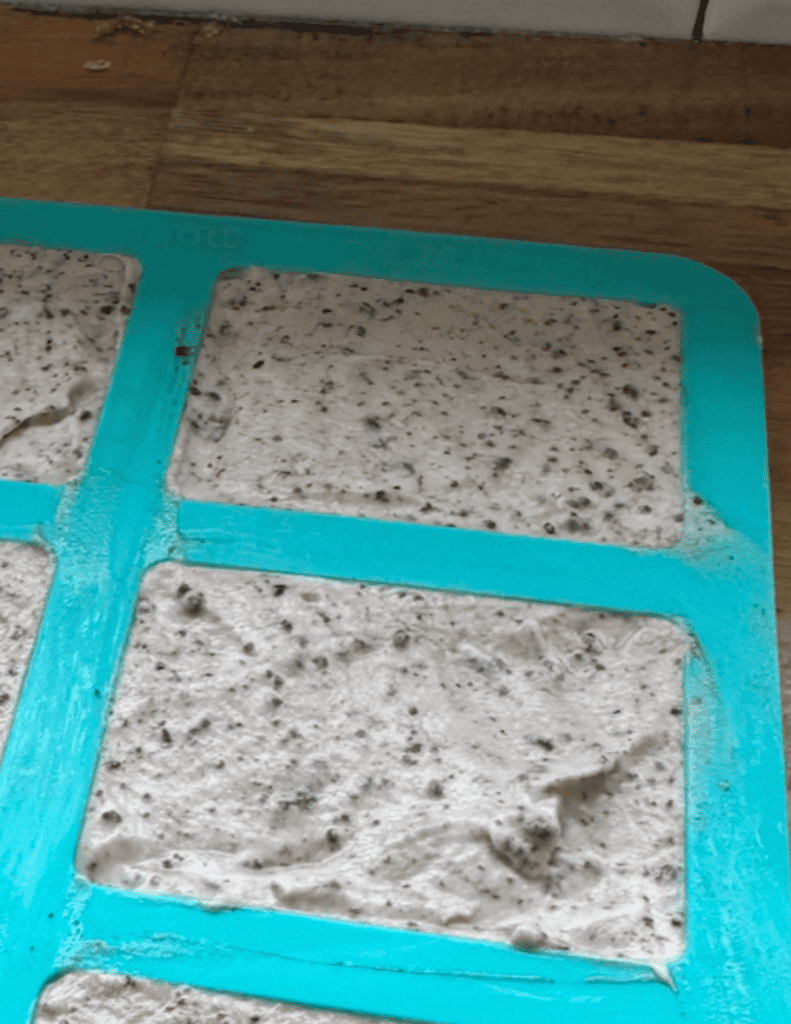
5. If you have this cookie cutter set, use the stamp at this point to add character to the tops.
6. Pop the frozen ice cream slabs out.
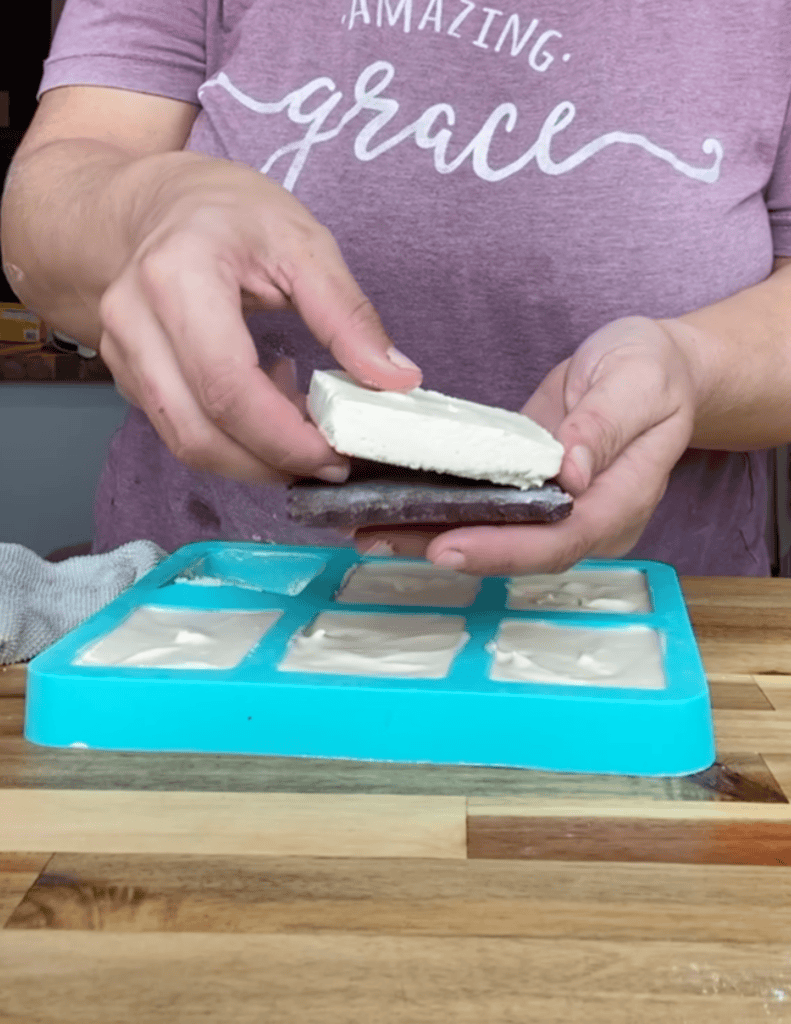

7. Assemble ice cream sandwich.
8. Enjoy!
Gluten Free Cookies & Cream Ice Cream Sandwiches
Ingredients
Cookie Shell
- 1 cup Gluten Free Flour One-to-One
- ½ cup Unsweetened Cocoa Powder
- ¼ cup Butter Softened
- ½ tsp Baking Soda
- 2 tsp Baking Powder
- ½ tsp Salt
- ¾ cup Maple Syrup
- ½ tsp Vanilla Extract
Filling
- 1 cup Raw Cream
- ¾ cup Sweetened Condensed Milk
- 2 tsp Vanilla Extract
- 1 cup Cookie Crumble
Instructions
- Preheat oven to 375°F. Mix all ingredients together in one bowl and combine well.
- Place bowl in the fridge for 20 minutes.
- Remove bowl from the fridge and flour your surface generously, the dough will be very sticky.
- Form the dough into a ball with your hands and roll it to the desired thickness.
- Use the cookie cutter to cut out the sandwich shapes and place them on a cookie sheet with a silicone mat on top.
- Bake cookies for 8-10 minutes. Allow them to rest for 5 minutes before moving them to a cooling rack. They will be softer and can break when fresh out of the oven.
- Place cookies in the freezer for an hour and then fill them with the filling and freeze for 30 minutes.
Proofing Hacks/Tips
Let cookies cool completely before assembling to keep the cookies from cracking and keep the ice cream filling from melting.
Press gently when assembling to avoid cracking the cookies.
Freeze after assembling for at least 2–4 hours to set the ice cream.
Wrap individually in parchment paper for storage or store in an airtight glass storage container to keep them fresh and prevent freezer burn.
Prep/Storage Options:
- Pre–prep: Both the cookie dough and the filling can be prepared ahead of time and stored in the freezer.
- Storage: Once the Ice Cream Sandwiches are assembled, either wrap them in parchment paper or store them in an airtight container in the freezer.
Recipe FAQs
Get on the List
Subscribe to Receive the Gluten Free Pantry Must Haves Ebook

Did you make this recipe?
We’d love to see! Tag @farmfreshfamily on Instagram!