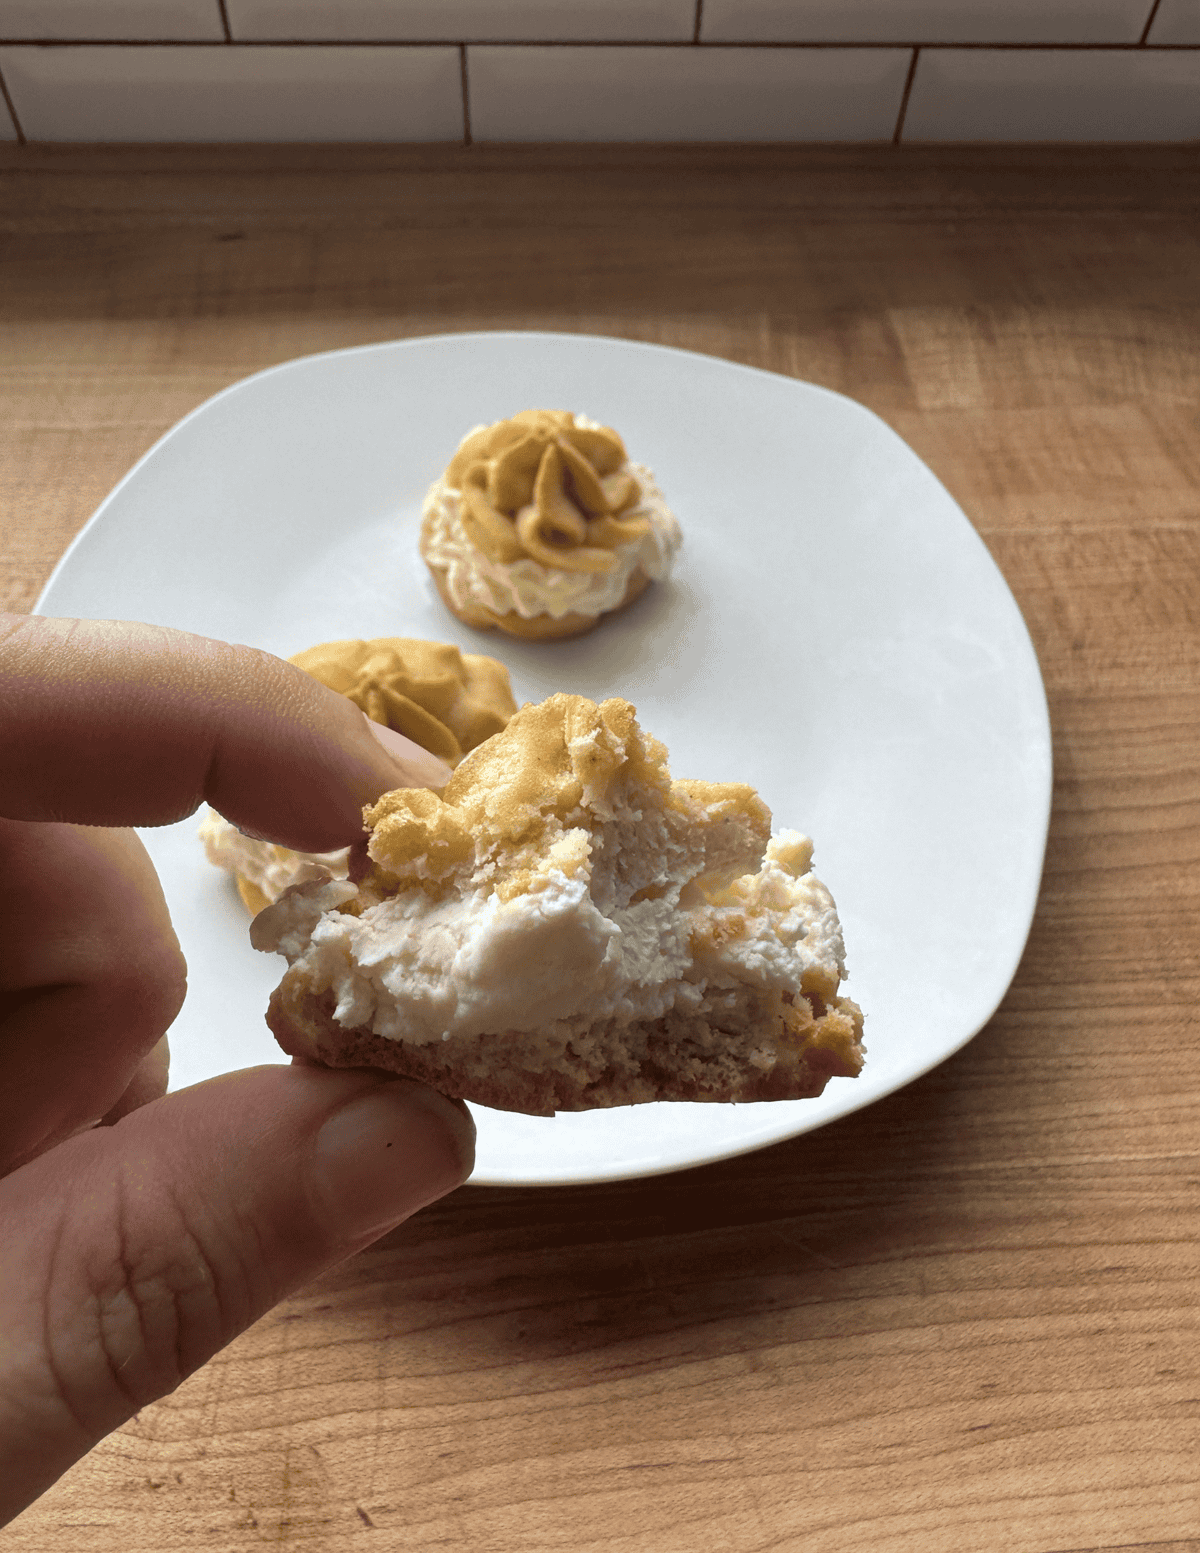
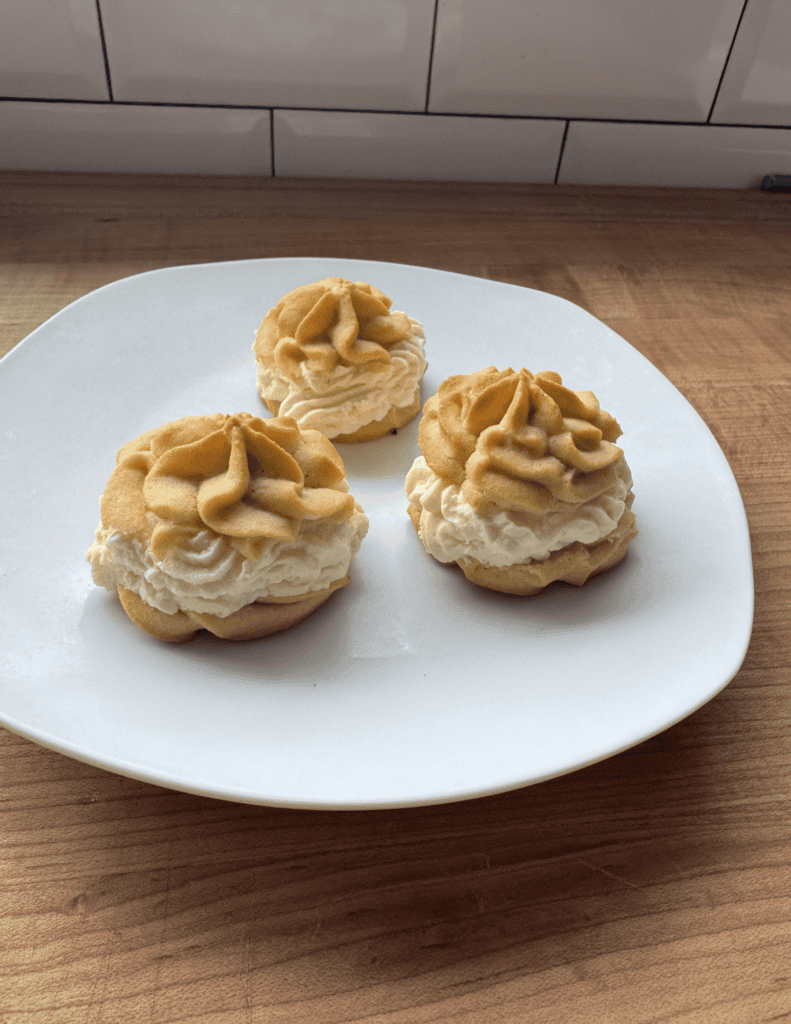
Being gluten free often means missing out on nostalgic favorites, but not here. These gluten free cream puffs are light, airy, and hollow inside—ready to be filled with soft, fluffy Chantilly cream and dusted with powdered sugar.
They bake up golden, slightly crisp, and soft inside, giving you that classic bakery-style result without the gluten or complicated ingredients. If you’ve made my gluten free French crullers or chocolate éclairs, this uses that same dough base but turns it into a simple, versatile dessert you can fill however you want.
This post may contain affiliate links, please read our disclosure policy for details.
Why You’ll Love These Cream Puffs
- Light, airy texture with hollow centers
- Crispy outside + soft inside
- Perfect for filling with cream, custard, or chocolate
- Gluten free but bakery-quality results
- Simple ingredients, impressive outcome
- Great for special occasions or everyday treats
Ingredients
Please see recipe card at the bottom of this post for the full recipe details.
1. Butter
Butter adds richness to the dough. Using a high-fat butter like Kerrygold works especially well here. If you need a dairy-free option, you can substitute a dairy-free butter alternative without issue.
2. Salt
A small amount of salt balances the sweetness and enhances the dough flavor. Don’t skip it—it makes a noticeable difference.
3. Baking Powder
Baking powder gives the puffs just enough lift without making them cakey. I recommend using a corn-free and aluminum-free baking powder, which is easier on digestion and keeps the flavor clean. This is my go-to option for all gluten-free baking.
4. Gluten-Free One-to-One Flour
A high-quality gluten-free one to-one flour blend provides structure while keeping the dough crisp, not crumbly. I prefer Bob’s Red Mill Gluten-Free 1-to-1 Baking Flour for this recipe because it produces consistent results and bakes evenly. Be sure to use a one-to-one blend that already contains xanthan gum.
5. Eggs
I’m a big fan of supporting local farmers and using farm fresh eggs. It’s also important if you’re navigating more anti-inflammatory foods to source pasture raised, non GMO, corn and soy free eggs. If you need to be egg free, my favorite egg replacer is Bob’s Red Mill Egg Replacer. I’ve used it within this recipe and it came out amazing!
6. Coconut Flour
Coconut Flour is a naturally gluten-free, fiber-rich flour made from finely ground dried coconut—light, absorbent, and subtly sweet. It works beautifully in baked goods, adding softness and structure while keeping recipes wholesome and nourishing.
7. Chantilly Cream
Light and fluffy cream that holds its structure and pairs perfectly with these puffs. It’s simple to make and stores well in the refrigerator.
The Gluten Free Kitchen Cookbook Series
Healthy GLUTEN-FREE Recipes for Every Day LIFE
Your go-to cookbooks for all of the delicious & nutritious meals, sides, breads (yeast & sourdough), baking staples, snacks, desserts, drinks and more. With easy-to-follow instructions and beautiful step-by-step photography, every page invites you to explore nostalgic, healthy meals that make being gluten free a “get to” instead of a “have to”.
Whether you’re cooking for yourself or sharing with loved ones, The Gluten Free Kitchen Cookbook Series brings healthy living to your table every day.
Helpful Tools & Gadgets
Shop The Tools
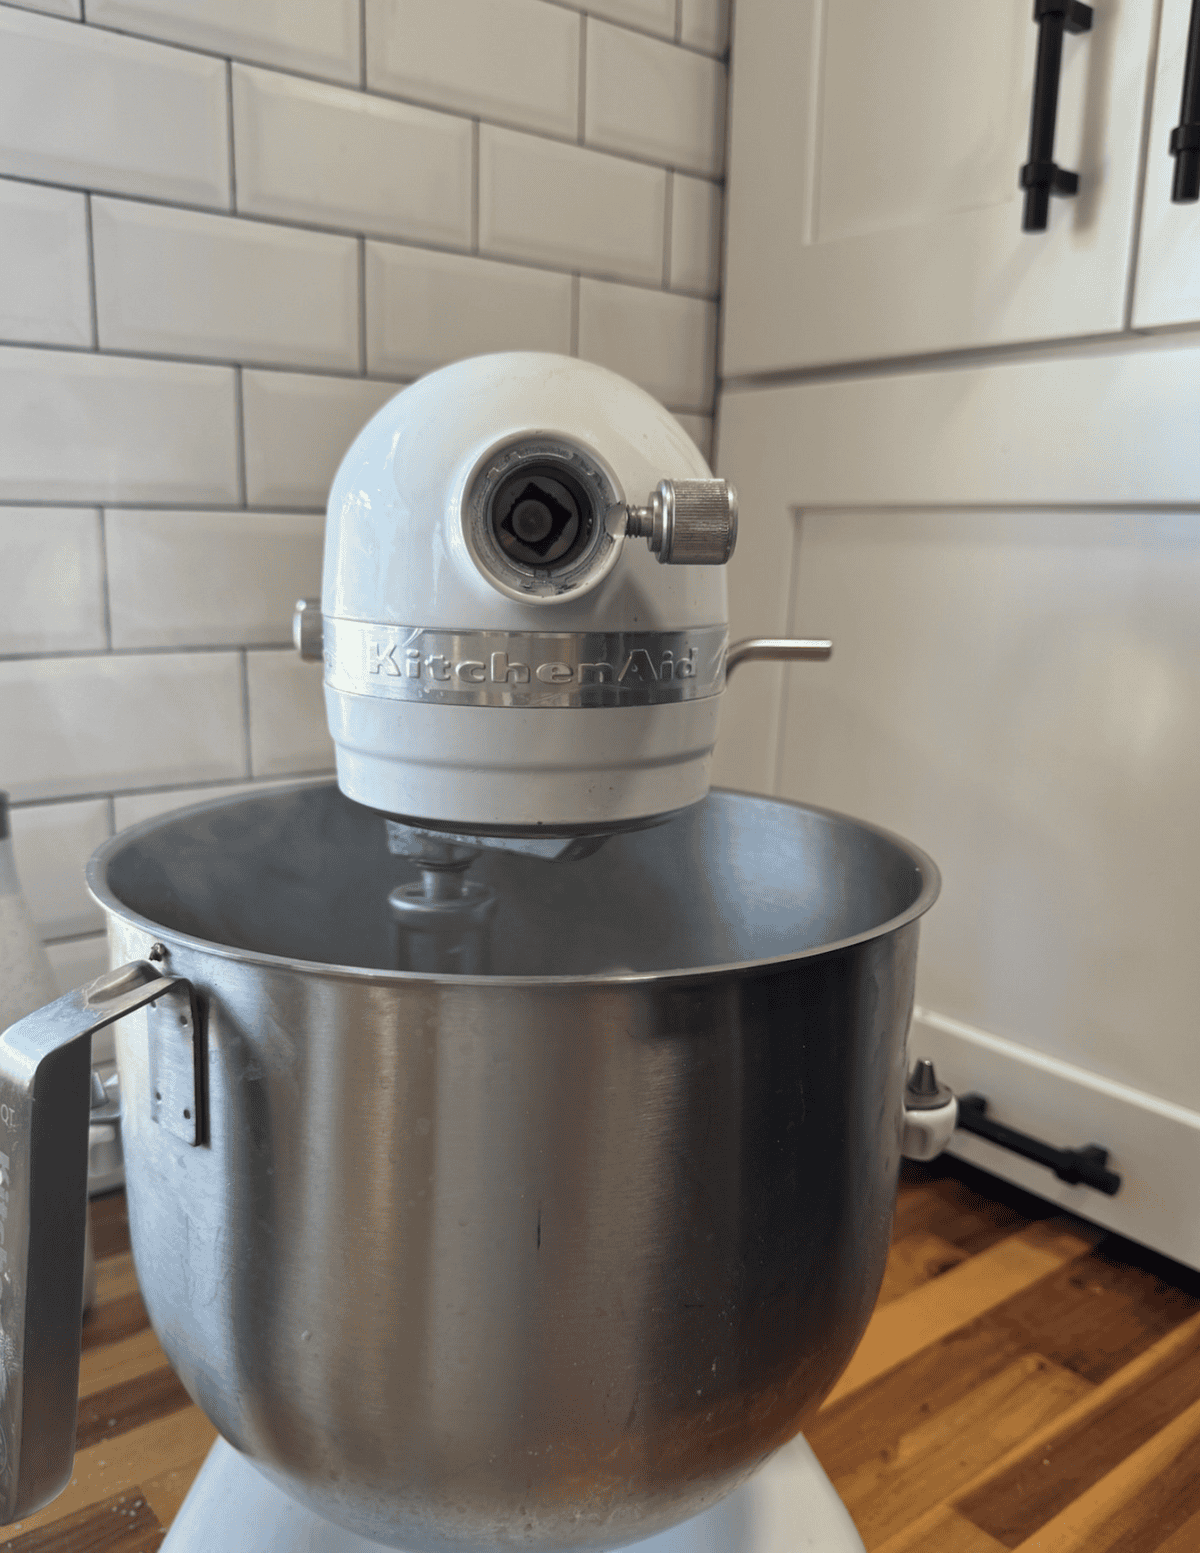
u003ca href=u0022https://a.co/d/0ece2E1Mu0022u003eKitchenaid Mixeru003c/au003e 
u003ca href=u0022https://a.co/d/0dx964i5u0022u003eBaseu003c/au003e 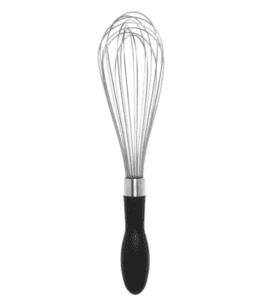
u003ca href=u0022https://a.co/d/07BfQb4wu0022u003eWhisku003c/au003e 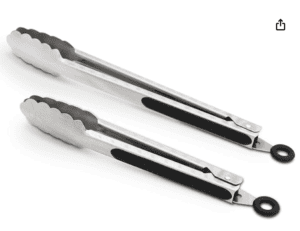
u003ca href=u0022https://a.co/d/03BkeOqau0022u003eTongsu003c/au003e 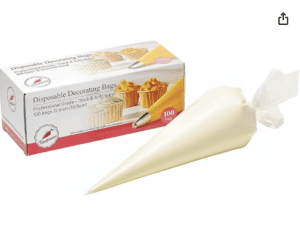
u003ca href=u0022https://a.co/d/00LOmBQfu0022u003ePiping Bagsu003c/au003e 
Close-up of fresh, handmade dough prepared for baking at Farm Fresh Family. 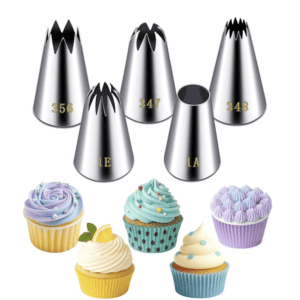
Farm Fresh Family logo displayed on a white cloth, emphasizing farm-to-table freshness and quality.
No special tools? Here’s how to make it work:
No piping bag → use a gallon sized plastic bag with the corner cut off
No piping tip → spoon small mounds onto the pan
No mixer → mix by hand with heat gloves on (takes more effort)
Making the Gluten Free Cream Puff Dough
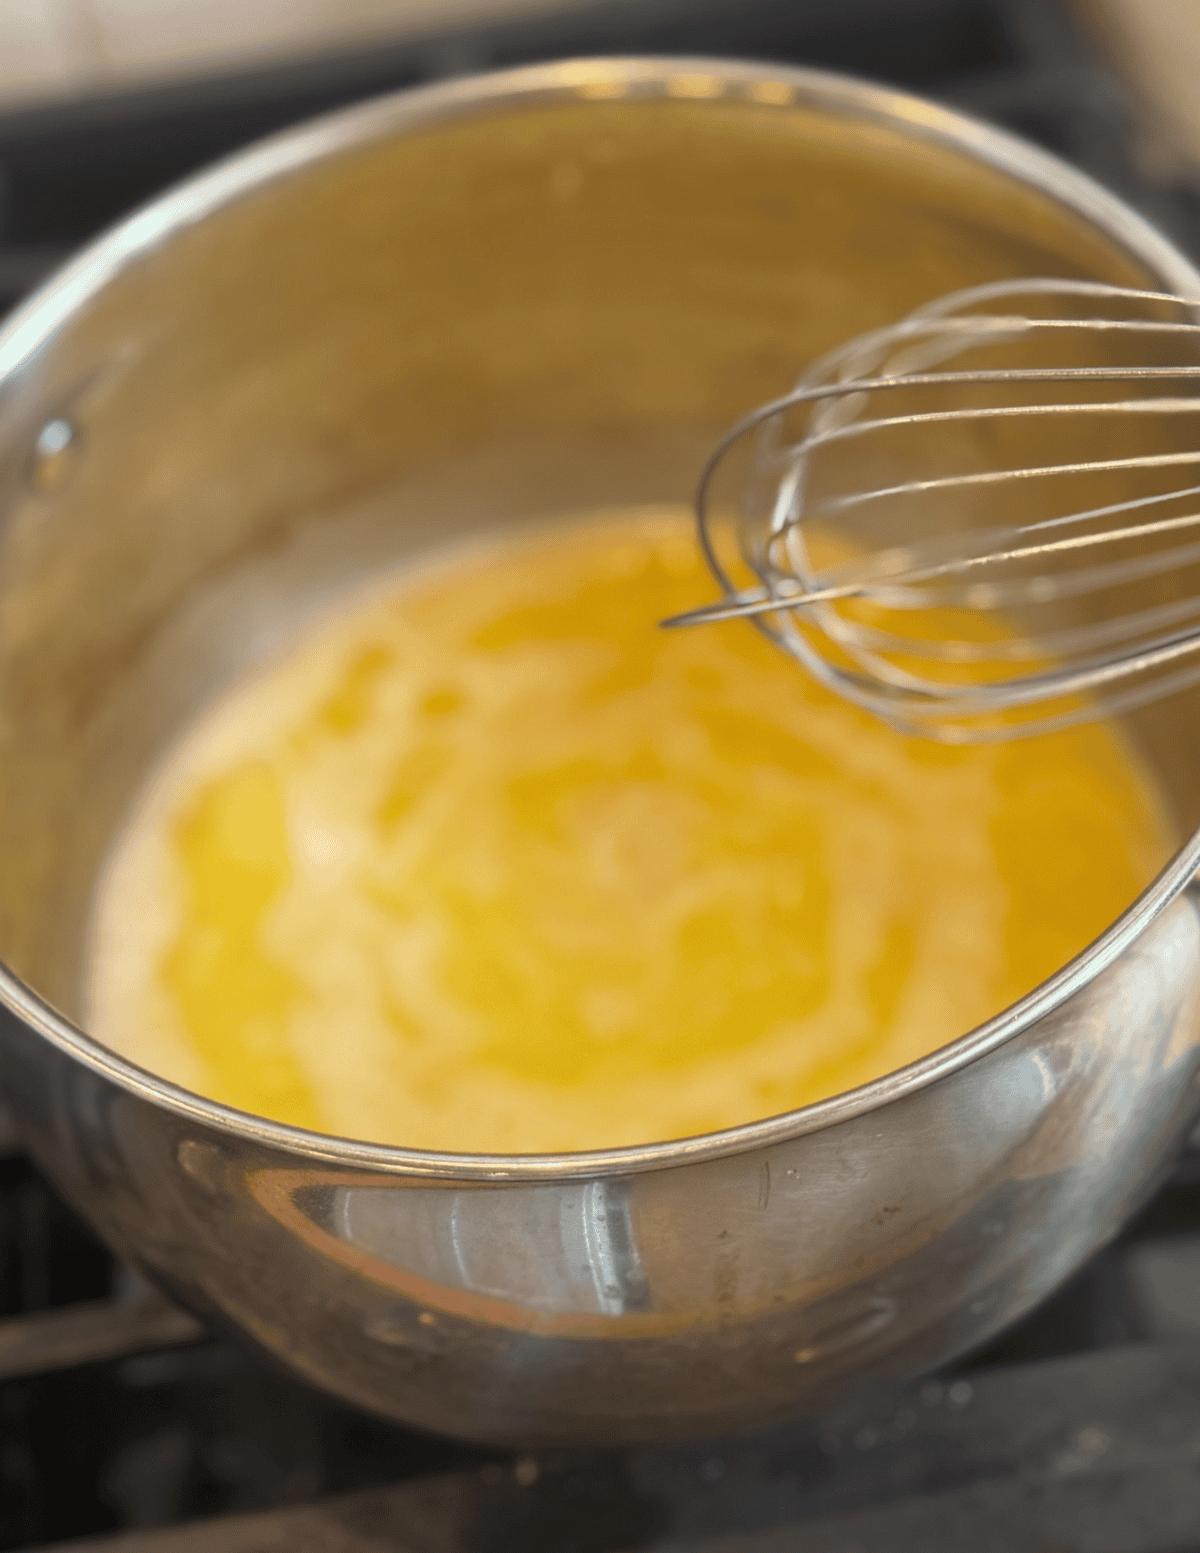
1. Bring the butter and water to a boil in a saucepan.
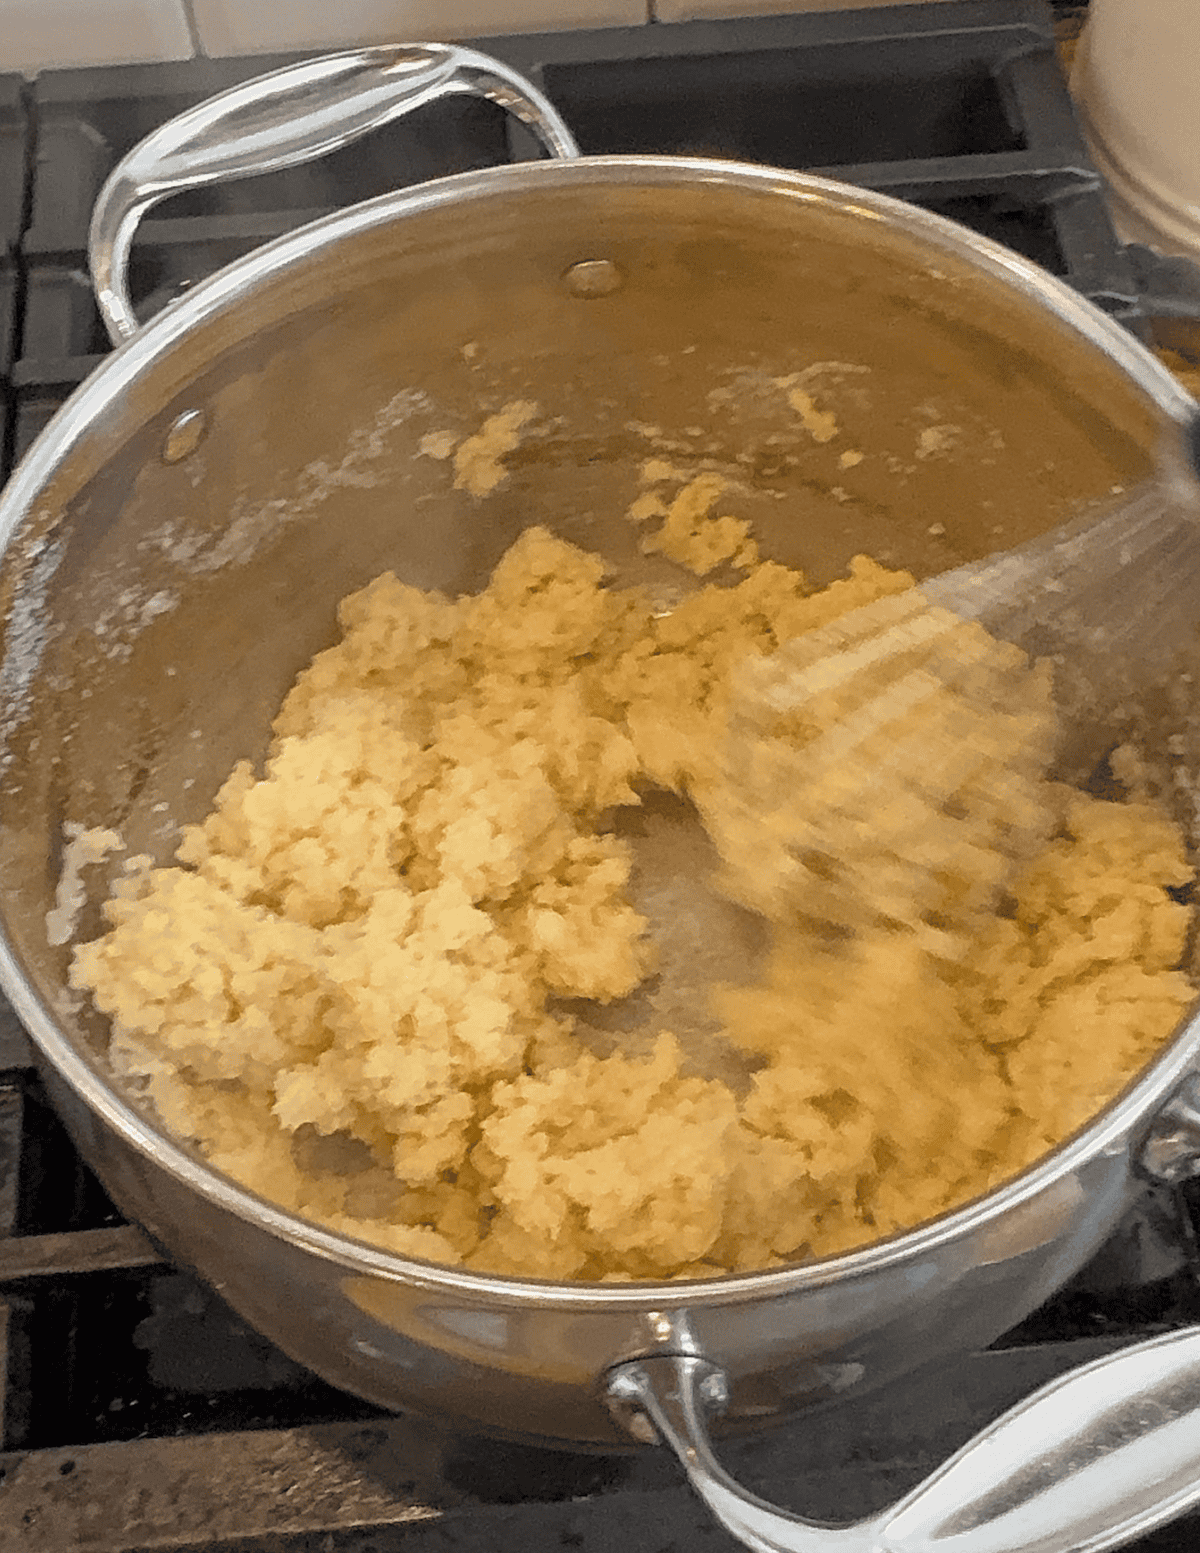
2. Whisk in the dry ingredients and a dough will form. Cut the heat.
3. Transfer the dough to a mixing bowl.
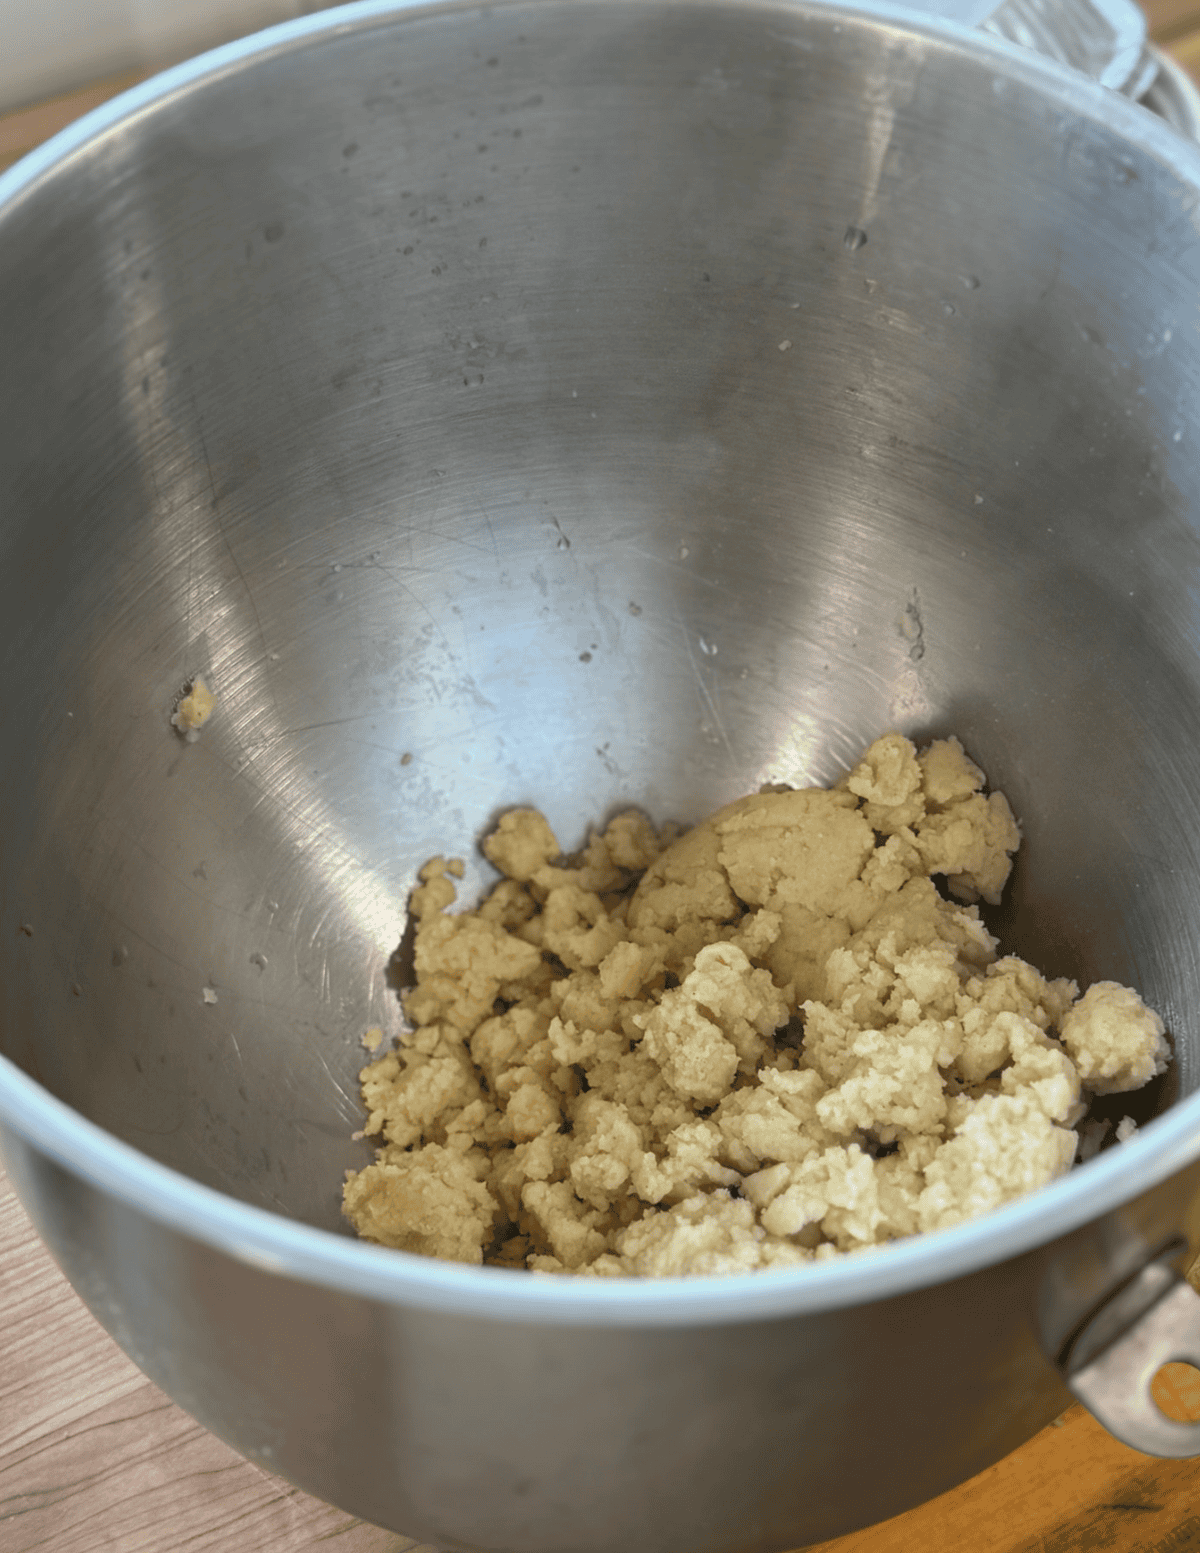
4. Using a paddle attachment, beat the dough on a high speed setting to help it rapidly cool down. You will notice steam coming up. When the steam stops, it’s cooled enough.
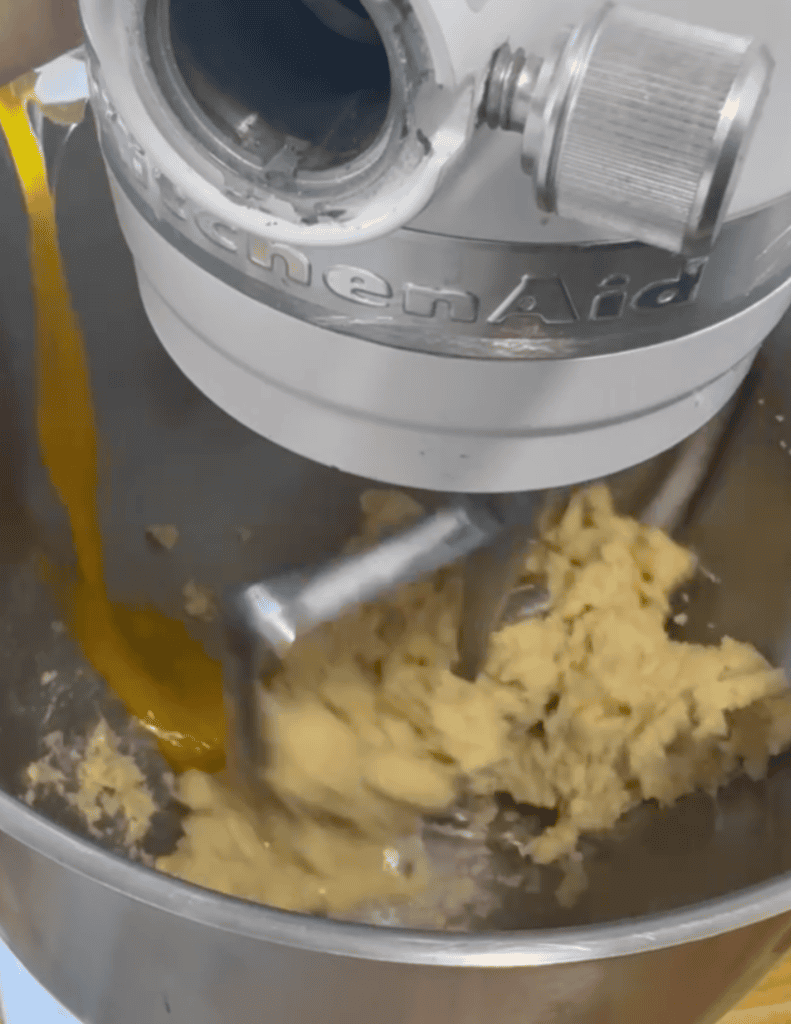
5. One by one, add in the eggs to the dough until well incorporated.
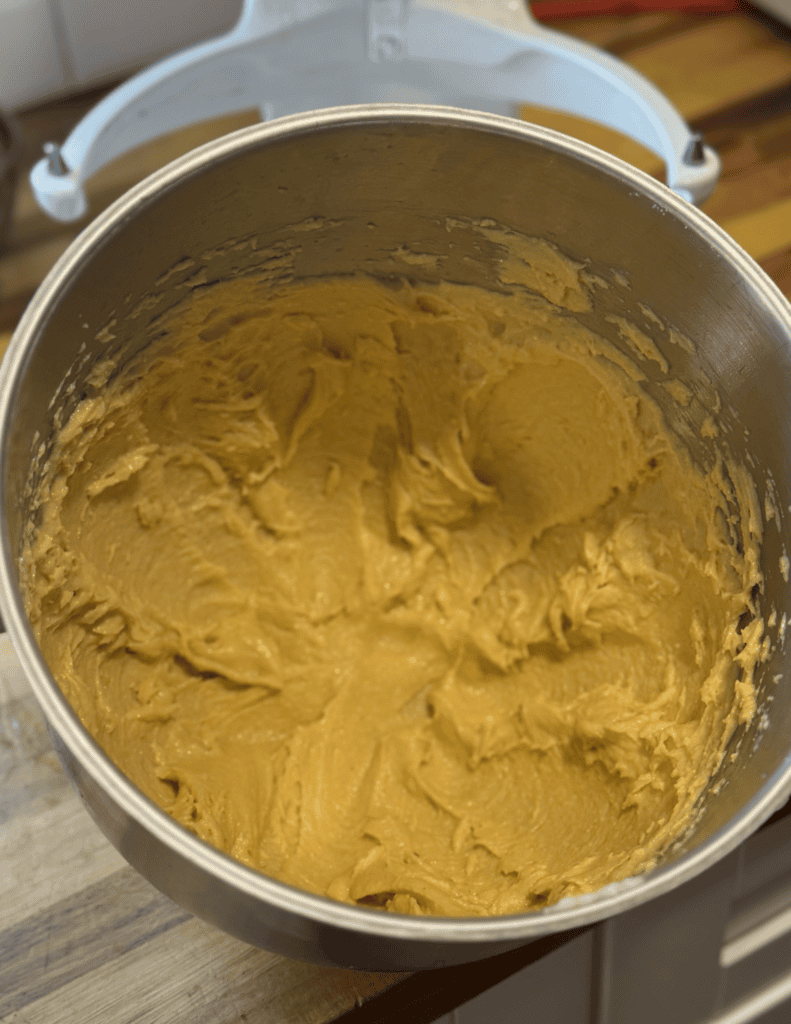
6. The dough will look like this!
Common Mistakes to Avoid
- Dough too runny → won’t hold shape
- Underbaking → causes collapse
- Opening oven early → temperature dropping and effecting baking.
- Filling too early → soggy shells
- Uneven piping → uneven cooking
Scooping the Gluten Free Cream Puff Dough
There are two options to for preparing the dough. Option one is scooping the dough and baking it. When it’s time to fill, piping the filling into the dough.
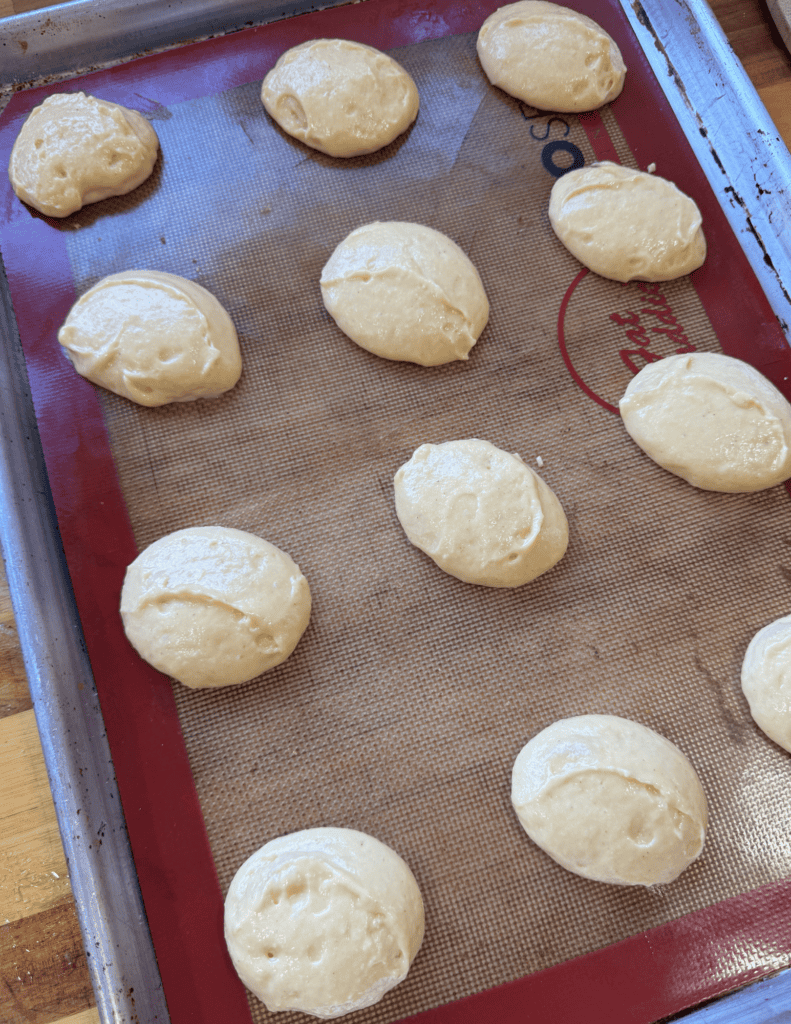
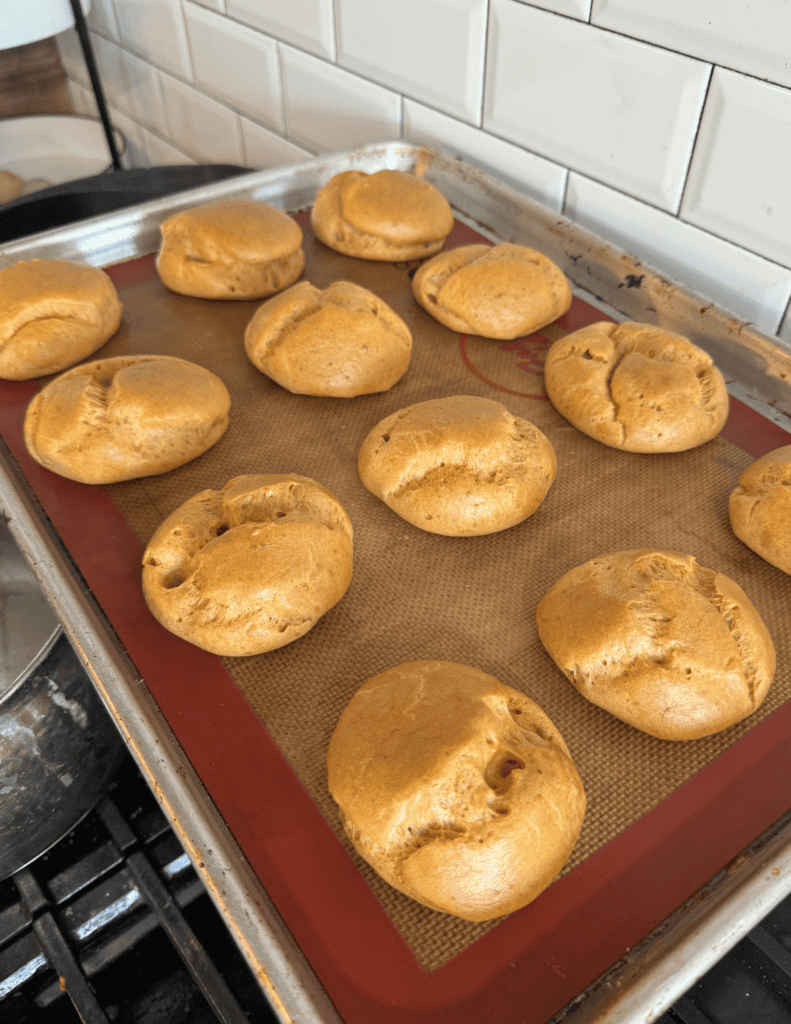
1. Scoop the dough with a cookie scoop and place on silicone mat with spacing in between.
2. Bake the cream puff dough until golden brown.
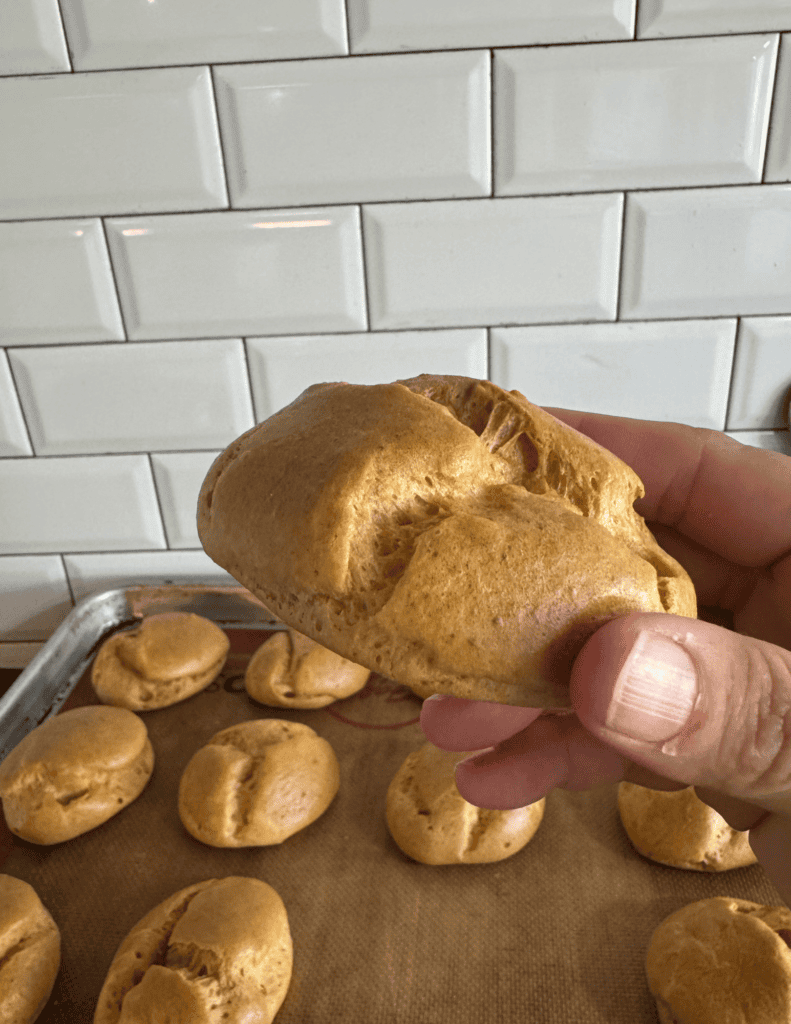
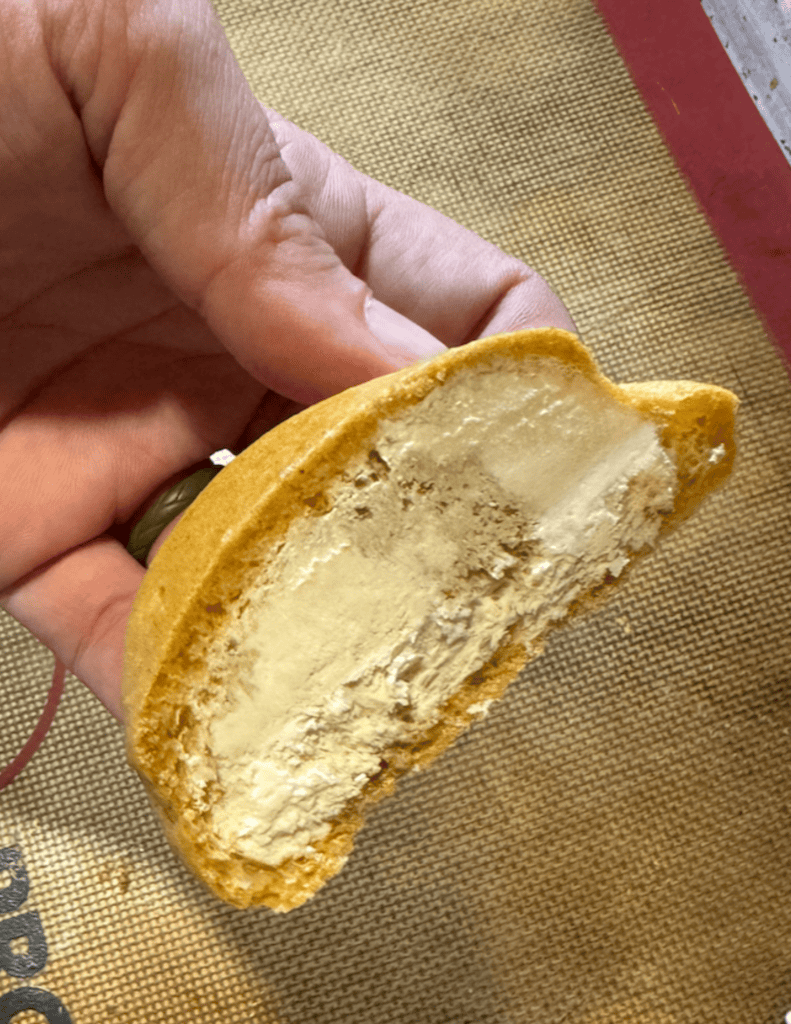
3. Once the dough cools, pipe the filling into the cream puff and enjoy or freeze.
4. Here’s a picture of a frozen cream puff with lots of filling.
Piping with the Cut Cream Puffs
Option 2 is filling the piping bag with pastry and piping pretty blobs. Once baked, cut the cream puffs in half and fill it with Chantilly cream.
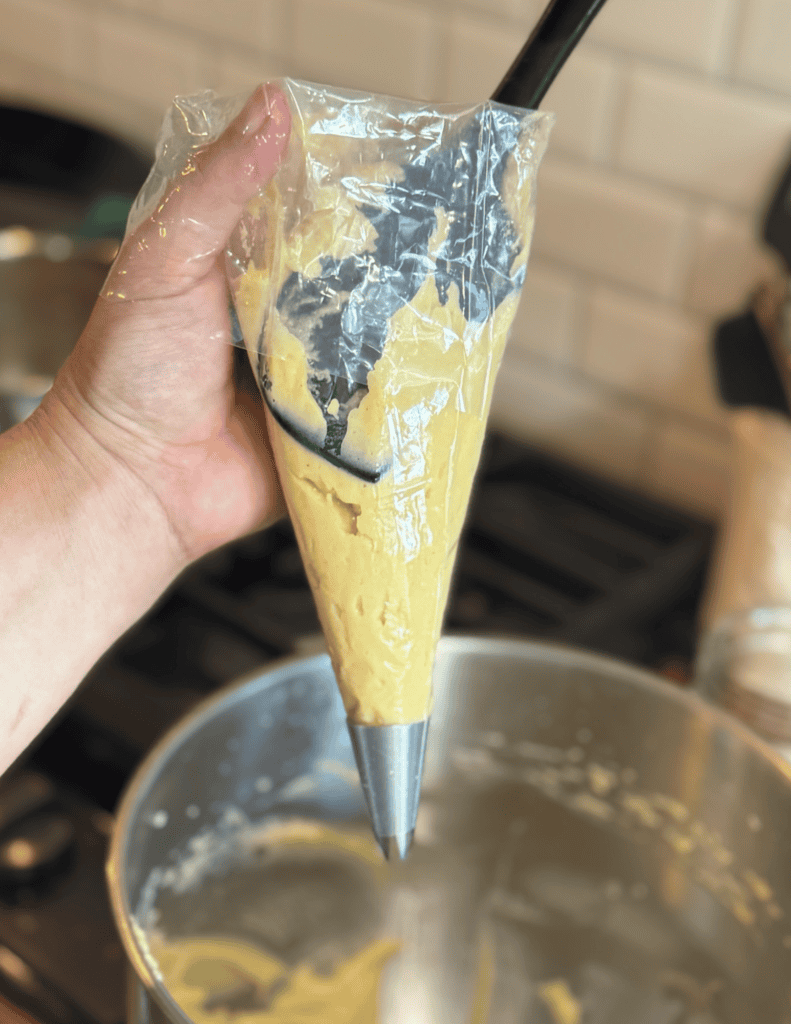
1. Place dough in a piping bag with a 1E tip.
2. Pipe the dough in a blob, bake, cut the dough in half, and fill with Chantilly cream.
Cream Puffs (Gluten Free + Light & Airy)
Ingredients
- ⅔ cup Gluten Free Flour One-to-One
- ⅓ cup Coconut Flour
- ½ tsp Salt
- 2 tsp Baking Powder
- 1 cup Water
- ½ cup Butter
- 4 Eggs
- As Desired Chantily Cream
Instructions
- Prep the Chantilly Cream and place in the refrigerator to cool and set.
- In a saucepan over medium heat, boil the water and butter.
- Once boiling, add in dry ingredient mixture and continue to stir. This will form a dough.
- Place the hot dough into a mixer and mix on a low setting to help it cool it down. Mix in one egg at a time thoroughly until all eggs are combined with the dough.
- Whip the dough until it’s nice and smooth.
- Place the dough in a piping bag with a 1E tip (or something similar).
- Pipe a ball-like shape by squeezing intentionally and lifting the piping bag as you squeeze (creating a taller shape).
- Preheat oven to 400°F. Bake for 30 minutes without opening the oven. Once the timer goes off, turn off the oven and poke a small hole in each eclair. This will help steam to. release.
- Fill with Chantilly Cream and enjoy right away or allow the cream to cool and set in the freezer or refrigerator (depending on preference). Store in the freezer for long term storage in an airtight container for up to 3 months.
Additional Allergens/Suggested Modifications
- Dairy: sub butter and cream for dairy free options.
- Eggs: sub with an egg replacer.
This recipe is naturally free of: nuts, fish, crustacean shellfish, tree nuts, peanuts, wheat, soybeans, seed oils and sesame.
Recipe Tips
Dough should be smooth and pipeable, not runny
Pipe evenly sized rounds for consistent baking
Do not open the oven early → this can cause collapse
Bake until fully golden to ensure dry, stable shells
Let cool completely before filling
Storage Options:
- Short term: Store at room temp up to 1 day in an airtight container.
- Freezer: Freeze the cream puffs in an airtight container once put together and thaw when ready to enjoy.
- Make ahead: Prep the cream puffs & freeze for later. Dough is best used fresh so unfortunately it isn’t great to make it ahead – but, this recipe comes together in less than 20 minutes so it’s easy to throw together.
Recipe FAQs
If you love nostalgic candy recipes made with simple ingredients, check out more copycat treats inside Volume 2 (desserts & treats) of The Gluten Free Kitchen Cookbook Series.
Get on the List
Subscribe to Receive the Gluten Free Pantry Must Haves Ebook
Did you make this recipe?
We’d love to see! Tag @farmfreshfamily on Instagram!

This looks so good. I love that’s it Gluten free, simple and guilt free.
Thank you for sharing this wonderful recipe.
I remember my mom always buying cream puffs during the holidays. When they say homemade is better, they aren’t lying. These are delicious.