These gluten free chocolate crepes are soft, thin, and perfectly flexible with a rich chocolate flavor that doesn’t overpower the filling. If you’ve ever struggled with gluten-free crepes tearing, sticking, or turning out too thick, this recipe fixes that with a smooth batter that spreads easily and cooks into delicate, foldable layers.
They’re perfect for sweet breakfasts, desserts, or even special occasion treats. If you’ve made my classic crepes or dessert fillings like Gluten Free Chantilly Cream or chocolate ganache, these chocolate crepes take those same elements and turn them into something that feels a little more elevated—but still simple to make.
This post may contain affiliate links, please read our disclosure policy for details.
“These crepes are beyond delicious. It’s like eating dessert for breakfast without any refined sugar!”
Why You’ll Love This Recipe
- Thin, soft, and flexible (no cracking or tearing)
- Light chocolate flavor that pairs with everything
- Perfect for sweet fillings and desserts
- Simple ingredients and easy to make
- Great for breakfast, brunch, or dessert
Ingredients
Please see recipe card at the bottom of this post for the full recipe details.
1. Gluten-Free One-to-One Flour
A high-quality gluten-free one to-one flour blend provides structure while keeping the crepes together, not crumbly. I prefer Bob’s Red Mill Gluten-Free 1-to-1 Baking Flour for this recipe because it produces consistent results and bakes evenly. Be sure to use a one-to-one blend that already contains xanthan gum. If you’d like to substitute this ingredient out completely, increase the Xanthan Gum within the recipe by 1/2 tsp.
2. Salt
A small amount of salt balances the sweetness and enhances the chocolate flavor. Don’t skip it—it makes a noticeable difference.
3. Butter
Butter adds richness and helps create a smooth and delicious texture in the crepe. Using a high-fat butter like Kerrygold works especially well here. If you need a dairy-free option, you can substitute a dairy-free butter alternative without issue.
See my dairy-free homemade butter recipe here.
4. Maple Syrup
Maple syrup provides natural sweetness while adding moisture and depth to the crepe. It also helps create a smooth, cohesive texture without refined syrups.
5. Vanilla Extract
Vanilla extract rounds out the crepe shell and adds warmth. Use a pure vanilla extract for the best results.
6. Raw Milk
Raw milk adds a creaminess to the base that creates the moist, delicious crepe batter. If you don’t have your own dairy cattle, I suggest sourcing raw milk from a trusted farmer. This website may help you find one local to you. And if raw milk isn’t a good fit for your family, it can easily be subbed for equal parts with any milk or milk alternative.
7. Unsweetened Cocoa Powder
Unsweetened cocoa powder gives these crepes their rich chocolate flavor without adding excess sweetness. For best results, sift the cocoa powder before mixing to remove any clumps. This ensures a smooth batter and even chocolate distribution. A high-quality cocoa powder makes a big difference in both color and depth of flavor.

The Gluten Free Kitchen Cookbook Series
Healthy GLUTEN-FREE Recipes for Every Day LIFE
Your go-to cookbooks for all of the delicious & nutritious meals, sides, breads (yeast & sourdough), baking staples, snacks, desserts, drinks and more. With easy-to-follow instructions and beautiful step-by-step photography, every page invites you to explore nostalgic, healthy meals that make being gluten free a “get to” instead of a “have to”.
Whether you’re cooking for yourself or sharing with loved ones, The Gluten Free Kitchen Cookbook Series brings healthy living to your table every day.
Making the Crepes
Prepare the batter (it will be thin). Make sure to use a well seasoned skillet and add butter to the pan. Pour the batter out onto your already heated skillet and quickly/gently spread the batter as thin as possible.
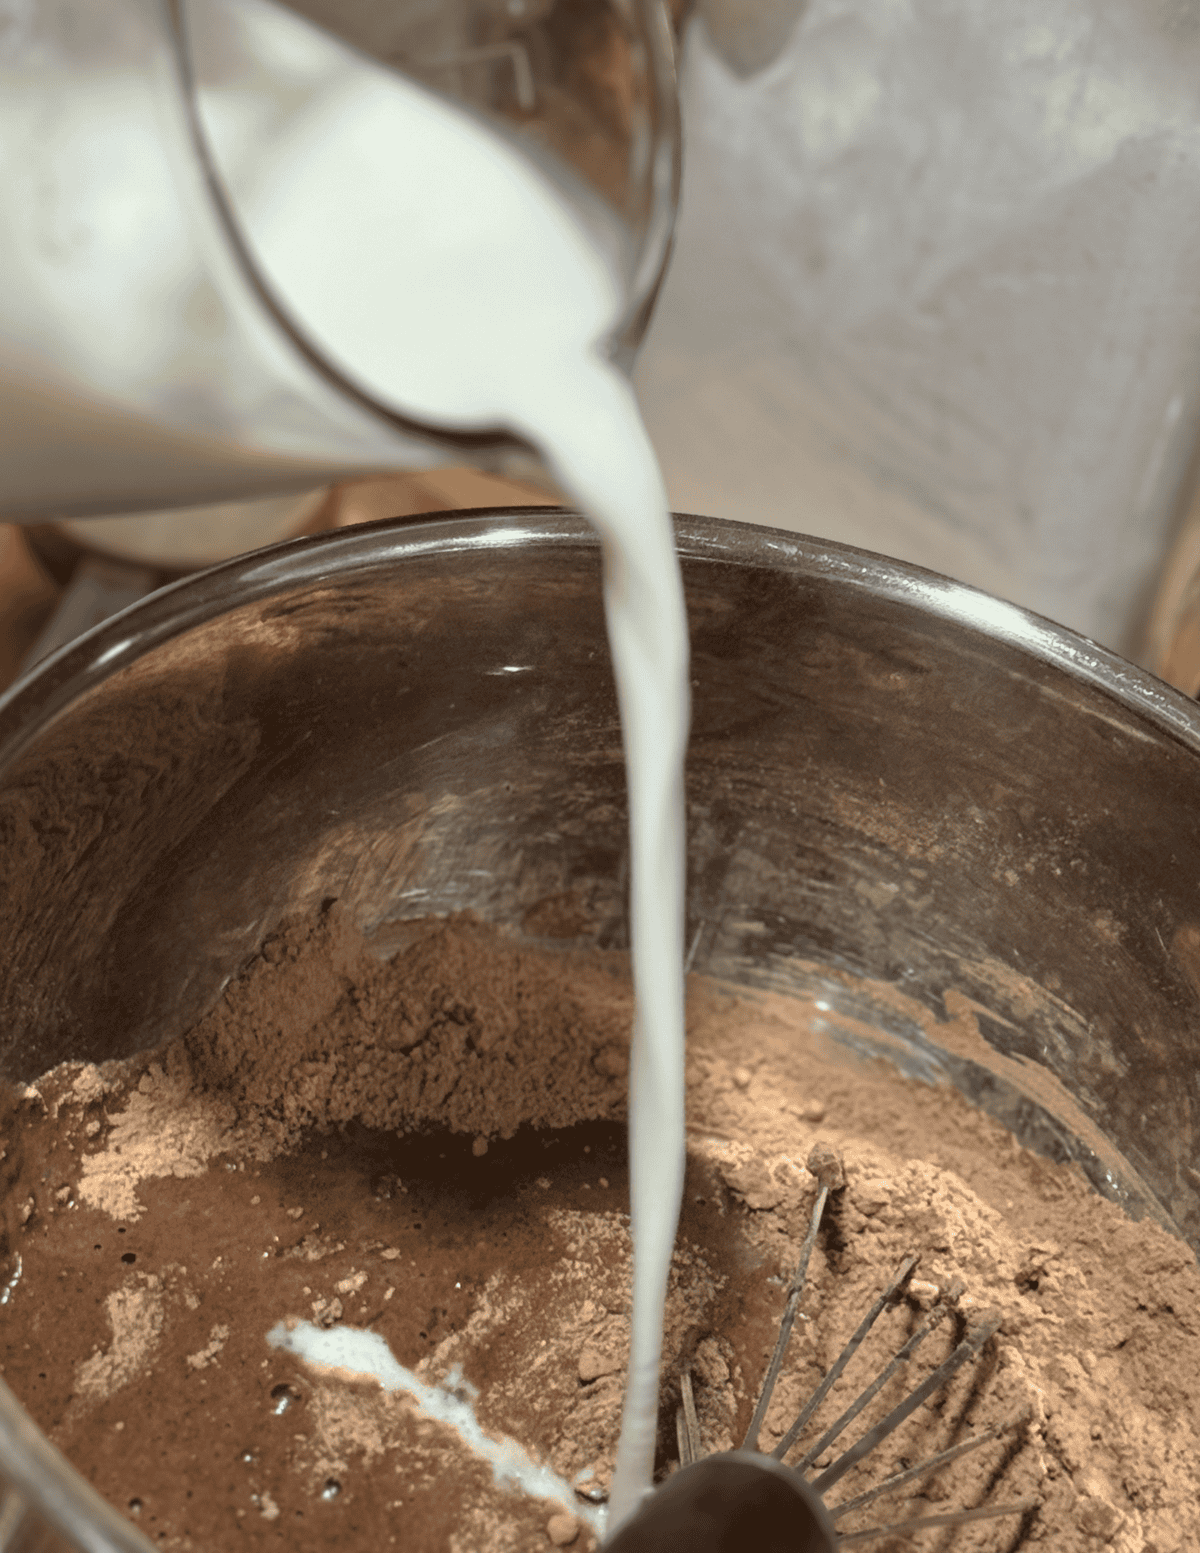
1. Whisk all of the ingredients together in a bowl.
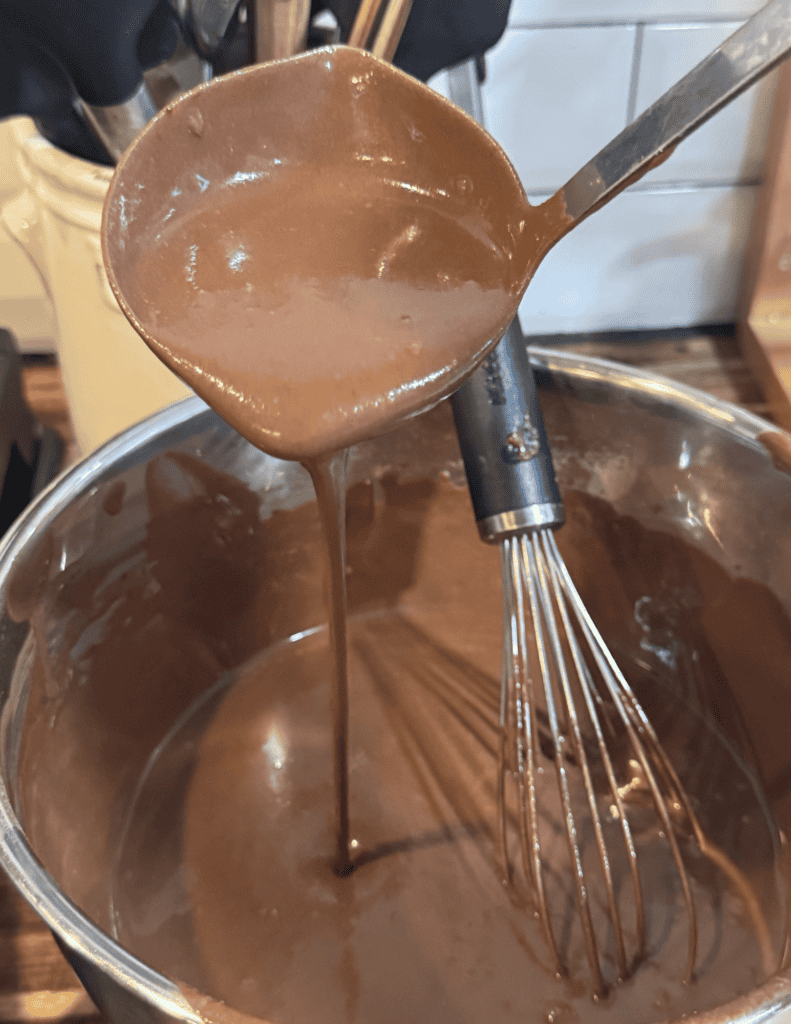
2. Once well combined, the batter should be loose.
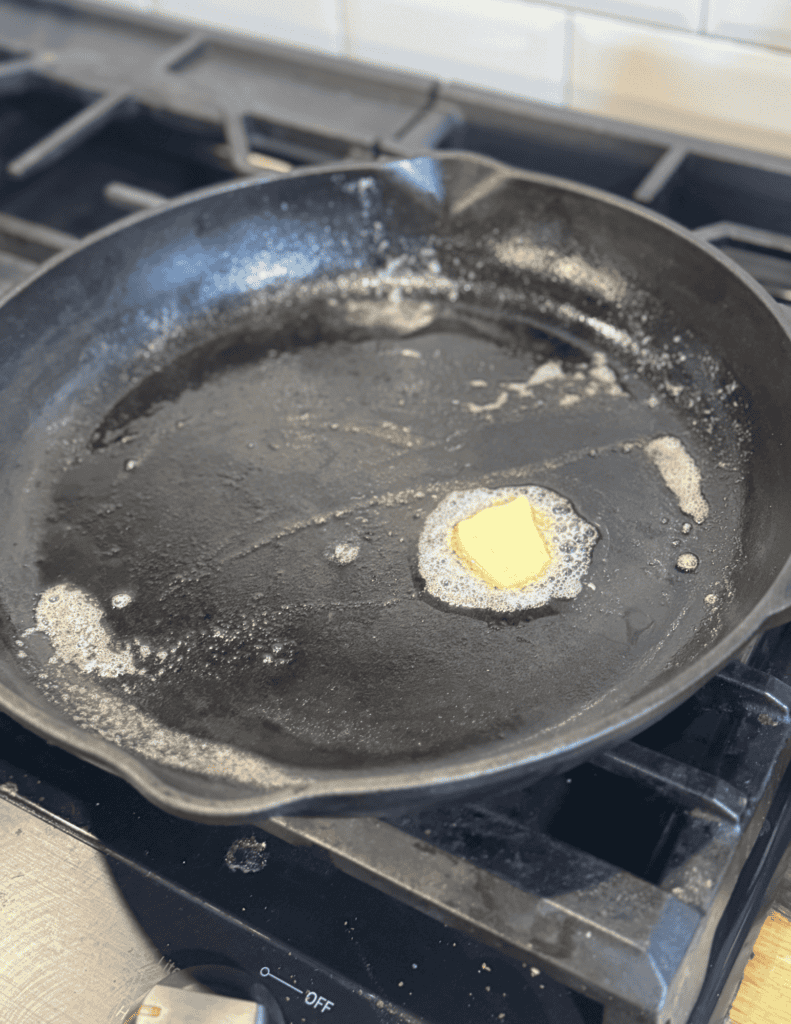
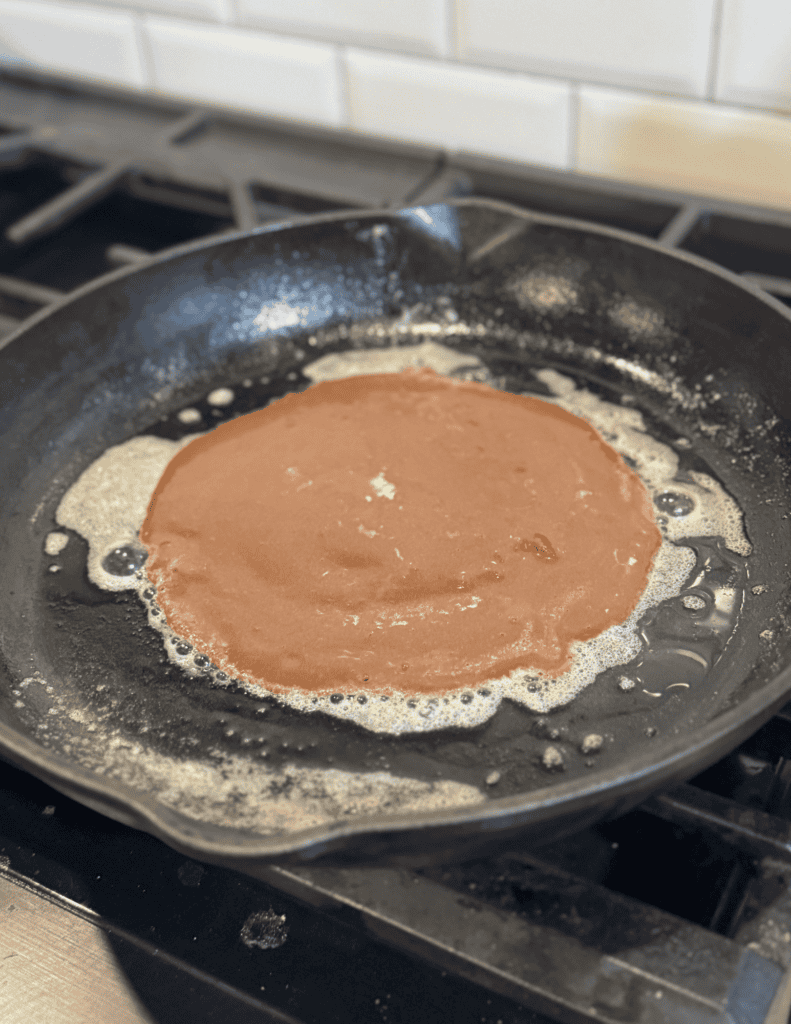
3. Heat the cast iron and melt butter.
4. Pour out a thin layer of batter and thin it into a circle.
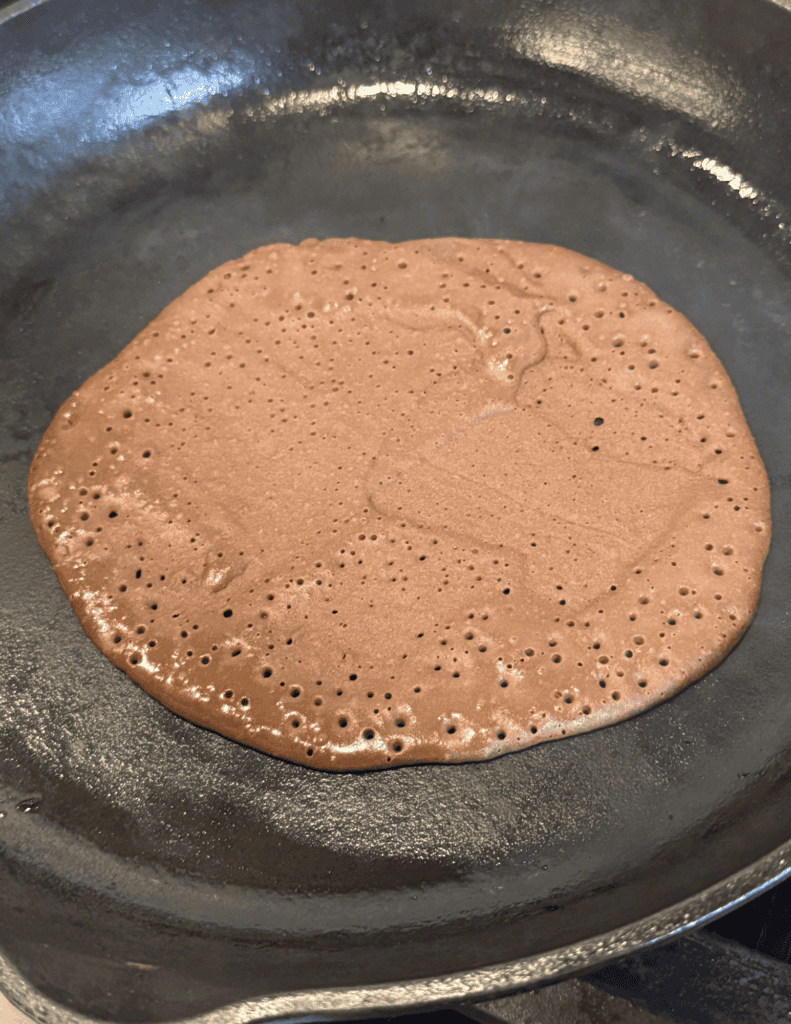
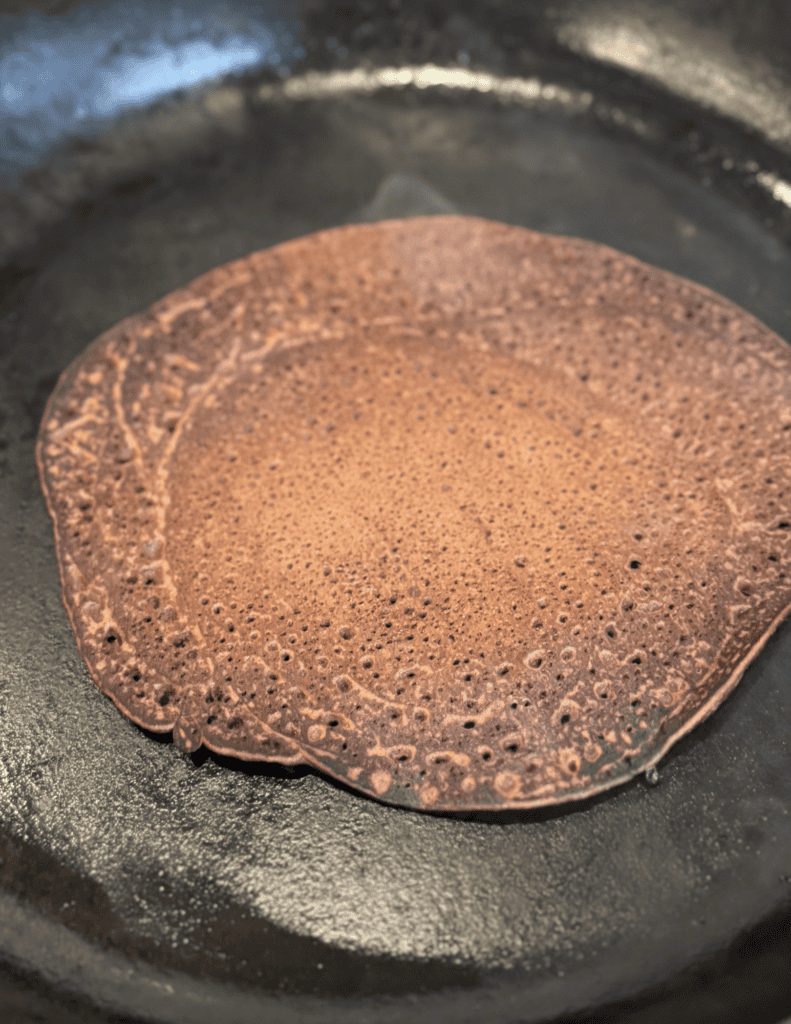
5. The batter will bubble when it’s time to flip.
6. Flip and allow it to cook for 30 more seconds and then plate to prepare for filling.
If using a lighter skillet, you can pick up the skillet and rotate your wrist to spread the batter in a thin circle. Once thin, allow the batter to cook for about a minute (you will notice the texture of the crepe changing as it cooks). Flip the crepe and allow it to cook for another 30-45 seconds and then transfer it to a plate.
Rolling the Crepes
Pick a filling of your choice, I recommend the Refined Sugar Free Cookies & Cream filling!
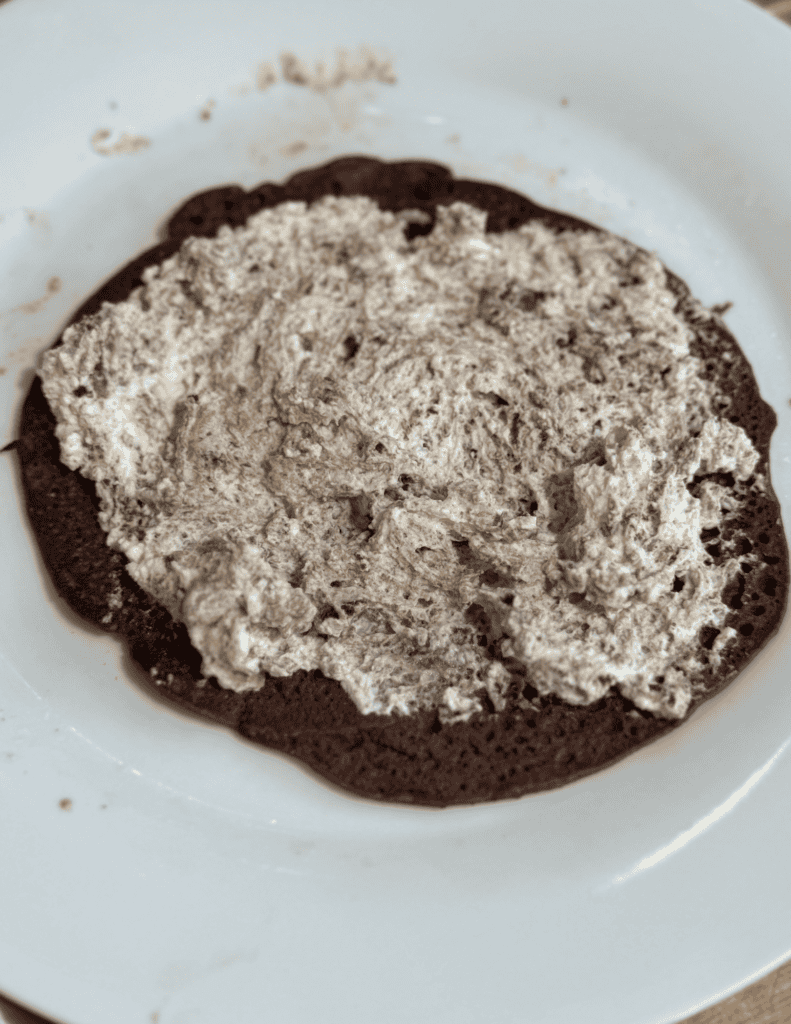
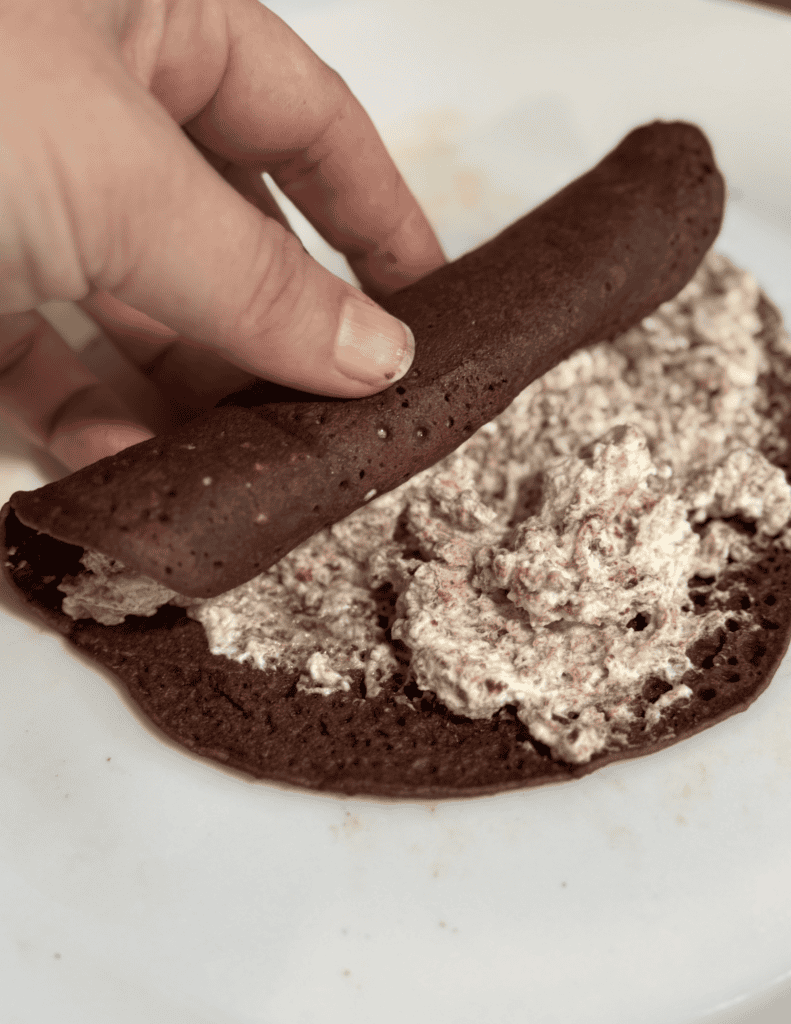
1. Place on the plate and spread the filling.
2. Gently roll the shell up.
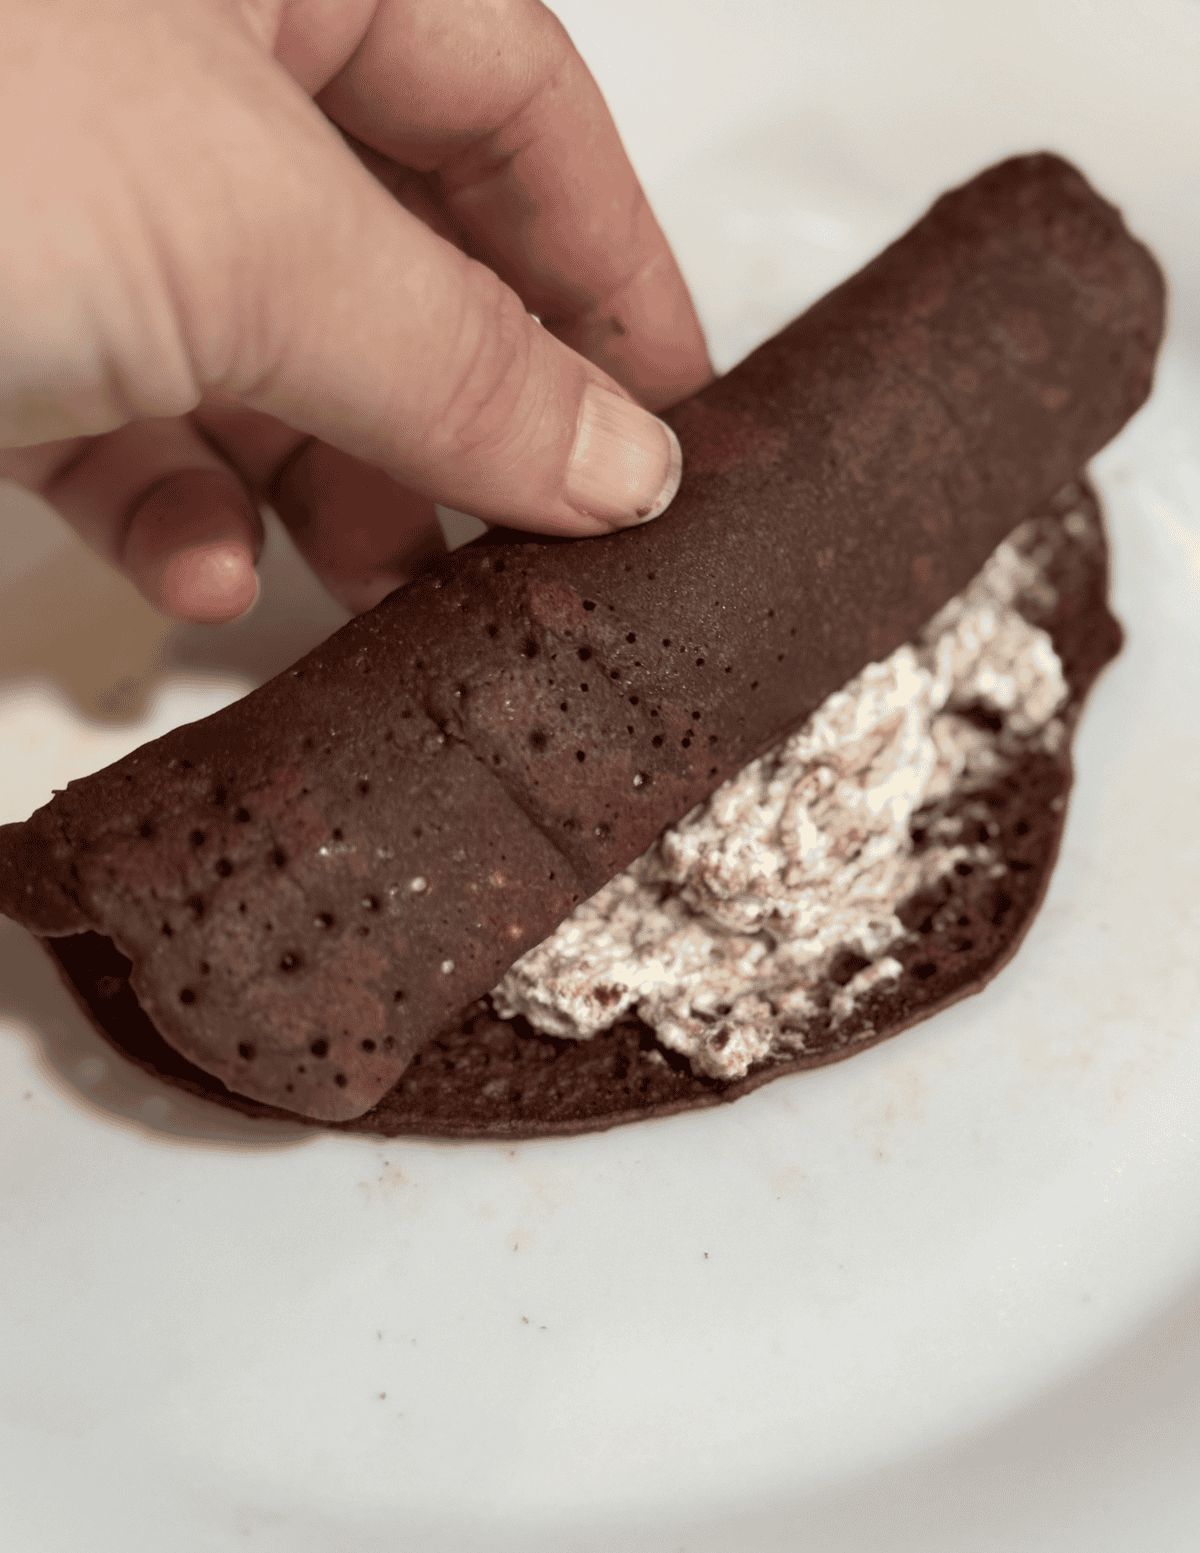
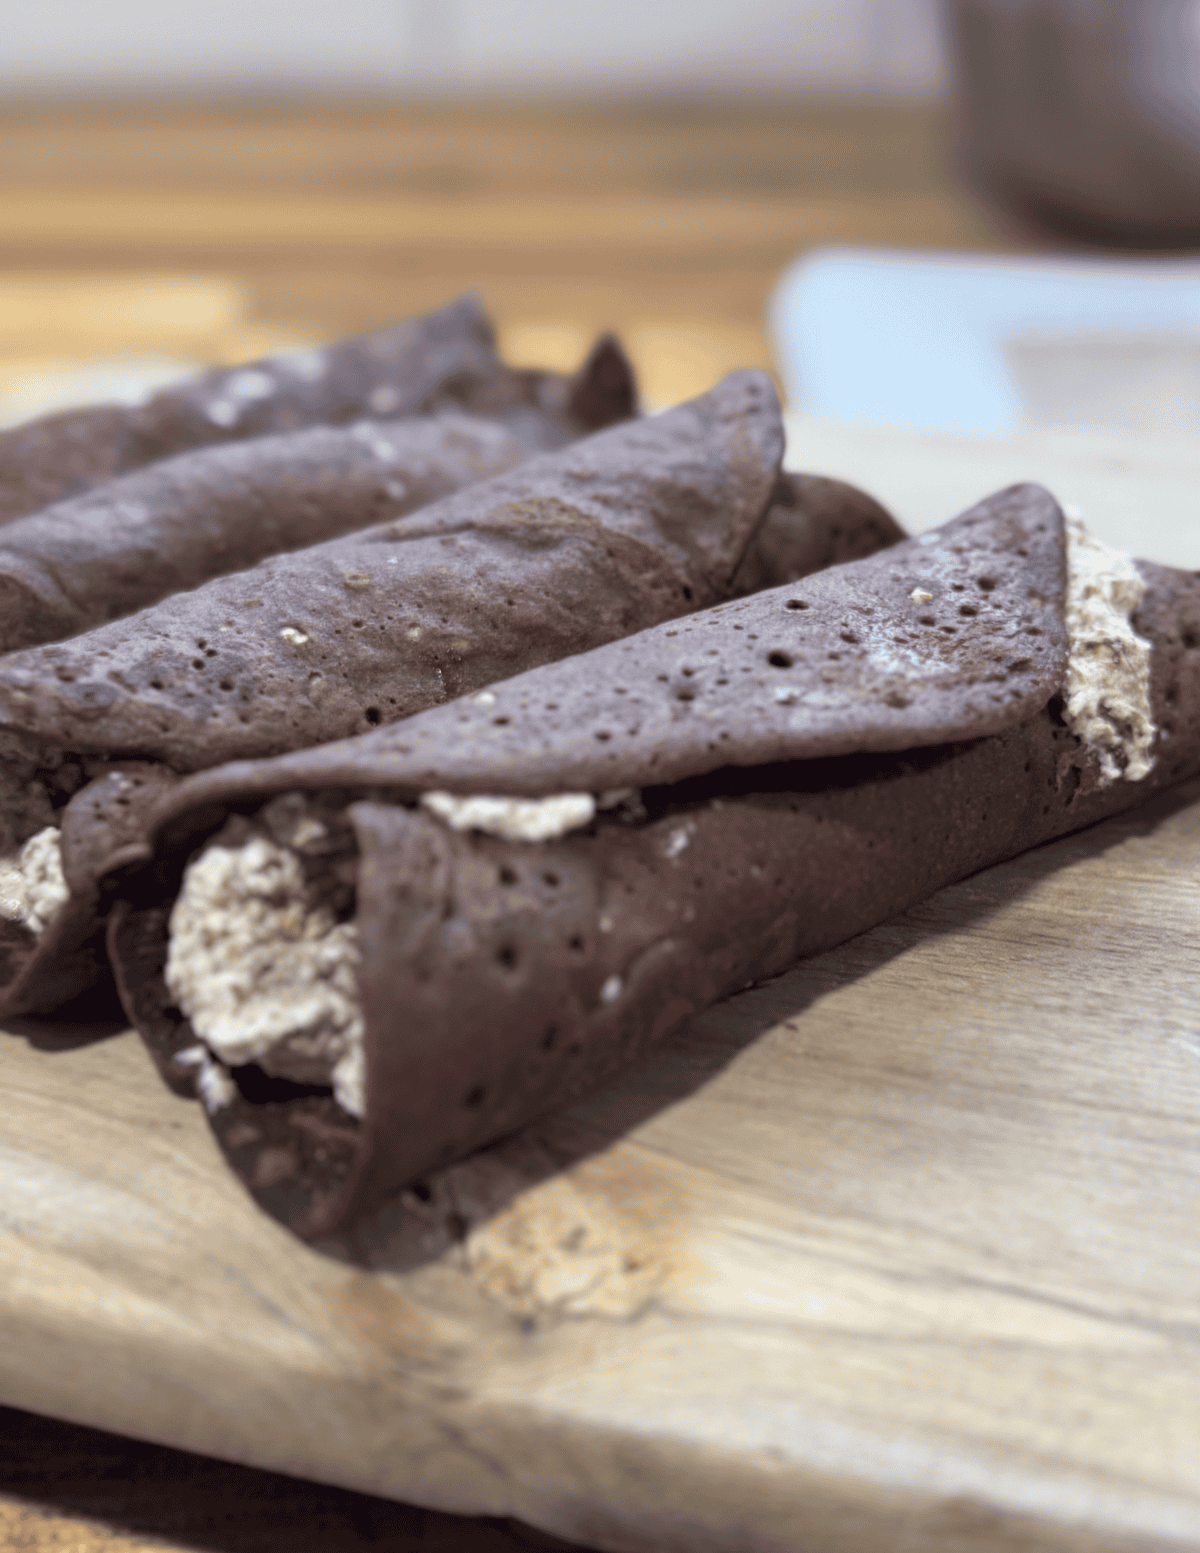
3. Roll until it’s closed.
4. Repeat and enjoy
Recipe Tips
Let batter rest for at least 10-15 minutes for better texture and proper batter absorbtion
Batter should be thin and pourable—add liquid if needed
Use a PFOAS free non-stick pan/ well seasoned cast iron pan for best results
Swirl pan immediately after pouring to create thin layers
Cook on medium heat—too hot can cause sticking or tearing
Additional Allergens/Suggested Modifications
- Dairy: Sub for dairy free milk & butter alternatives.
- Egg: Use 2 TBSP of tallow instead of eggs and adjust flour if runny.
This recipe is naturally free of: nuts, fish, crustacean shellfish, tree nuts, peanuts, wheat, soybeans, seed oils, and sesame.
Chocolate Crepes (Gluten Free + Thin & Soft)
Ingredients
- 1 cup Gluten Free Flour One-to-One
- ¾ cup Cocoa Powder
- 3 Eggs
- ½ TBSP Vanilla Extract
- 2 cups Raw Milk
- ¼ tsp Salt
- 2 TBSP Maple Syrup
- 1 TBSP Butter
- as desired Filling of Choice
Instructions
- Mix all the ingredients together. Make sure to combine the flour until smooth.
- Place a small scoop of the batter in. Quickly lift and rotate the pan allowing the batter to spread thin.
- Allow the batter to cook and bubble (this will be quick) and flip to cook the final side. This will take a minute or two, but the batter should have a clean flip.
- Spread jelly of your filling of choice on the crepe shell and roll it up. Sprinkle with powdered sugar if desired. Serve and eat immediately.
Prep/Storage Options:
- Prep: Crepe batter can be made ahead of time and stored in an airtight container in the refrigerator or stored in the freezer. If stored in the freezer, thaw before use.
- Storage: Crepes are best fresh, but they can be made and placed in an airtight container in the refrigerator as leftovers for up to one week.
Recipe FAQs
Get on the List
Subscribe to Receive the Gluten Free Pantry Must Haves Ebook

Did you make this recipe?
We’d love to see! Tag @farmfreshfamily on Instagram!