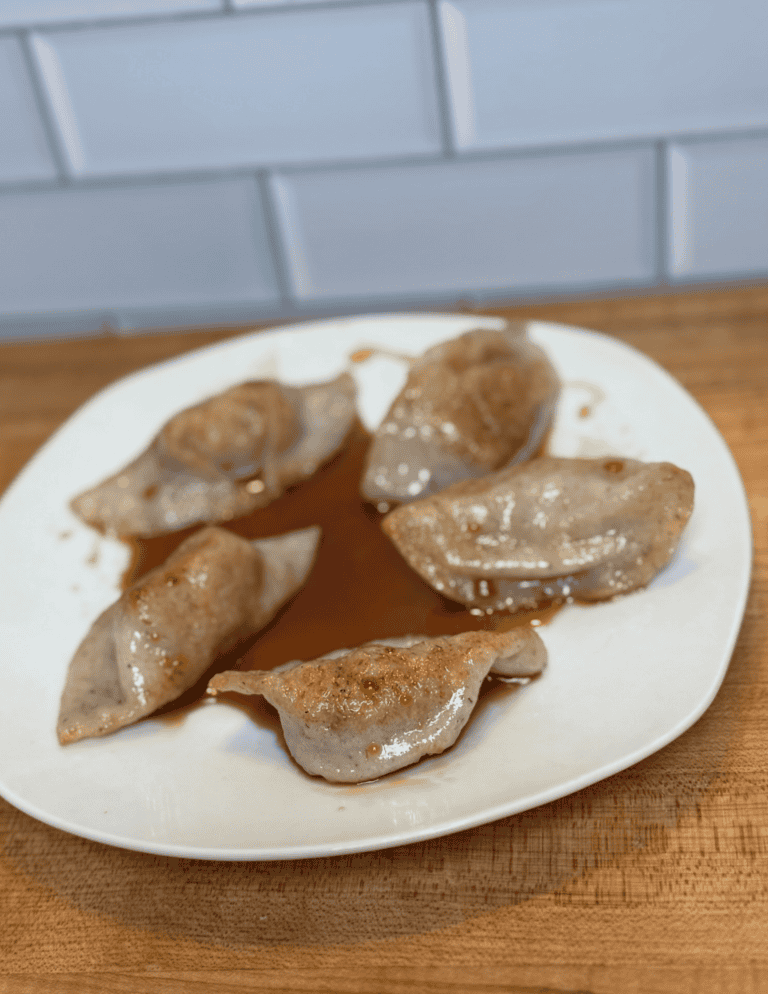
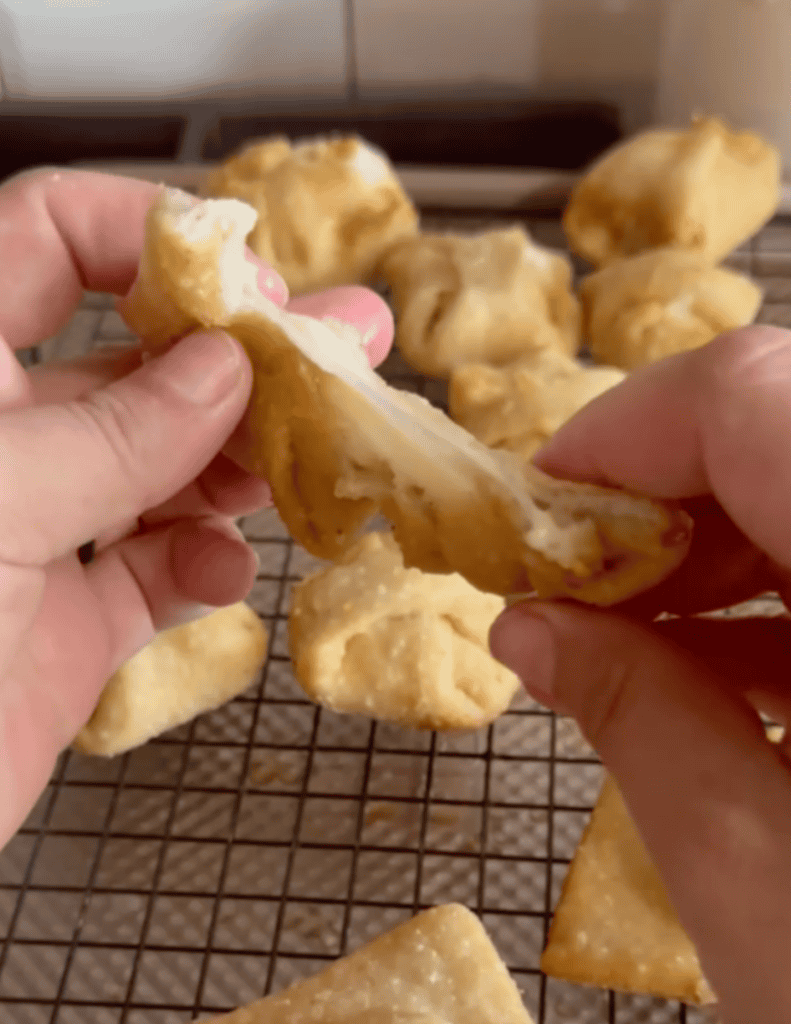
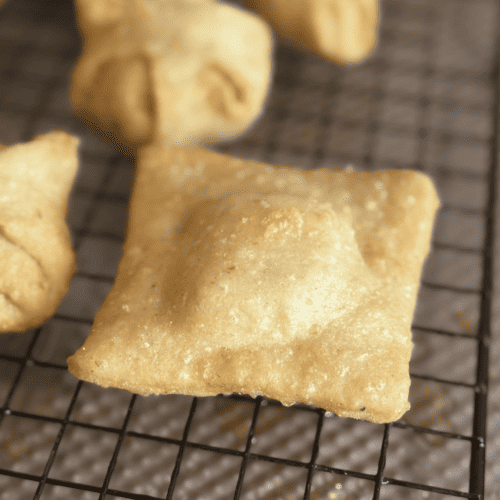
These gluten free fried cheese squares are everything you want in a comfort snack—crispy golden pizza dough on the outside with melty mozzarella on the inside. This dough that fries up light, crisp, and actually holds its shape.
Each bite has that perfect stretch of cheese, wrapped in soft-on-the-inside, crispy-on-the-outside dough. If you’ve made my gluten free pizza dough or pizza sliders before, this is one of those recipes that takes the same base and turns it into something fun, shareable, and seriously addictive.
This post may contain affiliate links, please read our disclosure policy for details.

Fresh Milling Flour
Before we dive in here, I want to note, you don’t have to use fresh milled flours to successfully make this recipe. There are already milled versions of the flours I’m sharing that I will link in the ingredient’s list section!
Using fresh milled flours instantly levels up the nutrient density of your recipe. In our house, if you’re going to indulge, mama is going to stack the recipe with healthier ingredients! If you’ve never milled fresh gluten-free grains, this step may seem intimidating, but let me ease you’re mind, it’s easily the most simple hack you could ever do to level up your recipes.
To unlock this health hack, all you need are gluten free grains from a trusted source and a grain mill. My favorite is the Nutrimill Harvest Grain Mill. You’ll flip the switch on, pour the grains into the hopper, and fresh milled flour will flow out into a bowl. It’s really that simple.
Here’s a video walk through of fresh milling grains:
“These cheese bites are the perfect afternoon snack as is or dipped in marinara sauce!”
Ingredients
Please see recipe card at the bottom of this post for the full recipe details.
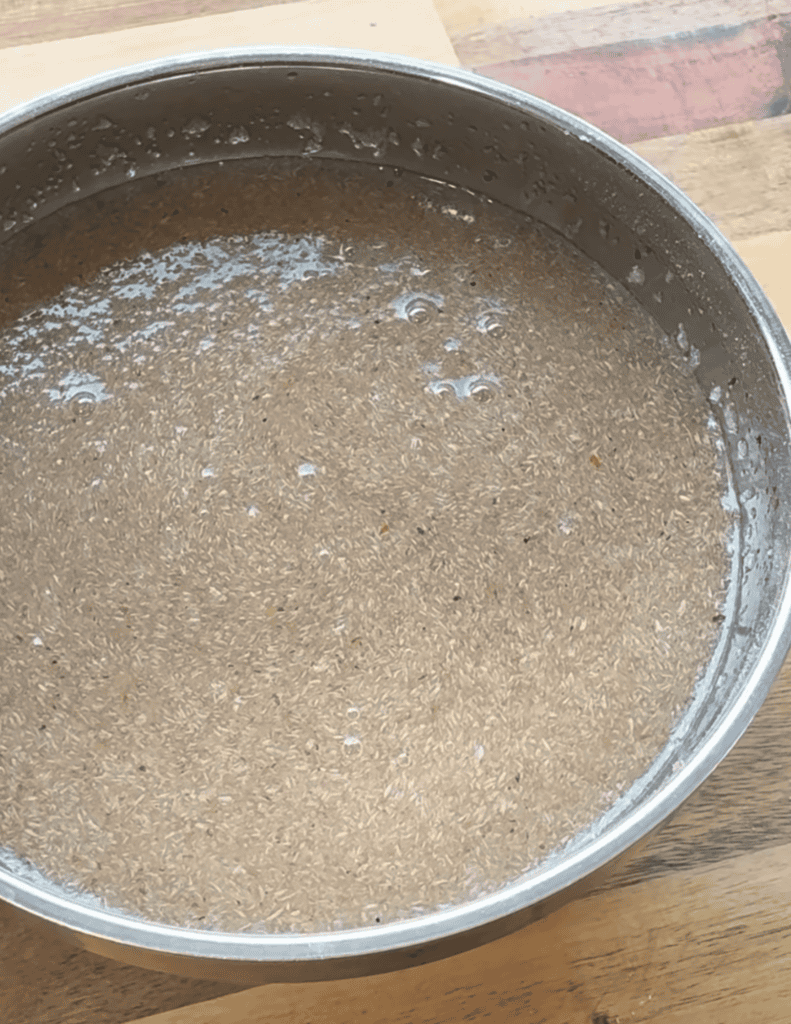
1. Psyllium Husk Mix
This is a mix of psyllium husk (whole husk) and warm water. When combining the two together, a gel mixture is formed that helps create the structure of the dough. It is importance to use a trusted brand of psyllium husk (I recommend this one). It’s also extremely important to get whole husk. Powdered husk is finer and requires more water to compensate for the excess surface area on the powder compared to the whole husk.
Watch how to make psyllium husk gel for yeast breads with whole husk here:
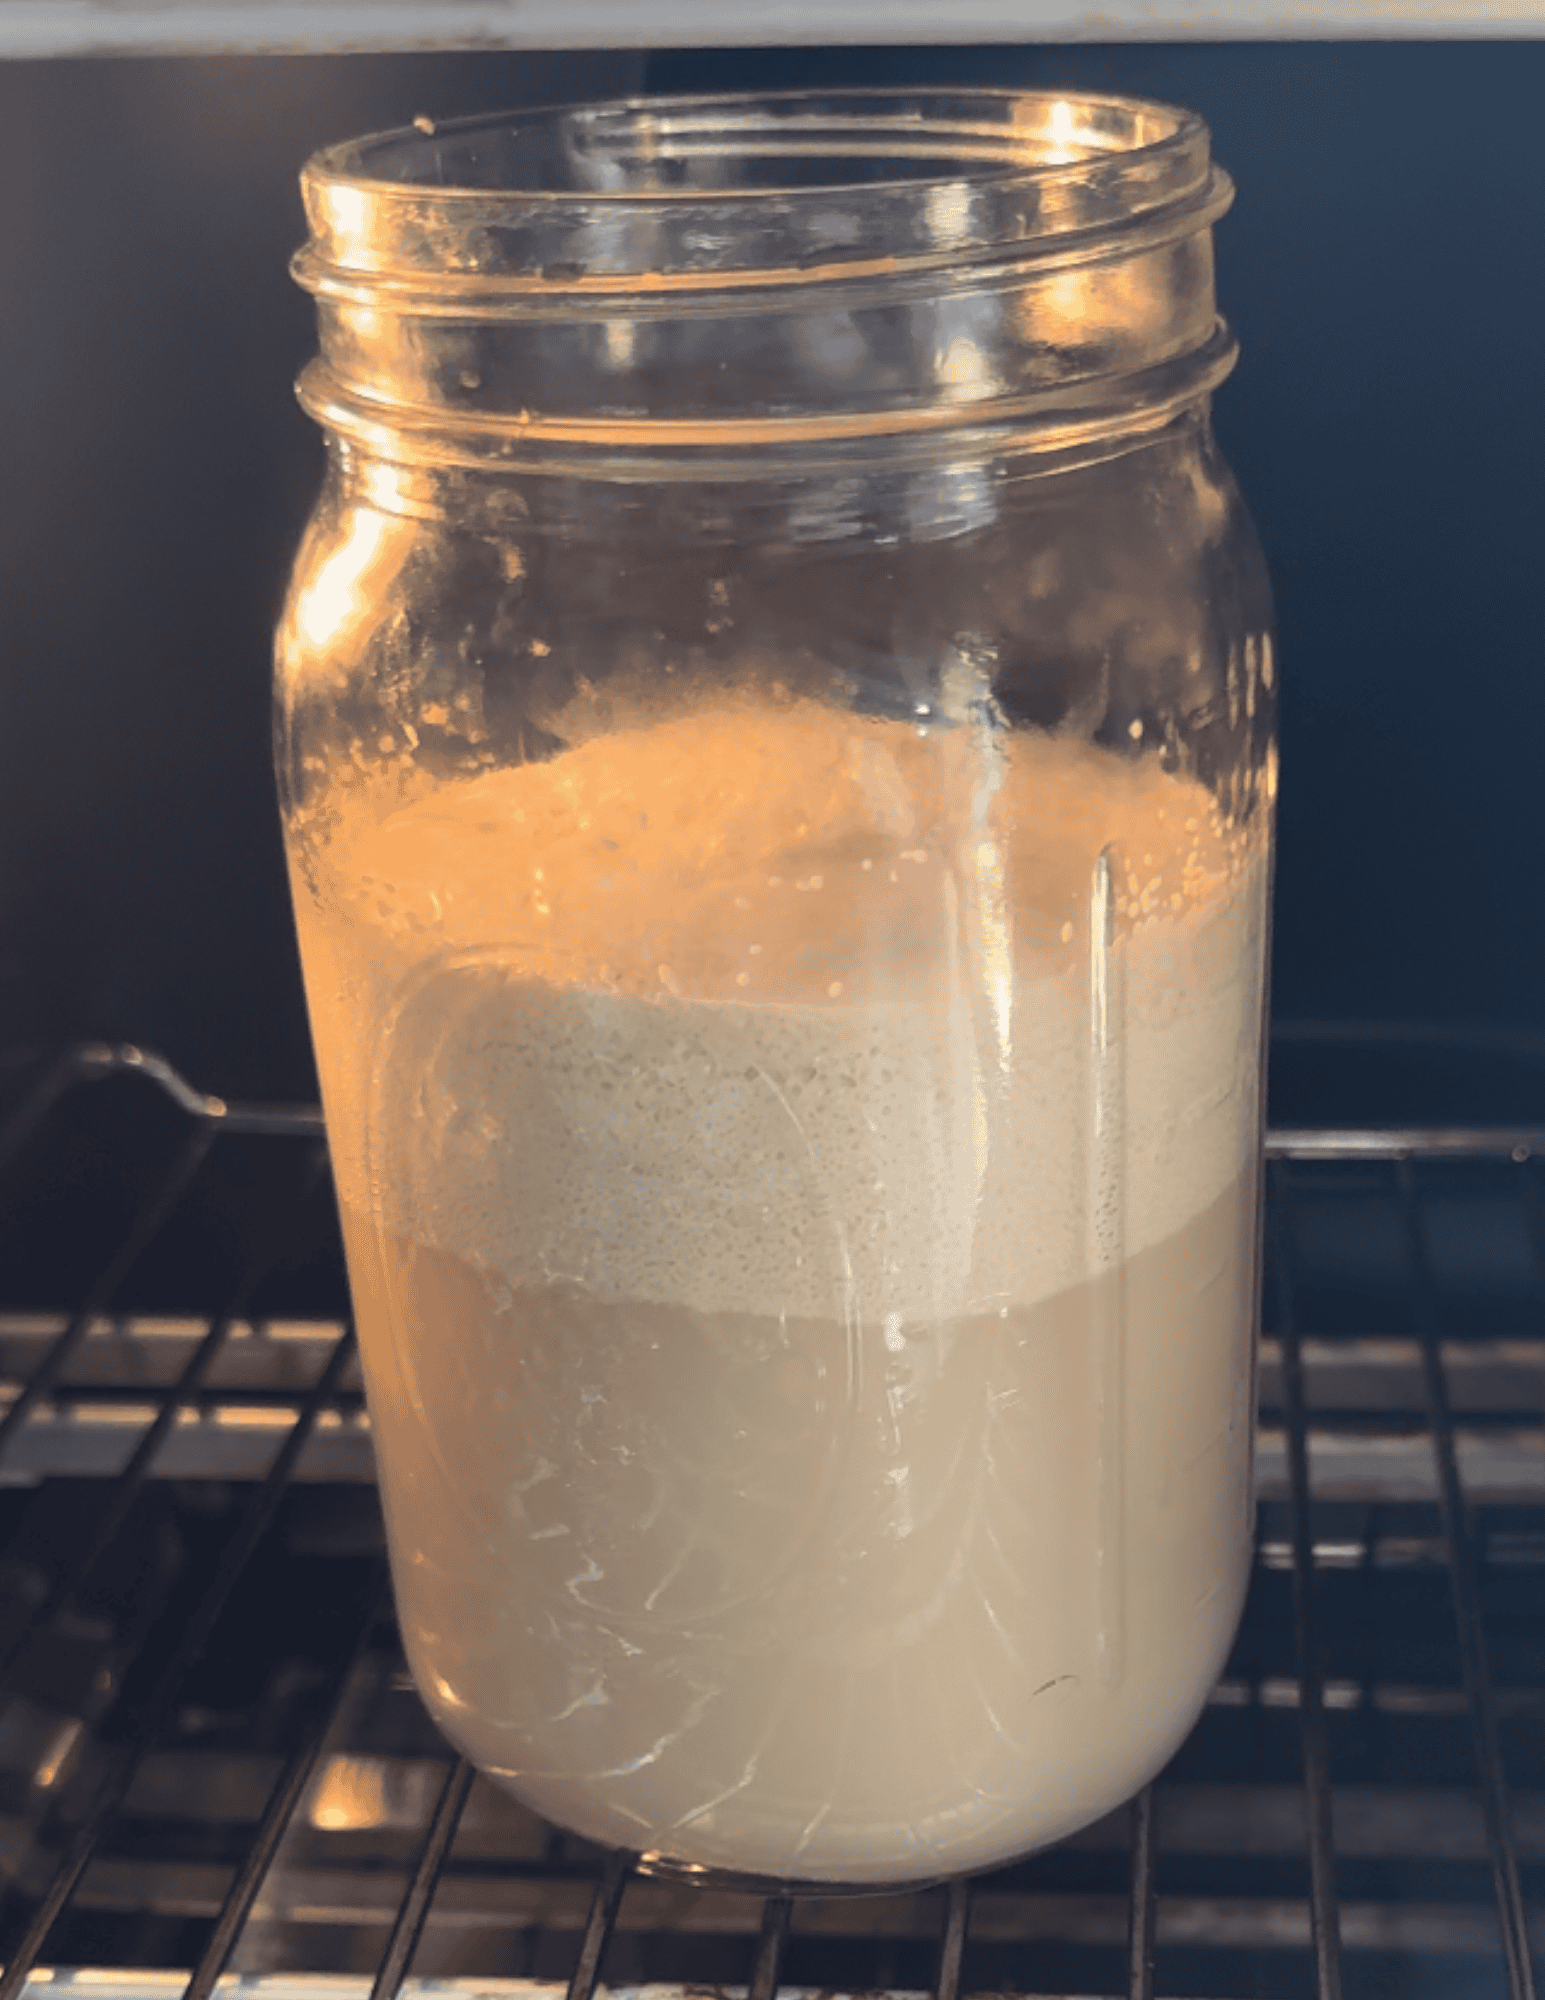
2. Bloomed Yeast
By combining the yeast, warm milk (or water if dairy-free) and honey together and allowing it time to proof in a warm, draft free area, a frothy “bloomed” yeast emerges which reassures you that your yeast is active and will help your dough rise beautifully. I recommend using a countertop proofing oven to ensure a warm and compatible environment for proofing not only the yeast but the dough as well. My favorite is this multipurpose oven.
Here’s a tutorial on how to bloom the yeast:
3. Flours/Powders
There are many flours that can be used if the following flours are not accessible where you’re at or if your diet requires modifications. There are many times when I run out of a flour and sub it out for another that I have on hand. Understanding the different flours and their fellow flours that perform similarly within a recipe will help you adjust and become empowered with swapping out ingredients.
- Millet Flour
If using fresh milled gains, I get these from Azure Standard (US based option), Amazon, or Bread Becker. If using already milled grains (similar to just picking up flour at the store) I useBob’s Red Mill or Anthonys. Millet is one of the oldest cultivated grains and is naturally alkaline, making it easy to digest. It’s excellent for tender cakes, flatbreads, and sandwich breads. Its mild flavor complements sweet and savory dishes. - Gluten-Free One-to-One Flour
A high-quality gluten-free one to-one flour blend provides structure while keeping the cookies crisp, not crumbly. I prefer Bob’s Red Mill Gluten-Free 1-to-1 Baking Flour for this recipe because it produces consistent results and bakes evenly. Be sure to use a one-to-one blend that already contains xanthan gum. If you’d like to substitute this ingredient out completely, increase the Xanthan Gum within the recipe by 1/2 tsp.
4. Salt
A small amount of salt goes a long way. Don’t skip it—it makes a noticeable difference.
5. Avocado Oil
Avocado oil is my go-to fat for soft, because it keeps the dough tender without adding any strong flavor thanks to its neutral taste, It also adds healthy fats to help prevent dryness and cracking — something gluten-free doughs are especially prone to. Avocado oil also has a high smoke point, which means your crust brown beautifully in the oven without burning or tasting greasy. If you need to sub it out, try using olive oil or melted tallow.
6. Mozzarella Cheese
This is my preferred filling for this recipe, but you can fill it with any cheese (or filling) that you’d like!

The Gluten Free Kitchen Cookbook Series
Healthy GLUTEN-FREE Recipes for Every Day LIFE
Your go-to cookbooks for all of the delicious & nutritious meals, sides, breads (yeast & sourdough), baking staples, snacks, desserts, drinks and more. With easy-to-follow instructions and beautiful step-by-step photography, every page invites you to explore nostalgic, healthy meals that make being gluten free a “get to” instead of a “have to”.
Whether you’re cooking for yourself or sharing with loved ones, The Gluten Free Kitchen Cookbook Series brings healthy living to your table every day.
Making the Dough
This dough is flexible and is the perfect base recipe for whatever cheese bite you’d like to create. You could roll the dough and fill it with your favorite fillings (cheese, pizza sauce, chocolate, whatever you’d like!)
1. Proof Yeast
2. Mix Psyllium Husk + Water
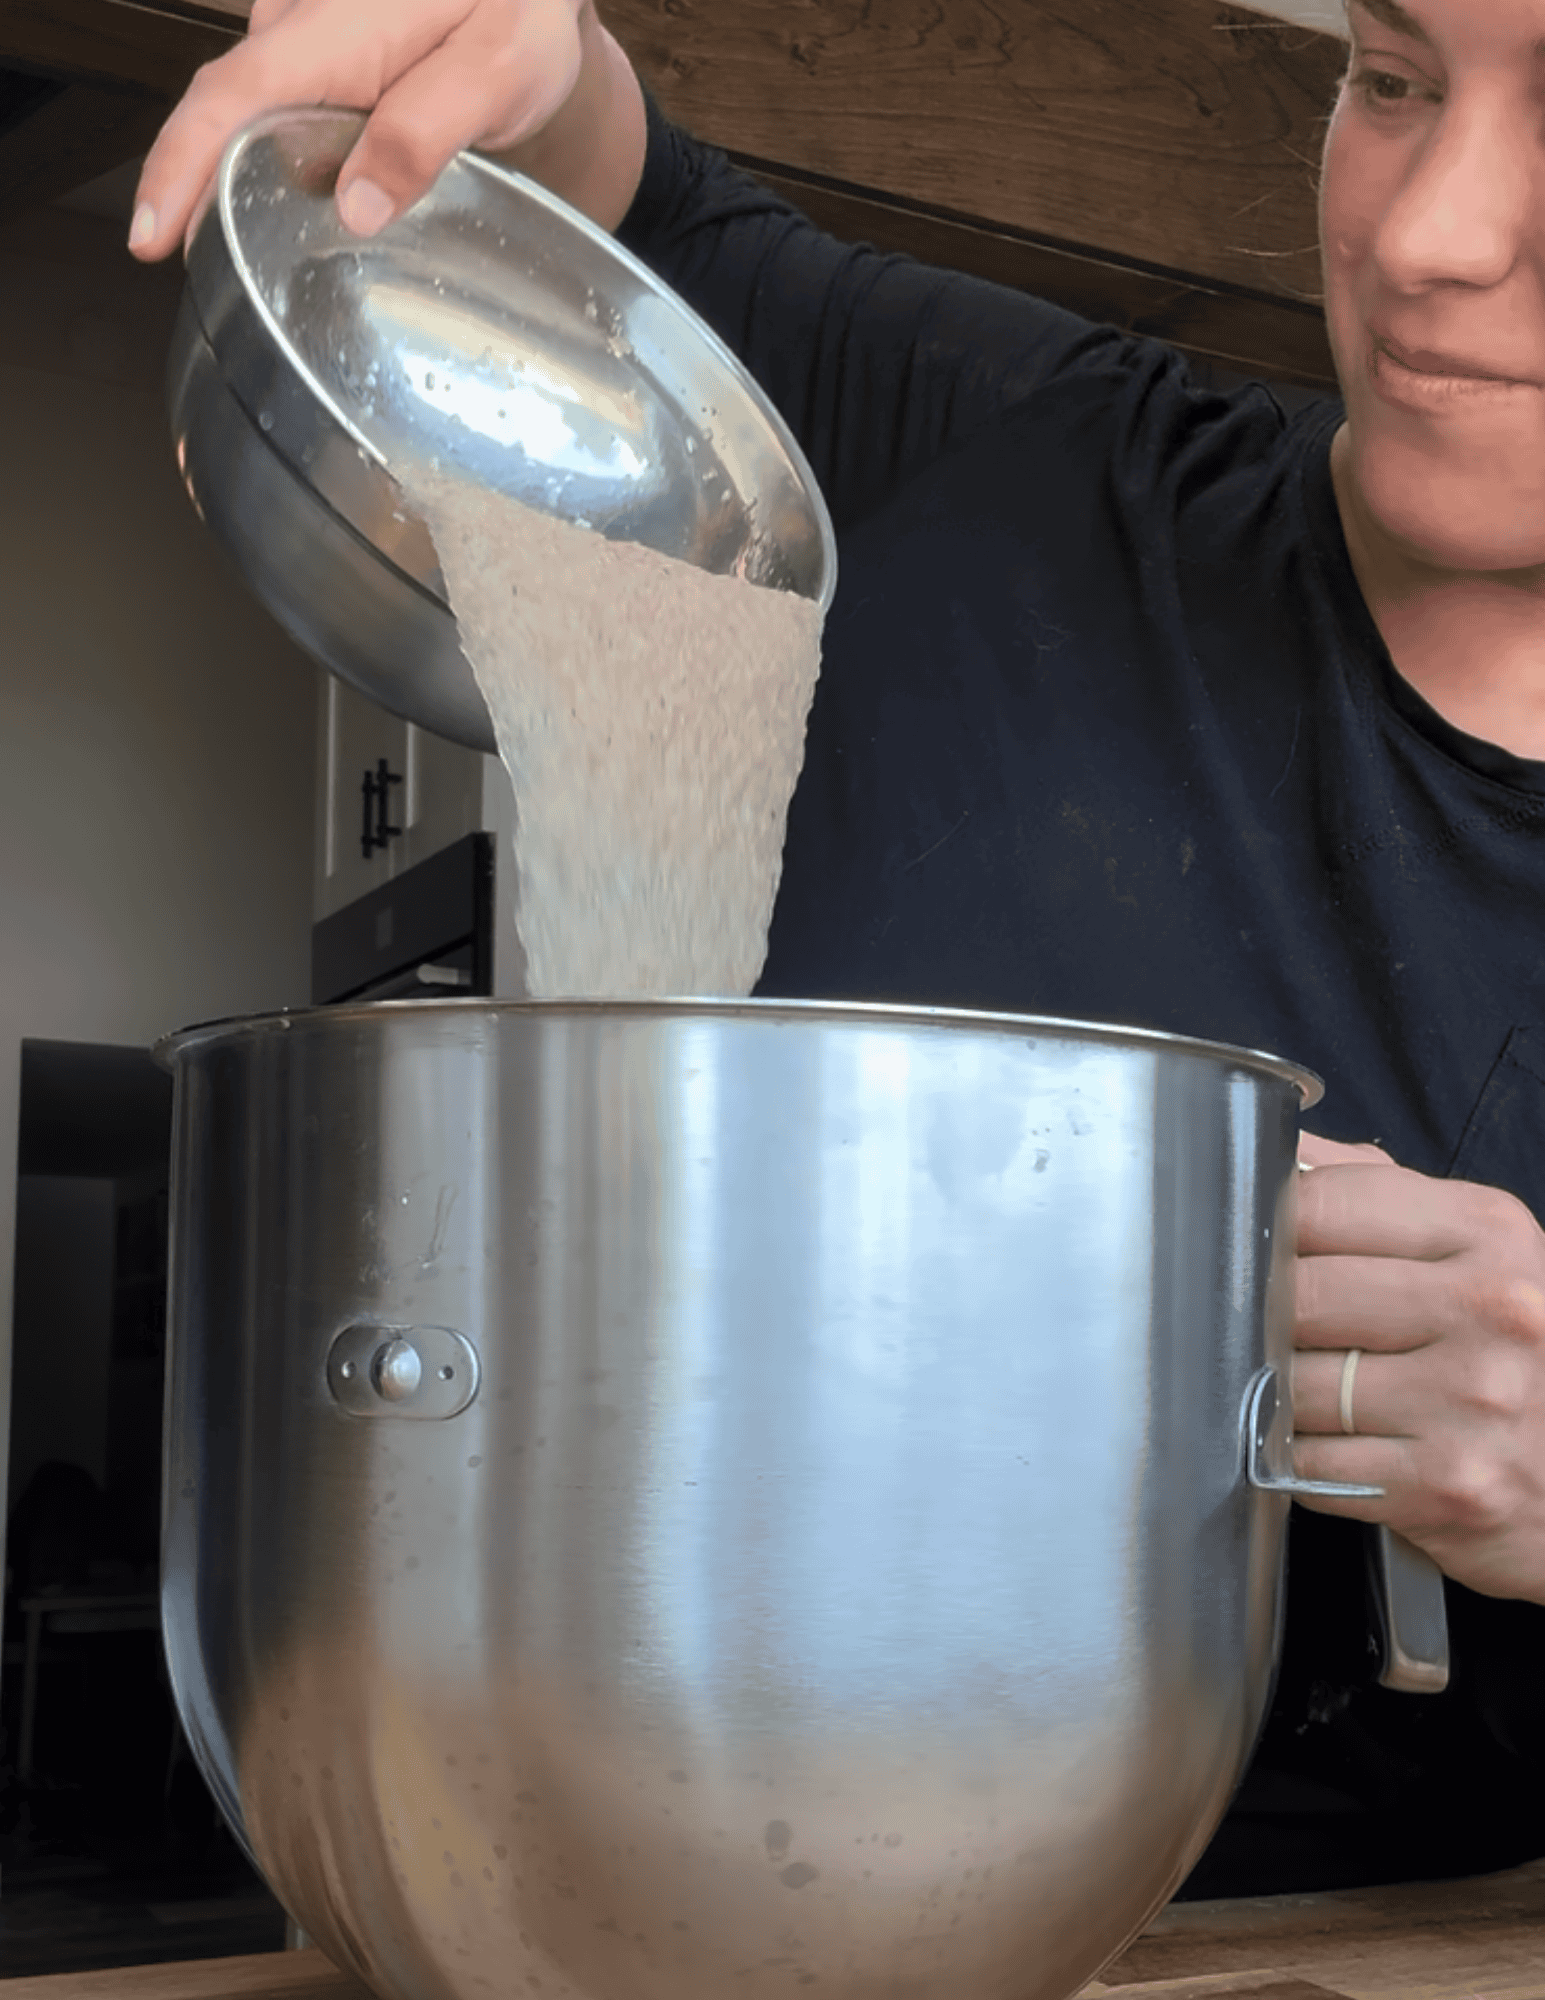
3. Add to Dry Ingredients
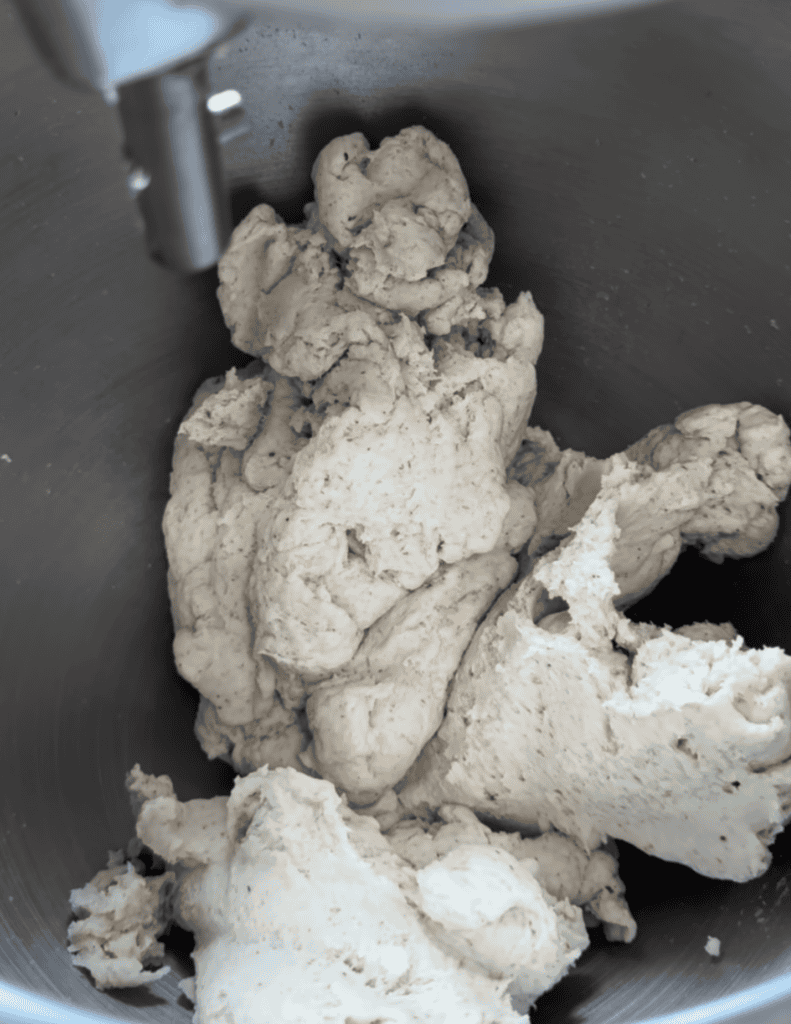
4. Dough Texture
Forming & Filling the Gluten Free Cheese Squares

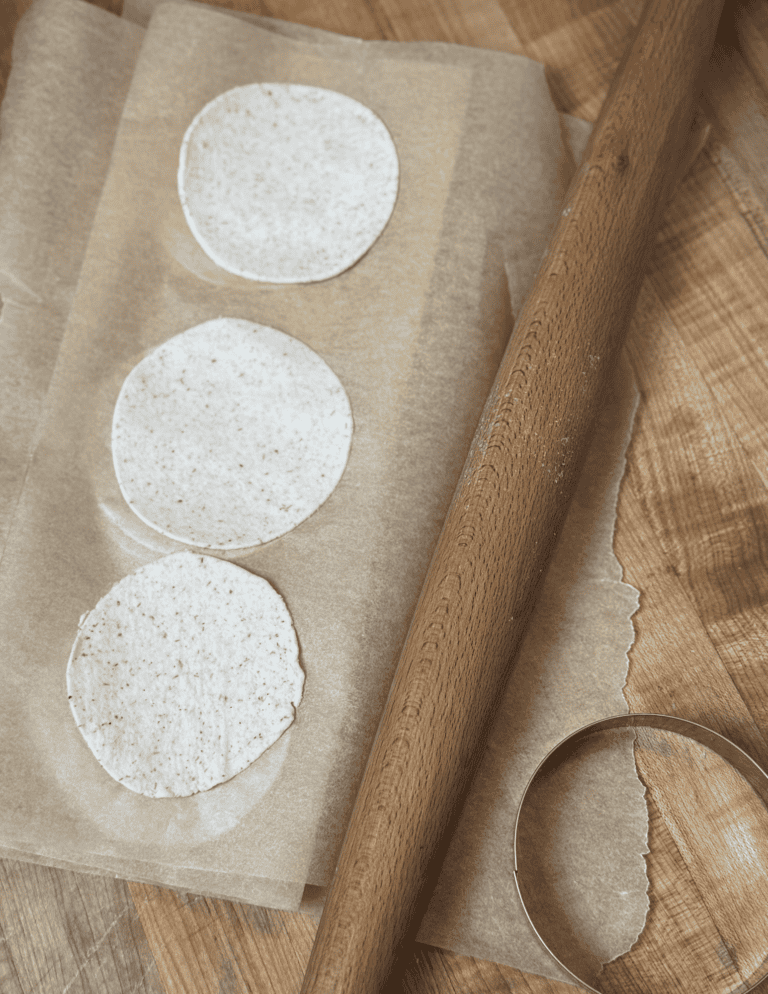
1. Flour the surface
2. Separate dough into smaller amounts to roll easier
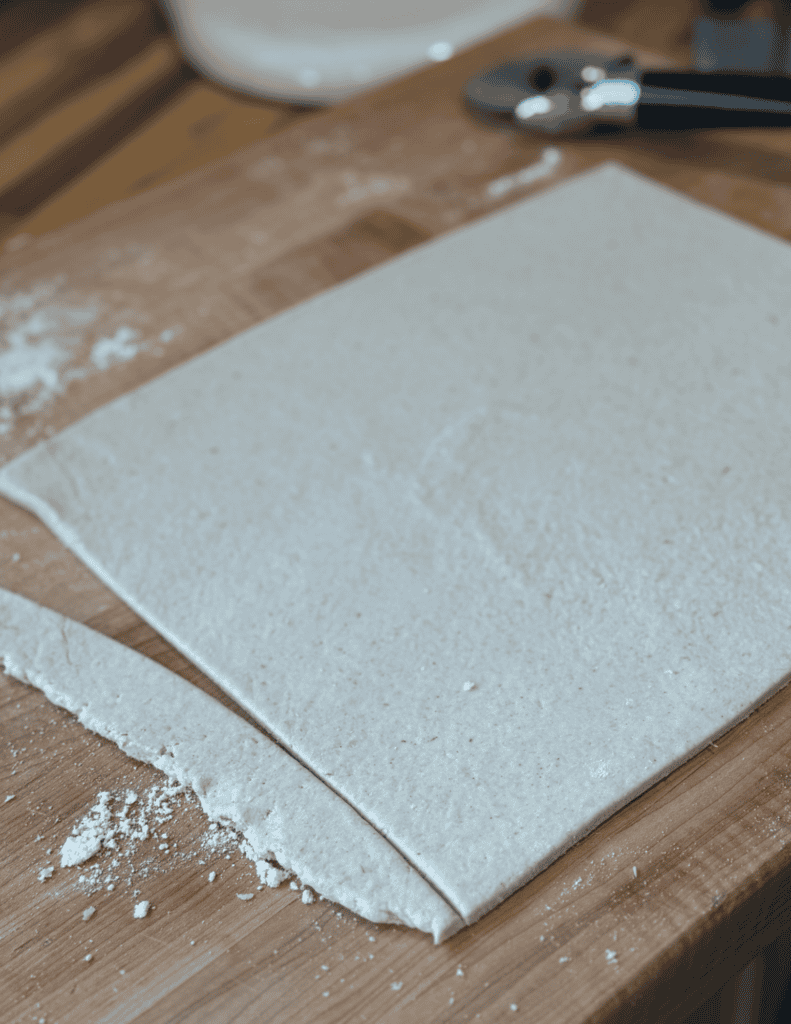
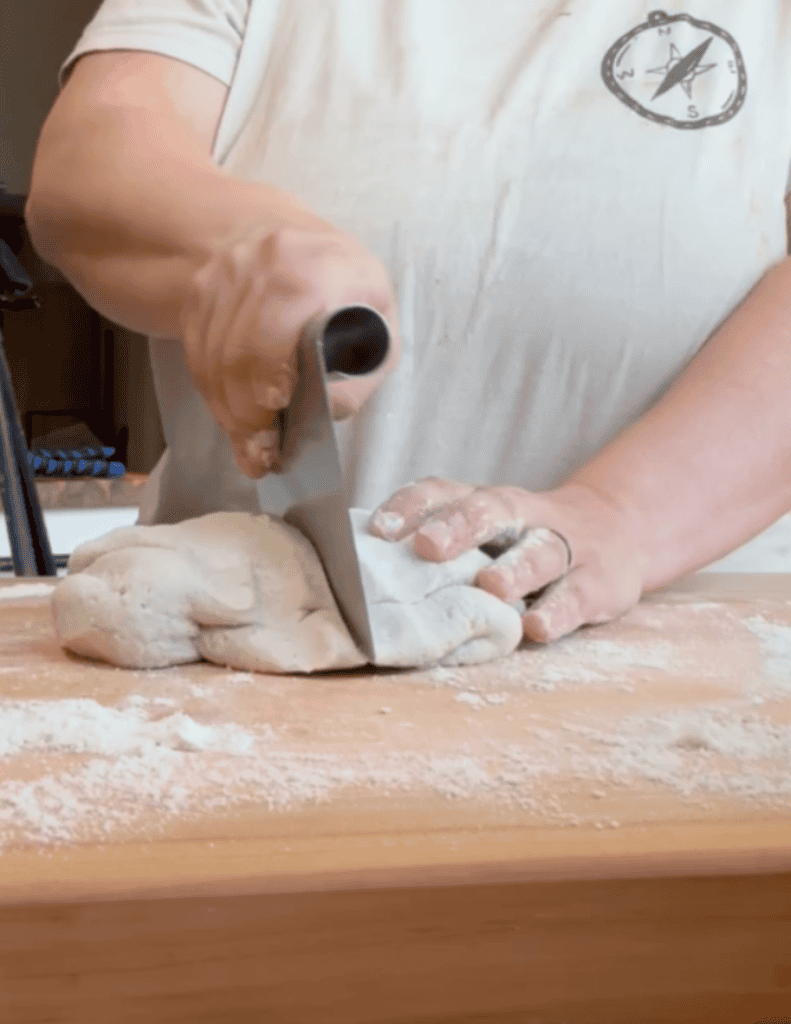
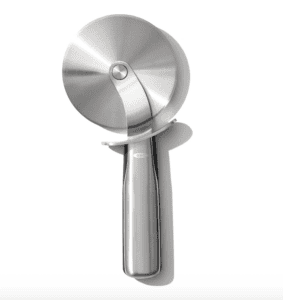
3. Roll the dough out thin and remove uneven sides with a pizza cutter.
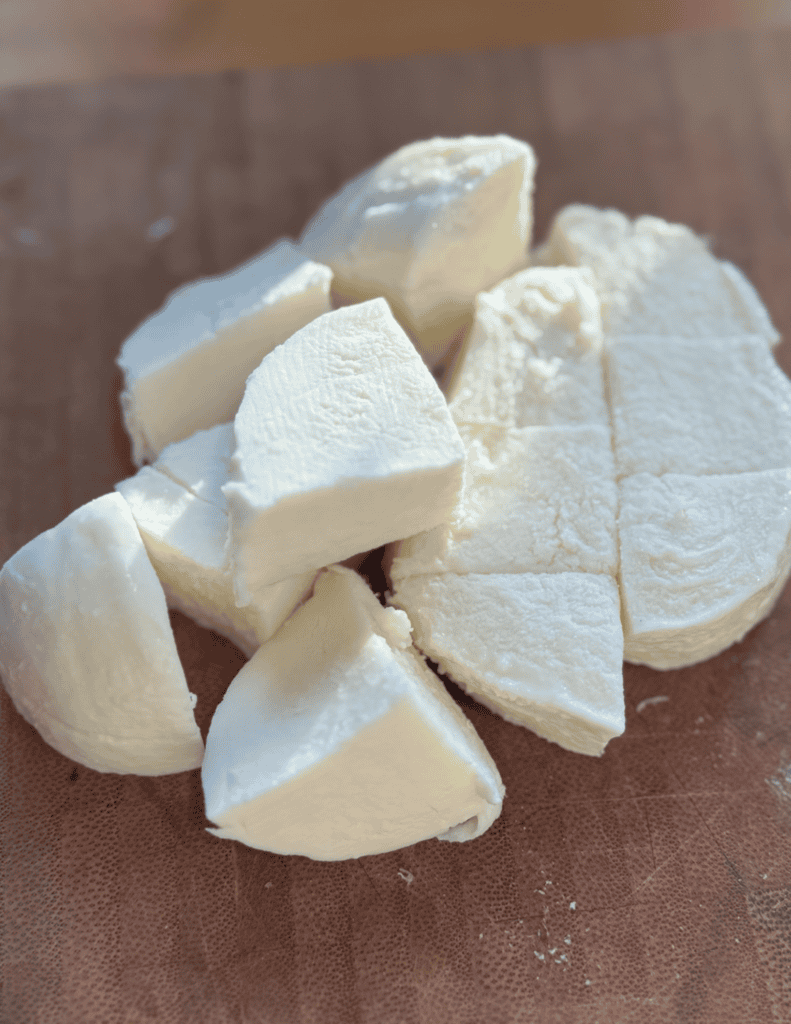
4. cut up cheese into chunks.
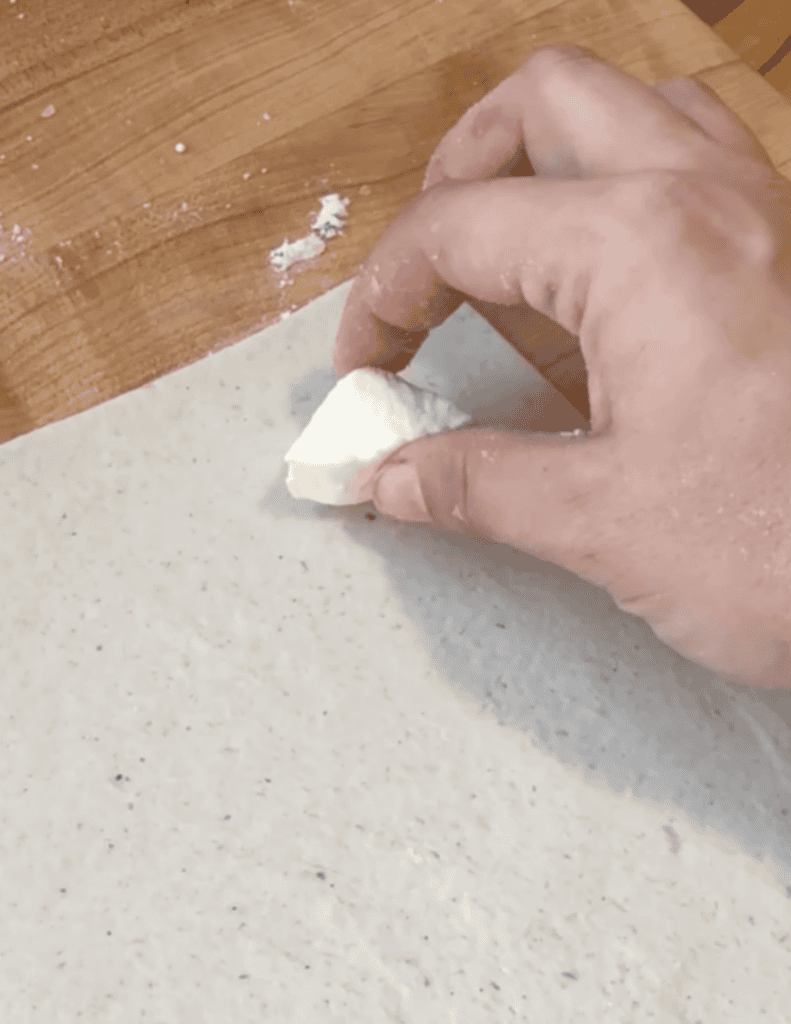

5. Place cheese in a straight line in two rows.
6. Use the pizza cutter to slice 4 even rows.
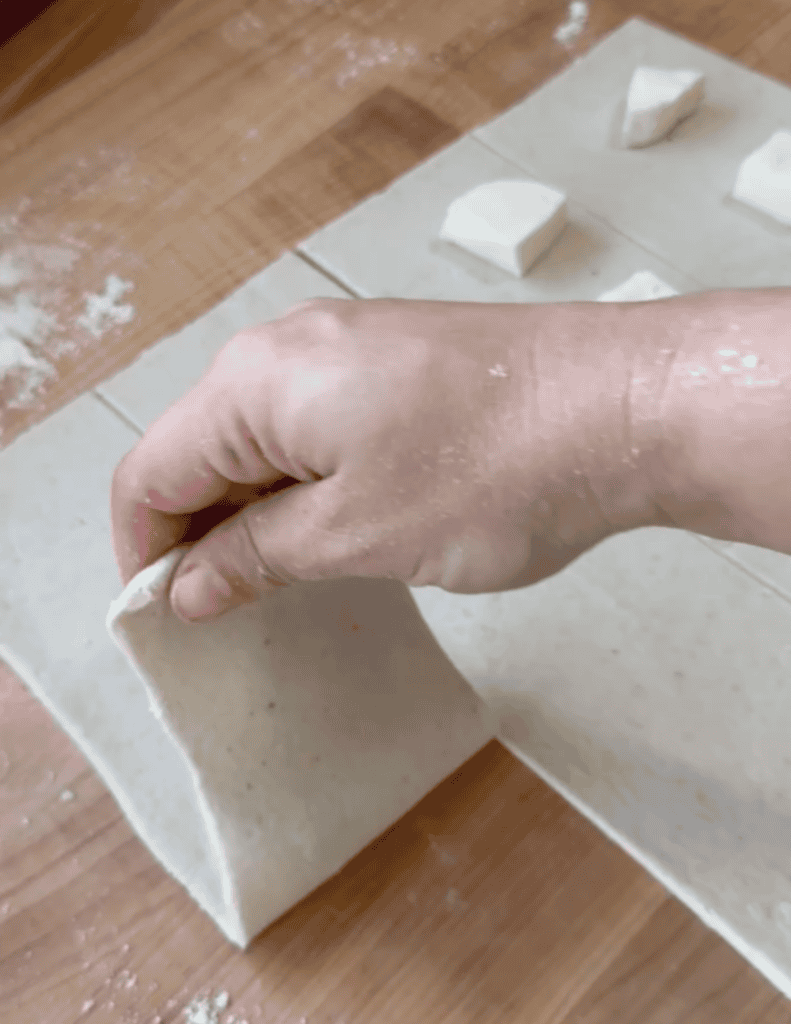
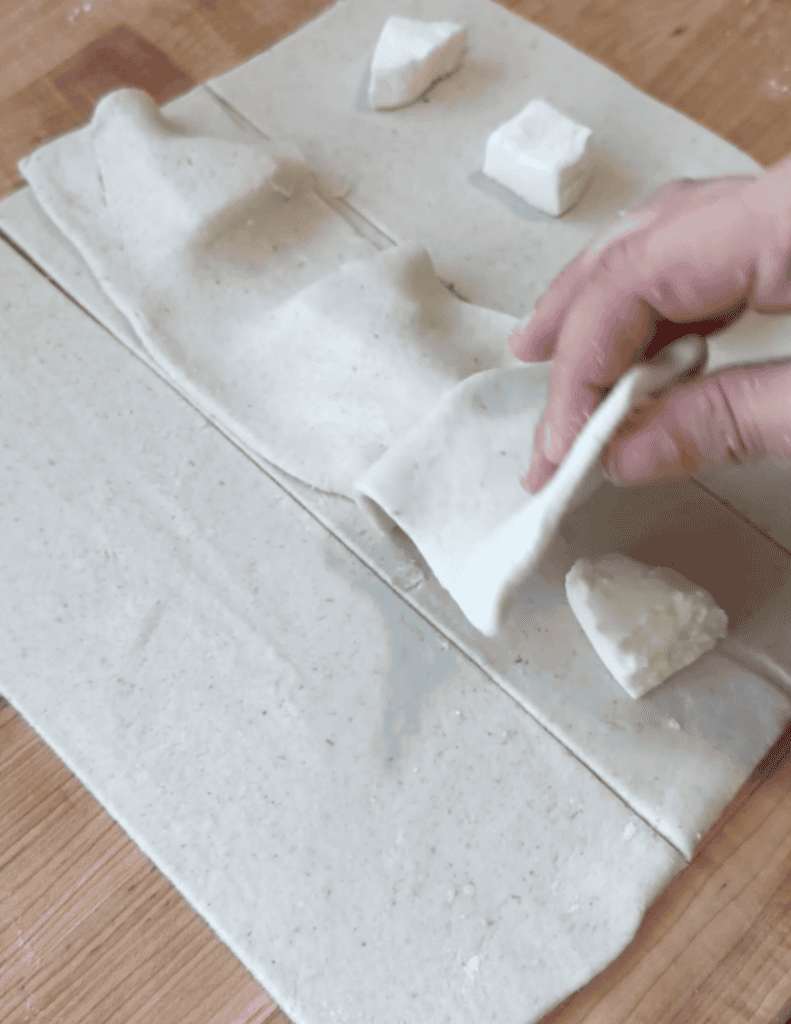
7. Take an unfilled dough strip and place it over one of the cheese filled rows.
8. Cover the cheese completely.
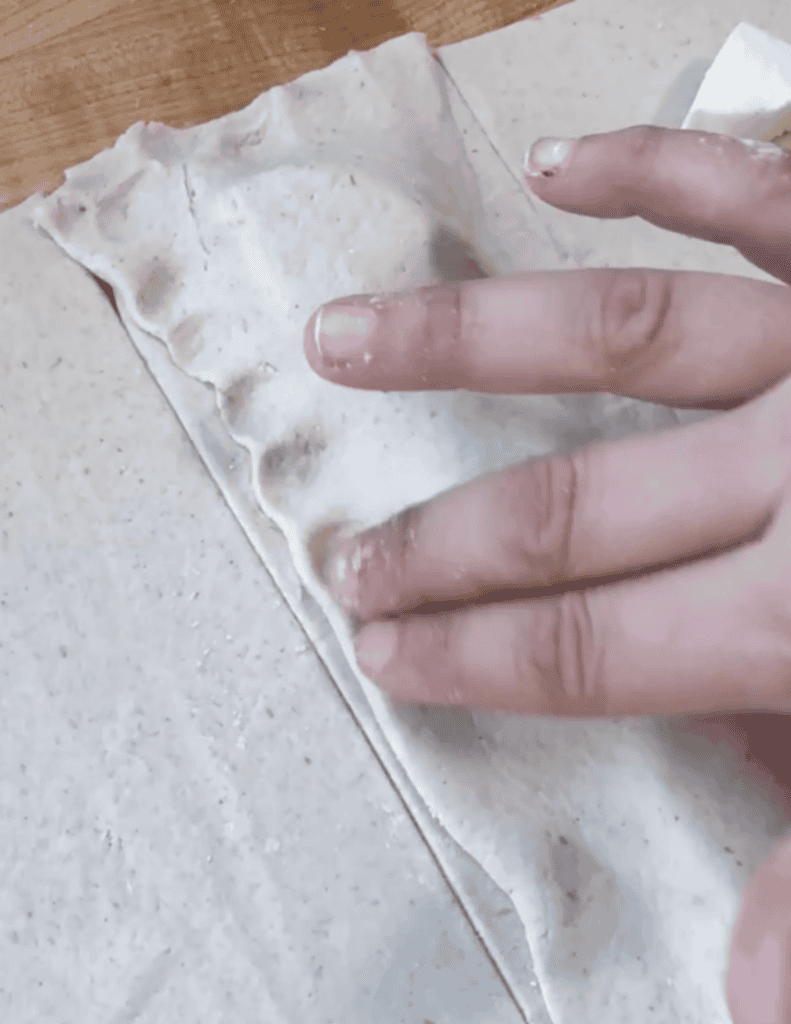
9. Gently press the dough with your fingers to seal the outside edges and edges in between cheese fillings.
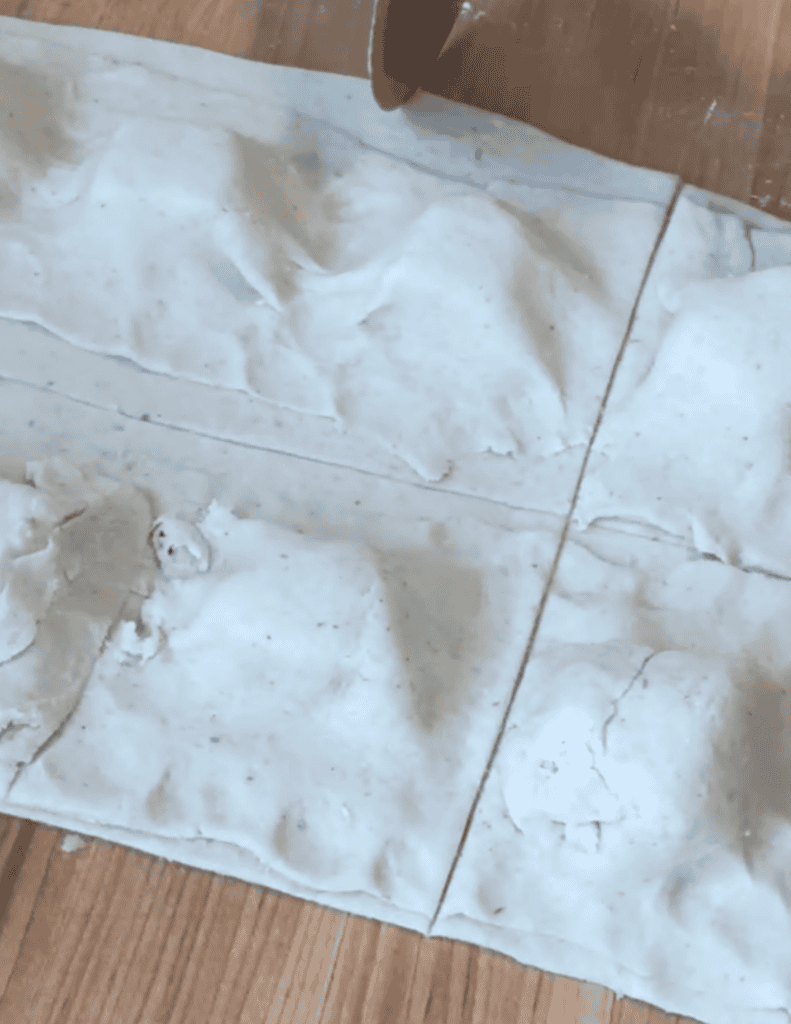
10. Use a pizza cutter to slice in between each row of cheese.
11. Separate the squares and use any excess dough with the next batch. Repeat until done.
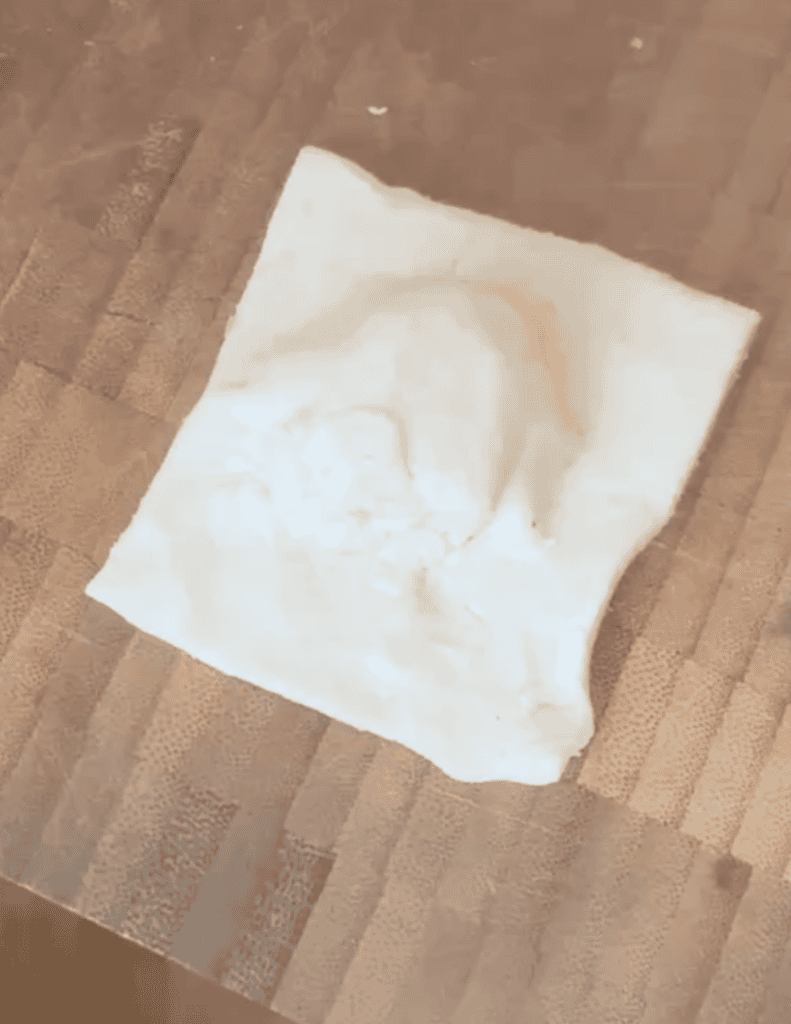
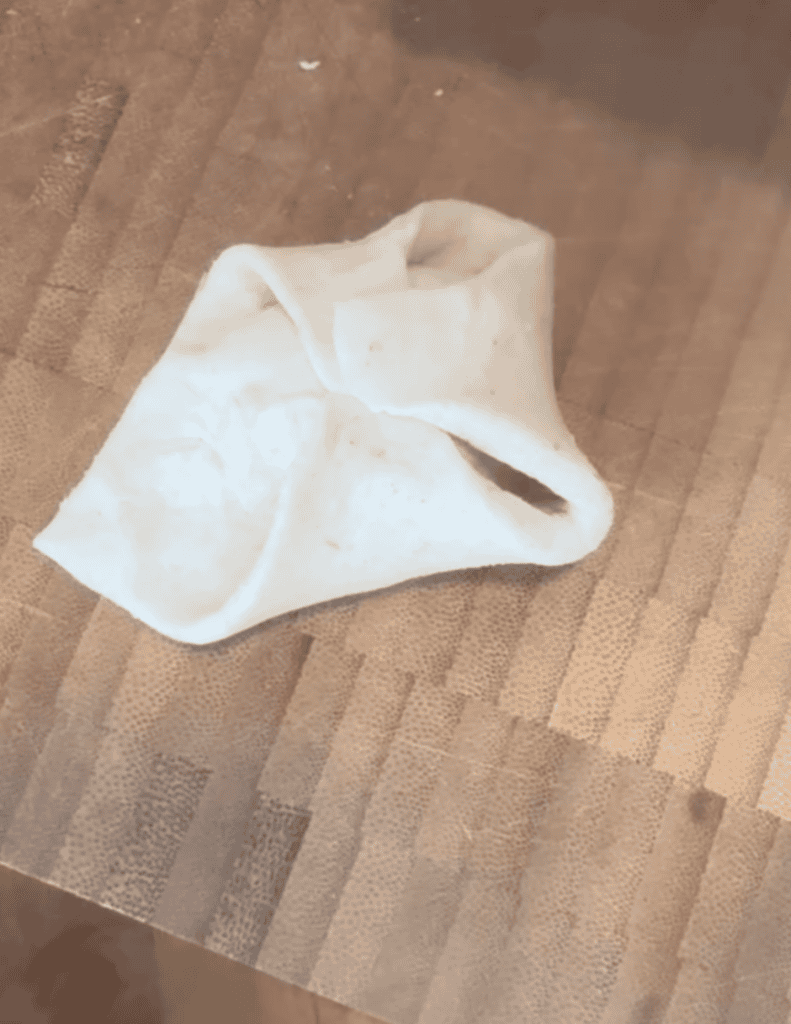
12. Squares will look similar to this. Make sure there are no hole in the dough or seams. Cheese can escape while frying.
Optional Fold to Make the Squares More Doughy
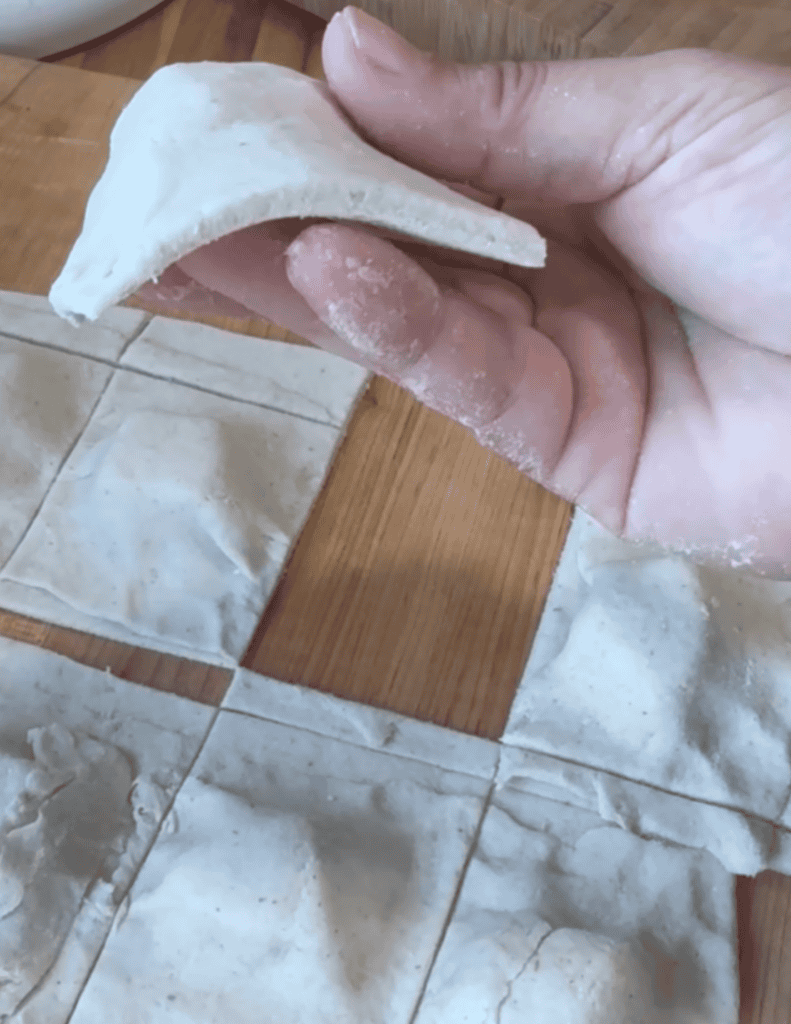
If you’re a sucker for a more doughy experience, fold the squares as instructed below.
1. This fold isn’t necessary, but does make it look prettier and have a more dough-like outcome vs. the thinner square version. I personally prefer the squares as is!
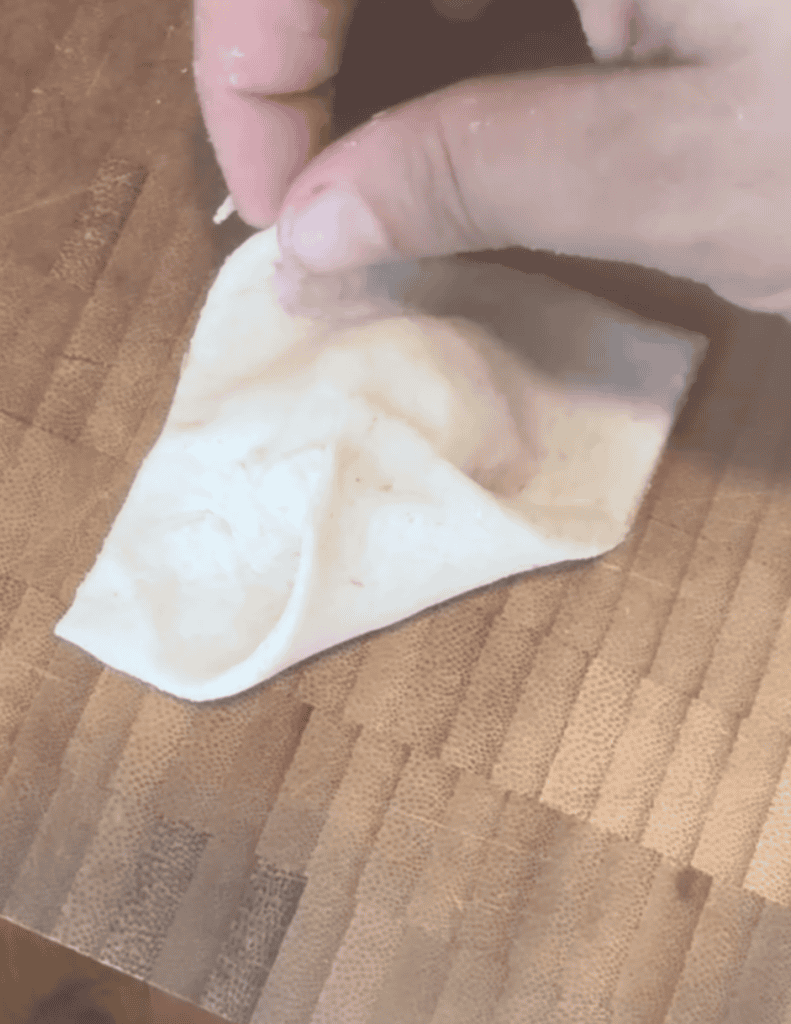
2. Take opposite ends of the square and bring them together, pressing them into the top of the dough.
3. Repeat with the remaining two end pieces.
4.Make sure to press them into the top of the dough each time.
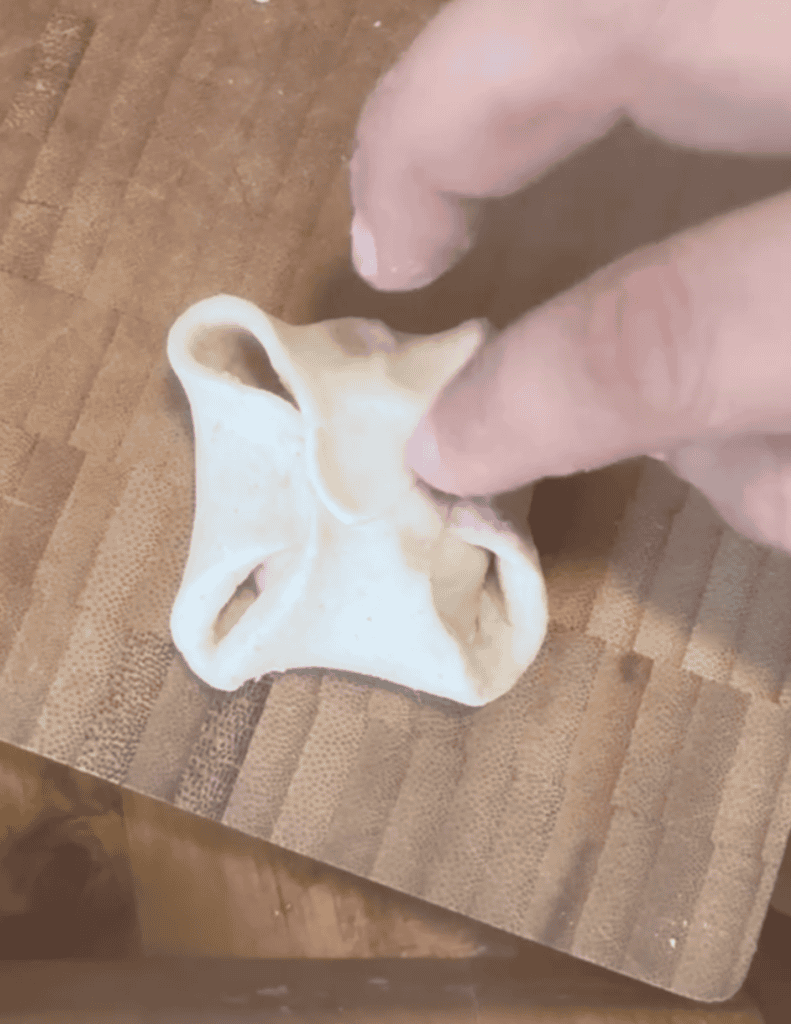

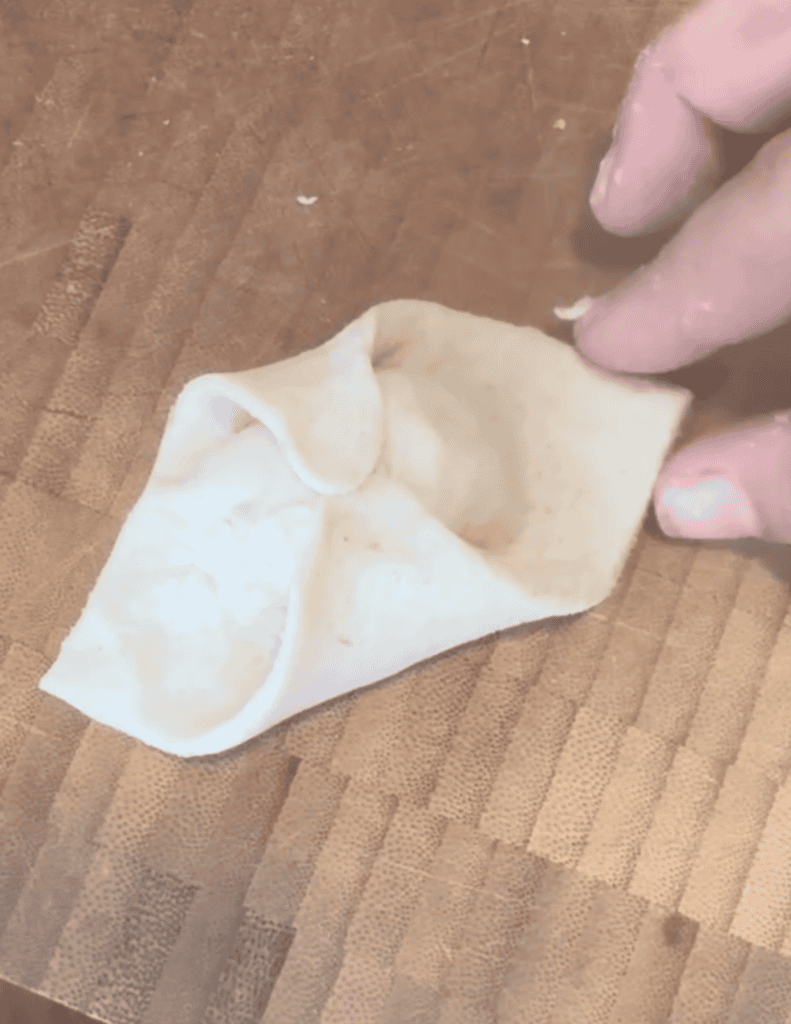
5. Once pressed, this shape is formed!
6. And then it’s time to fry!
Frying the Cheese Bites
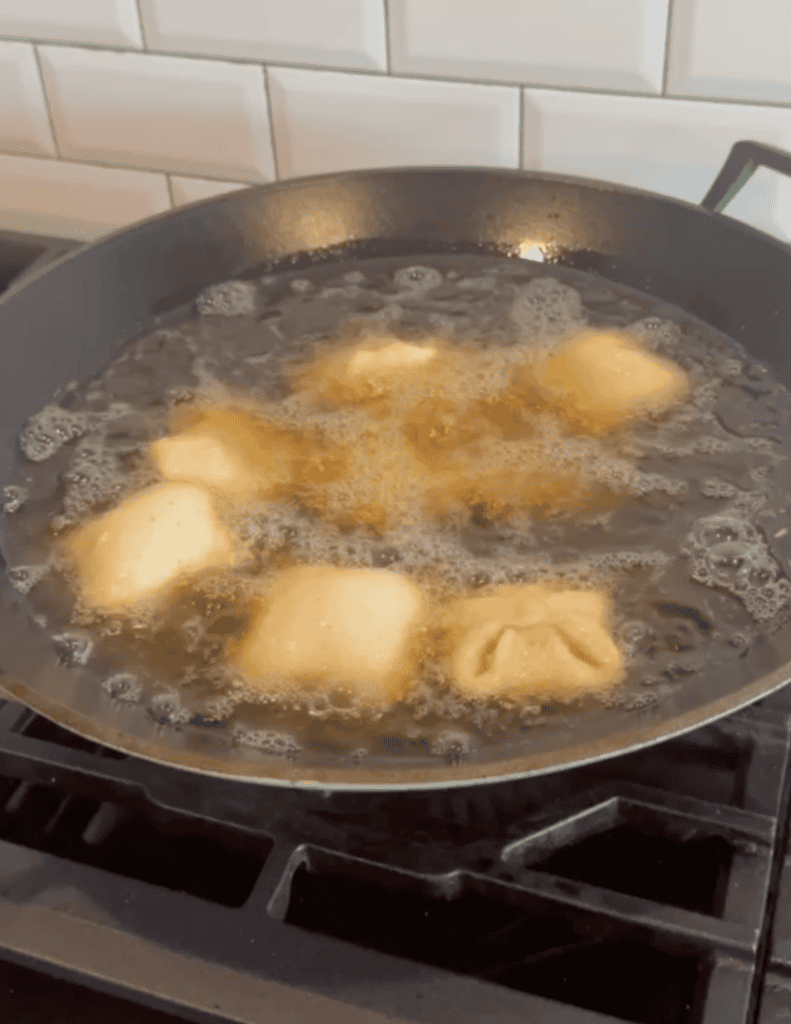
1. Make sure the avocado oil is heated to 350F. Place dough into the hot oil and allow them to get golden brown.
2. This is what the shaped ones will look like.
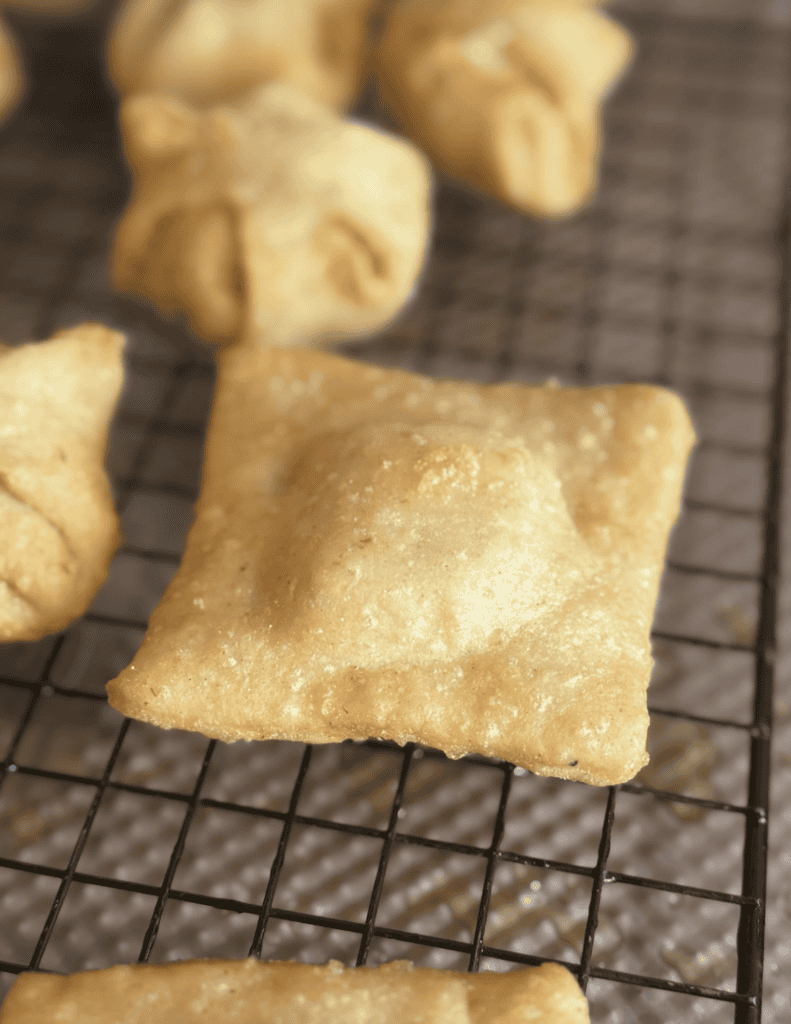
3. This is what the square ones will look like.
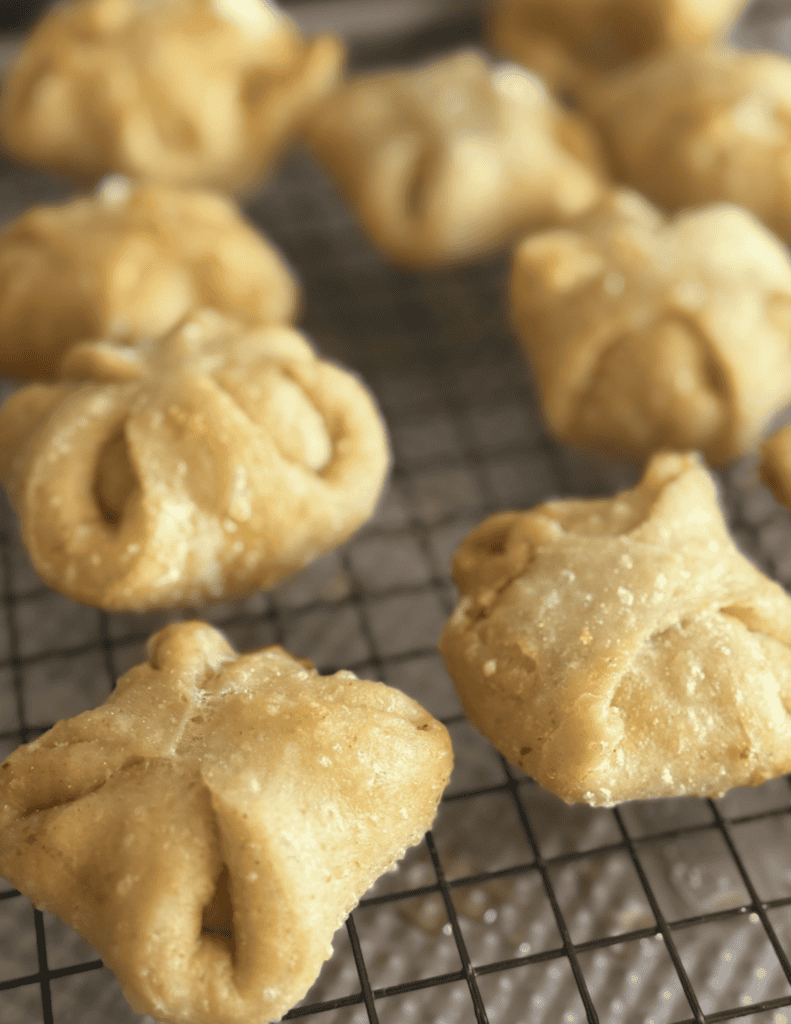
4.Let them cool a little and then enjoy!

Crispy Gluten-Free Fried Cheese Squares
Ingredients
Wet Ingredient Dough Prep
- ⅓ cup Warm Water
- 2 TBSP Psyllium Husk
- 1 tsp Yeast
- ½ cup Warm Water
- ½ TBSP Honey
Remaining Dough Ingredients
- 1 ¼ cups Millet Flour
- 1 ¼ cups Gluten Free Flour One-to-One
- 1 tsp Salt
- ½ cup Warm Water
- 1 TBSP Avocado Oil
Filling
- 8 oz Mozzarella Cheese
Instructions
- Mix yeast, warm water, and honey. Let it froth and set aside.
- Add dry ingredients together in a mixing bowl (I use my stand mixer bowl) and top with wet ingredients, then mix.
- Mix psyllium husk and warm water. Let it rest for 30-35 seconds and incorporate well into the mixture.
- Let the machine work the dough for 3-5 minutes. If the dough needs a little more water to come together, add it in a TBSP at a time but do not over-wet the dough.
- Form dough into a ball and place in a proofing oven (100°F). Turn the heat off and let it rise for 1 hour. (If you don’t have a proofing oven, place in a warm place with a towel wrapped around it.
- Once risen, break the dough into smaller sections and roll it into a thin rectangle.
- Mentally break the dough into 4 equal rows. Place mozzarella cheese in two of the rows with enough space to have even, closed sides.
- The remaining two rows will be the toppers. Use a pizza cutter to cut the rows apart and pace the toppers on top of the mozzarella rows.
- Press the dough to seal around the cheese (without breaking or tearing the dough).
- Use a pizza cutter to cut individual squares out.
- At this point you can fry them as is as squares, or get a little fancy and fold them as instructed in the visual tutorial.
- Preheat the oil to 350°F and fry up the bread. It is important to note that if there is a break in the dough, the cheese will make the oil pop. if that happens, calmly remove that pieces with a spider scoop.
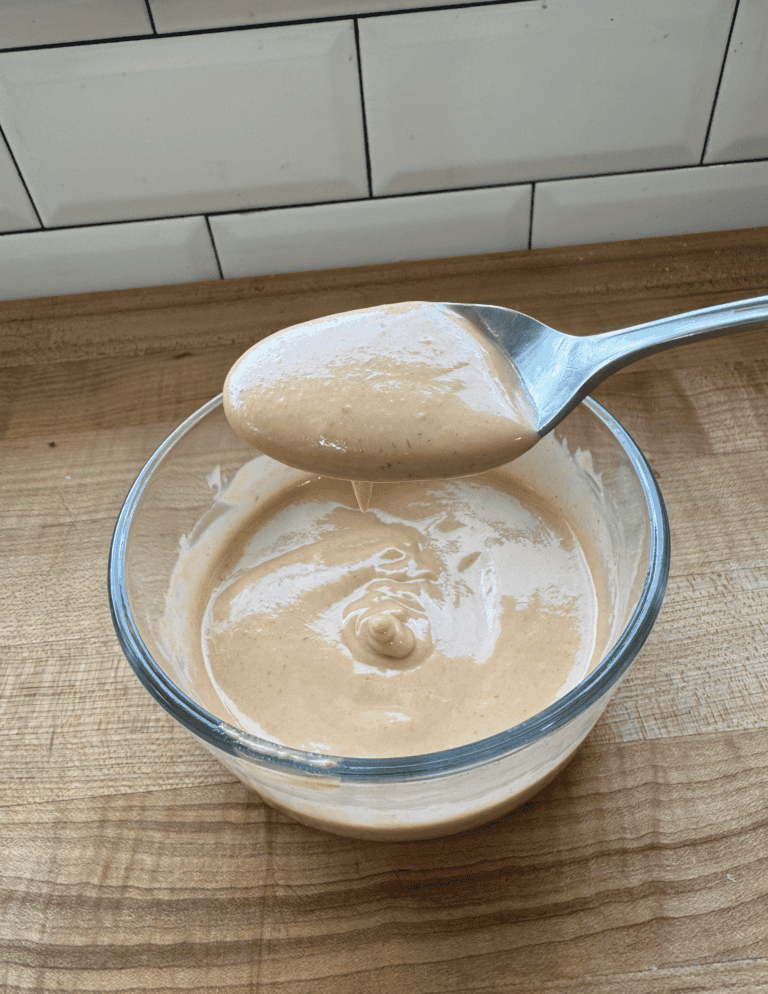
- Fry until the crust is golden brown on both sides and then enjoy! Pair with marinara sauce.
Recipe Tips
Proofing is important. Use a countertop oven with a proofing setting to ensure your dough proofs perfectly each time. If you don’t have a proofing oven, turn your kitchen oven on to the lowest setting (usually 175°F) and once it reaches that temperature, turn the oven off. Place your covered bowl with dough into the oven and allow it to proof there.
If your dough isn’t proofing well and you’ve utilized the tip above, make sure your yeast is still active and strong. Weak yeast = weak dough.
Seal the dough tightly around the cheese to prevent leaks while frying
Don’t overfill—too much cheese can break through the dough
Keep oil around 350°F for even frying
Fry in small batches to maintain oil temperature
Let rest briefly after frying so cheese sets slightly before biting
If dough feels sticky, lightly oil your hands instead of adding flour
Prep/Storage Options:
- Make and freeze: This dough can be made and frozen for later use if stored in an airtight container. I like to use the soupercube containers to form the dough into 1 or 2 cup portions and then once they are frozen move them to a freezer safe plastic bag. You can also shape the dough and fill with cheese and freeze on a cookie sheet to later store in a plastic freezer bag for a pre-prepped freezer option.
- Make & Bake: This is the option shared in the recipe steps! Take this dough and once it has risen it is ready to turn into the cheese bites.
- Refrigerated & Cold Fermented: This dough can also be mixed, made and stored in the refrigerator for 48 hours to develop more flavor and have a chewier consistency when baked.
- Refrigerator: Store fried cheese bites in the refrigerator in an airtight container for up to 1 week.
- Freezer: Store fried cheese bites in the freezer in an airtight container for up to 3 months.
Recipe FAQs
Get on the List
Subscribe to Receive the Gluten Free Pantry Must Haves Ebook

Did you make this recipe?
We’d love to see! Tag @farmfreshfamily on Instagram!