This gluten free chocolate sheet pan cake is the kind of dessert that disappears fast—rich chocolate flavor, an ultra-moist crumb, and a soft texture that doesn’t taste “gluten free” at all. If you’ve been disappointed by dry, crumbly gluten free cakes in the past, this recipe fixes that with simple ingredients and the right balance of moisture and structure.
It’s easy to make, feeds a crowd, and works for everything from birthdays to casual weeknight desserts. If you’ve already made my gluten free brownies or chocolate cupcakes, this cake has that same deep chocolate flavor but in an easier, shareable sheet pan version. Add a smooth chocolate frosting on top, and it becomes one of those dependable recipes you’ll come back to constantly.
This post may contain affiliate links, please read our disclosure policy for details.
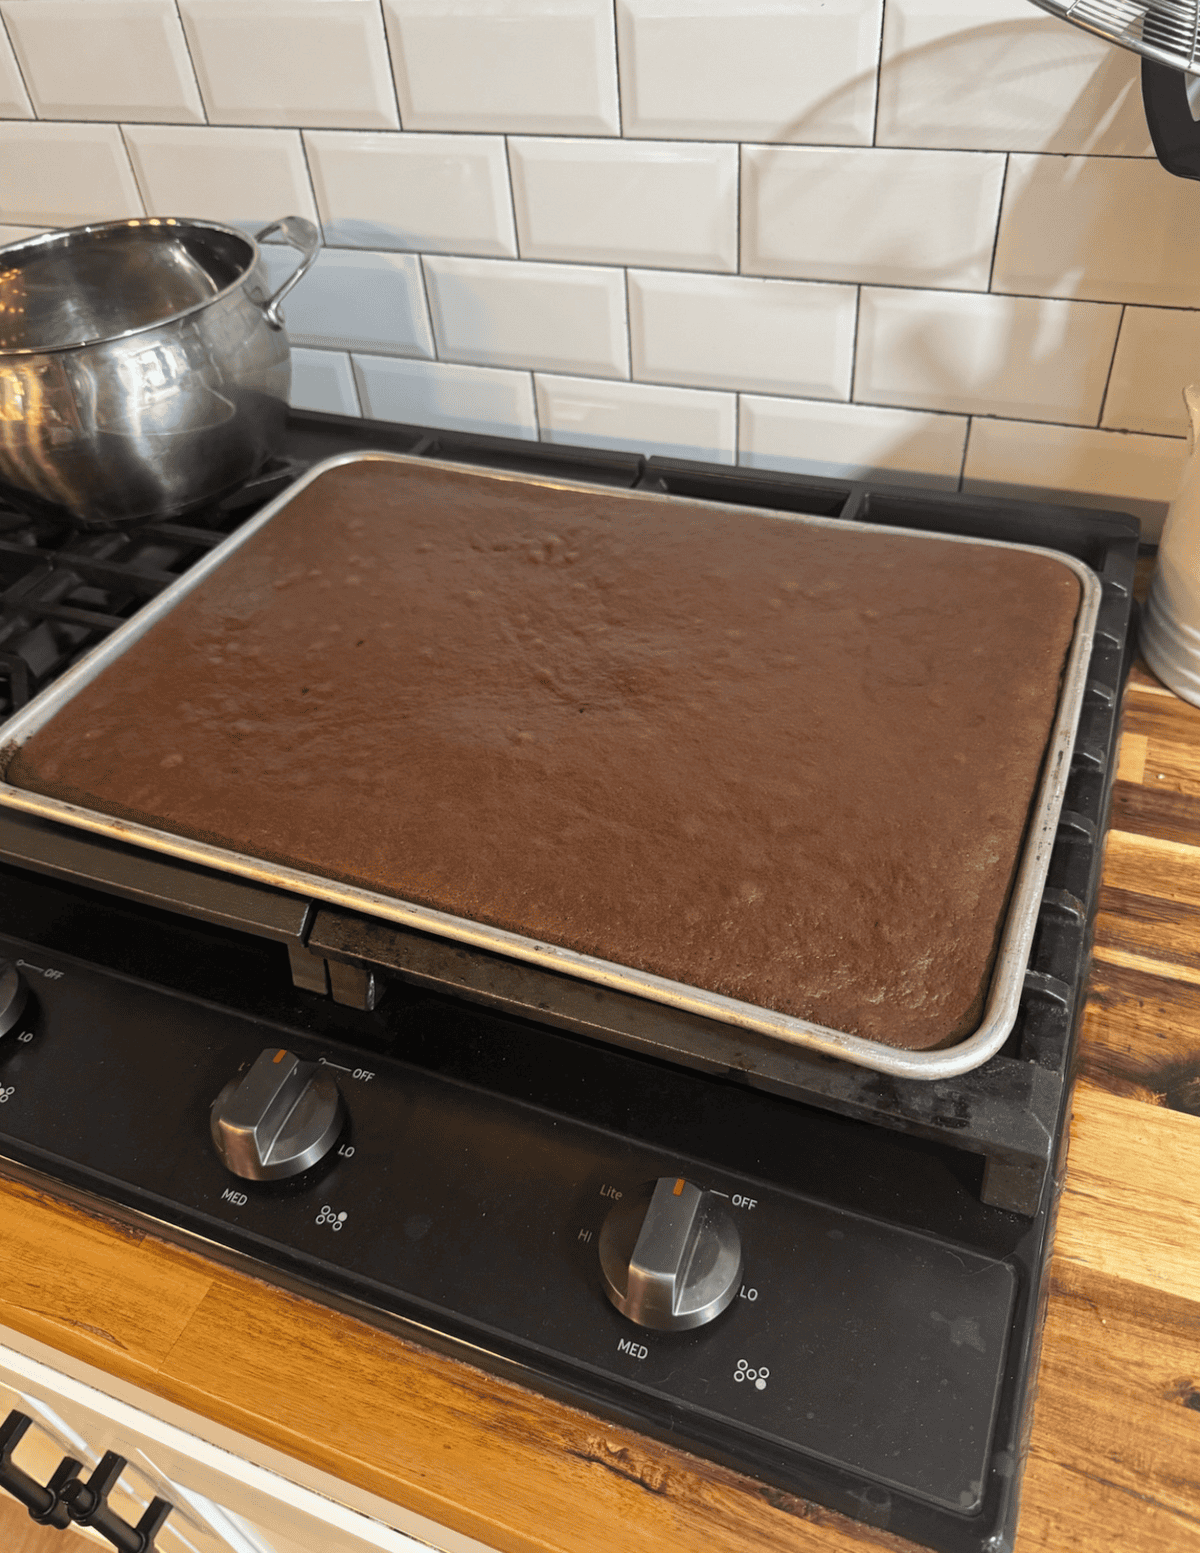
Why You’ll Love These GF Chocolate Sheet Cake
- Soft, moist texture (not dry like typical gluten-free cakes)
- Rich chocolate flavor without being too heavy
- Bakes in one pan → easy and quick
- Perfect for feeding a crowd
- Made with simple, clean ingredients
- Kid-approved and great for any occasion
Variations to Try
- Extra Chocolate: Add chocolate chips to batter
- Frosting Swap: Use ganache instead of frosting
- Cupcake Version: Turn into gluten-free cupcakes
- Layer Cake: Bake in round pans instead
Ingredients
Please see recipe card at the bottom of this post for the full recipe details.
1. Gluten-Free One-to-One Flour
A high-quality gluten-free one to-one flour blend provides structure while keeping the cake soft. I prefer Bob’s Red Mill Gluten-Free 1-to-1 Baking Flour for this recipe because it produces consistent results and bakes evenly. Be sure to use a one-to-one blend that already contains xanthan gum.
2. Unsweetened Cocoa Powder
Unsweetened cocoa powder gives this chocolate cake it’s rich chocolate flavor without adding excess sweetness. For best results, sift the cocoa powder before mixing to remove any clumps. This ensures a smooth dough and even chocolate distribution. A high-quality cocoa powder makes a big difference in both color and depth of flavor.
3. Maple Sugar
Maple sugar adds sweetness with a subtle caramel note that pairs beautifully with cocoa. Using maple sugar instead of refined white sugar keeps the flavor warm and well-balanced.
4. Baking Powder
Baking powder gives the cake just enough lift without making it too expansive. I recommend using a corn-free and aluminum-free baking powder, which is easier on digestion and keeps the flavor clean. This is my go-to option for all gluten-free baking.
5. Salt
A small amount of salt balances the sweetness and enhances the cake flavor. Don’t skip it—it makes a noticeable difference.
6. Raw Cream
Raw cream is simply the naturally separated cream that comes from raw milk. If you do not choose to or have access to drinking/using raw cream, it can easily be substituted out for heavy whipping cream or coconut cream (for a dairy free alternative). The cream is used to drizzle over the proofed rolls and help them to maintain moisture while they bake.
7. Avocado Oil
Avocado oil is my go-to fat for soft, because it keeps the dough tender without adding any strong flavor thanks to its neutral taste, It also adds healthy fats to help prevent dryness and cracking — something gluten-free doughs are especially prone to. Avocado oil also has a high smoke point, which means your crust brown beautifully in the oven without burning
8. Eggs
I’m a big fan of supporting local farmers and using farm fresh eggs. It’s also important if you’re navigating more anti-inflammatory foods to source pasture raised, non GMO, corn and soy free eggs. If you need to be egg free, my favorite egg replacer isBob’s Red Mill Egg Replacer. I’ve used it within this recipe and it came out amazing!
9. Vanilla Extract
Vanilla extract rounds out the chocolate flavor and adds warmth. Use a pure vanilla extract for the best results.
The Gluten Free Kitchen Cookbook Series
Healthy GLUTEN-FREE Recipes for Every Day LIFE
Your go-to cookbooks for all of the delicious & nutritious meals, sides, breads (yeast & sourdough), baking staples, snacks, desserts, drinks and more. With easy-to-follow instructions and beautiful step-by-step photography, every page invites you to explore nostalgic, healthy meals that make being gluten free a “get to” instead of a “have to”.
Whether you’re cooking for yourself or sharing with loved ones, The Gluten Free Kitchen Cookbook Series brings healthy living to your table every day.
Helpful Tools & Gadgets
Shop The Tools
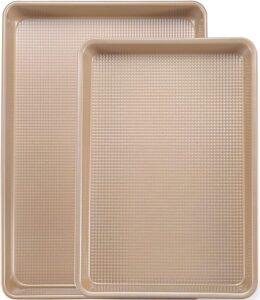
Baking Pans
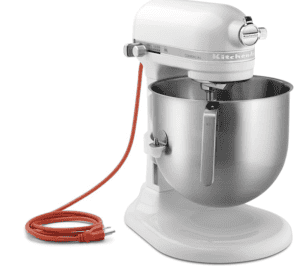
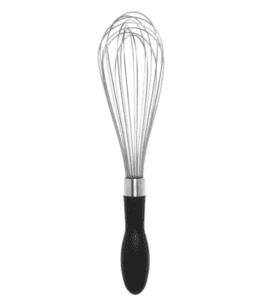
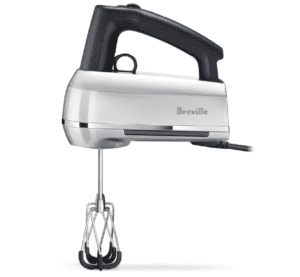
No special tools? Here’s how to make it work:
No mixer → use a hadn’t whisk, hand held mixer or whisk by hand (just mix a little longer)
No sheet pan → use a similar sized baking dish
No spatula → use the back of a spoon to spread batter
Making the Gluten Free Chocolate Sheet Pan Cake
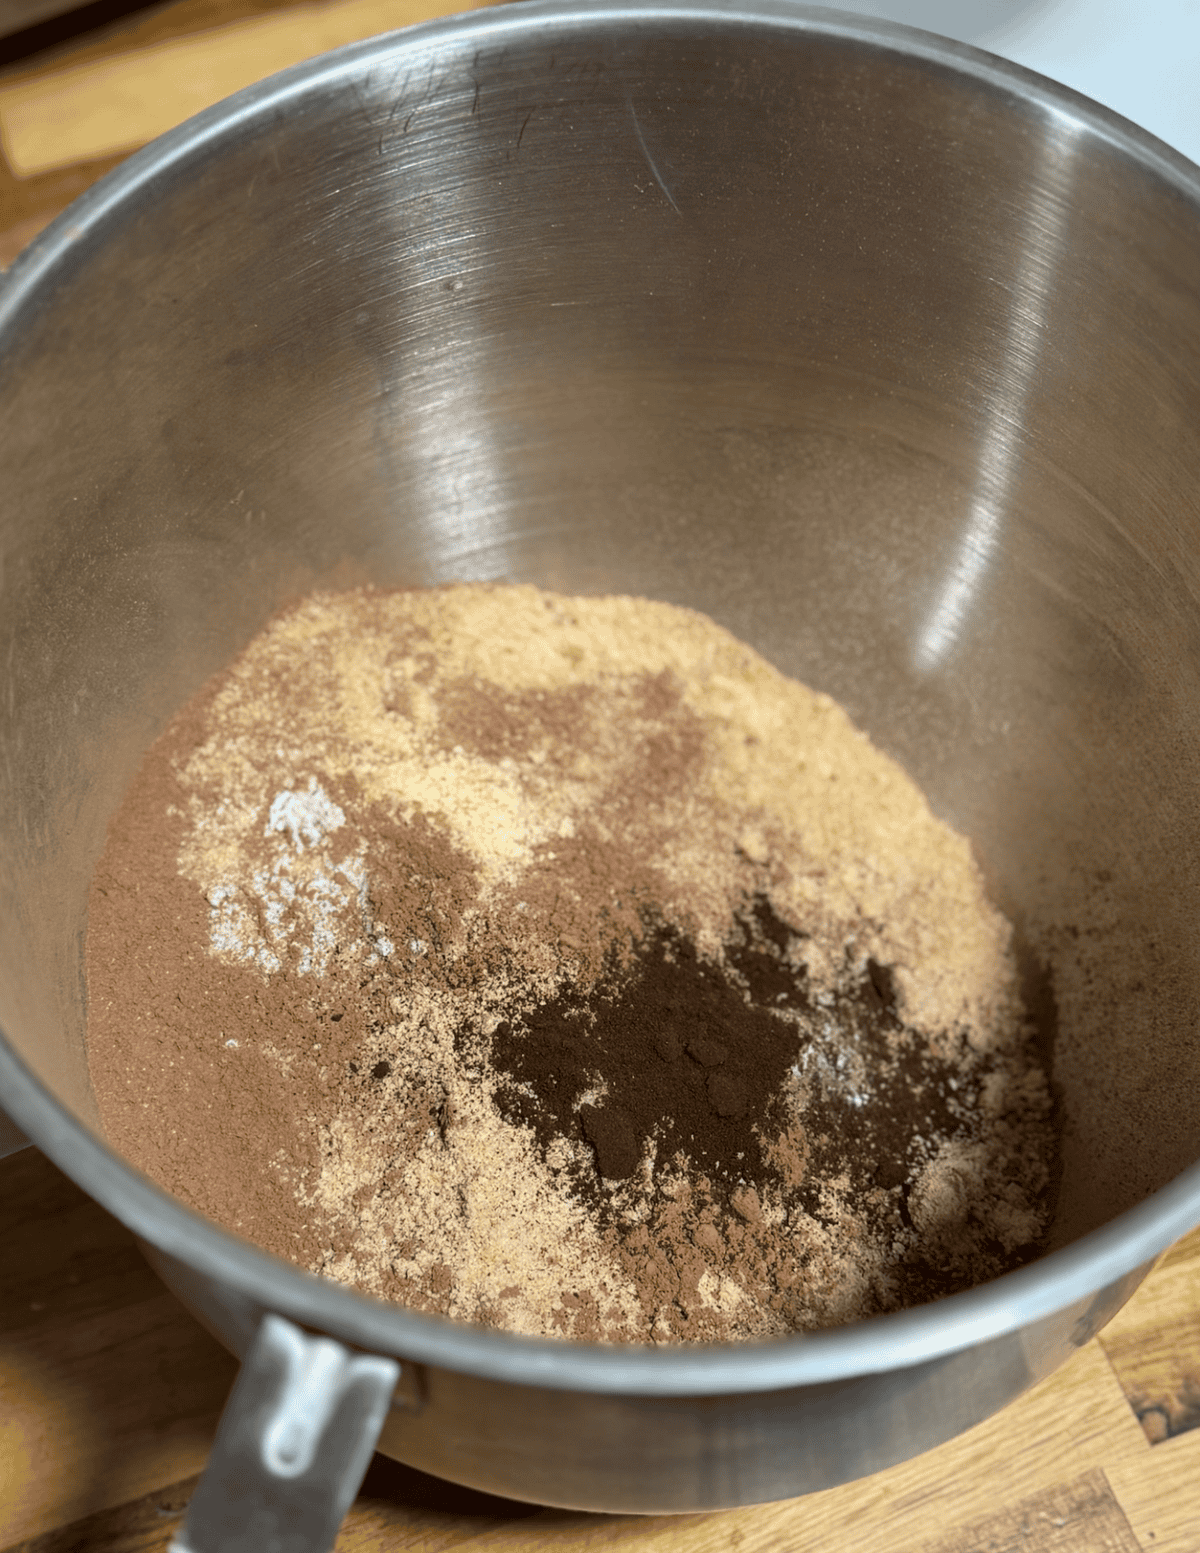
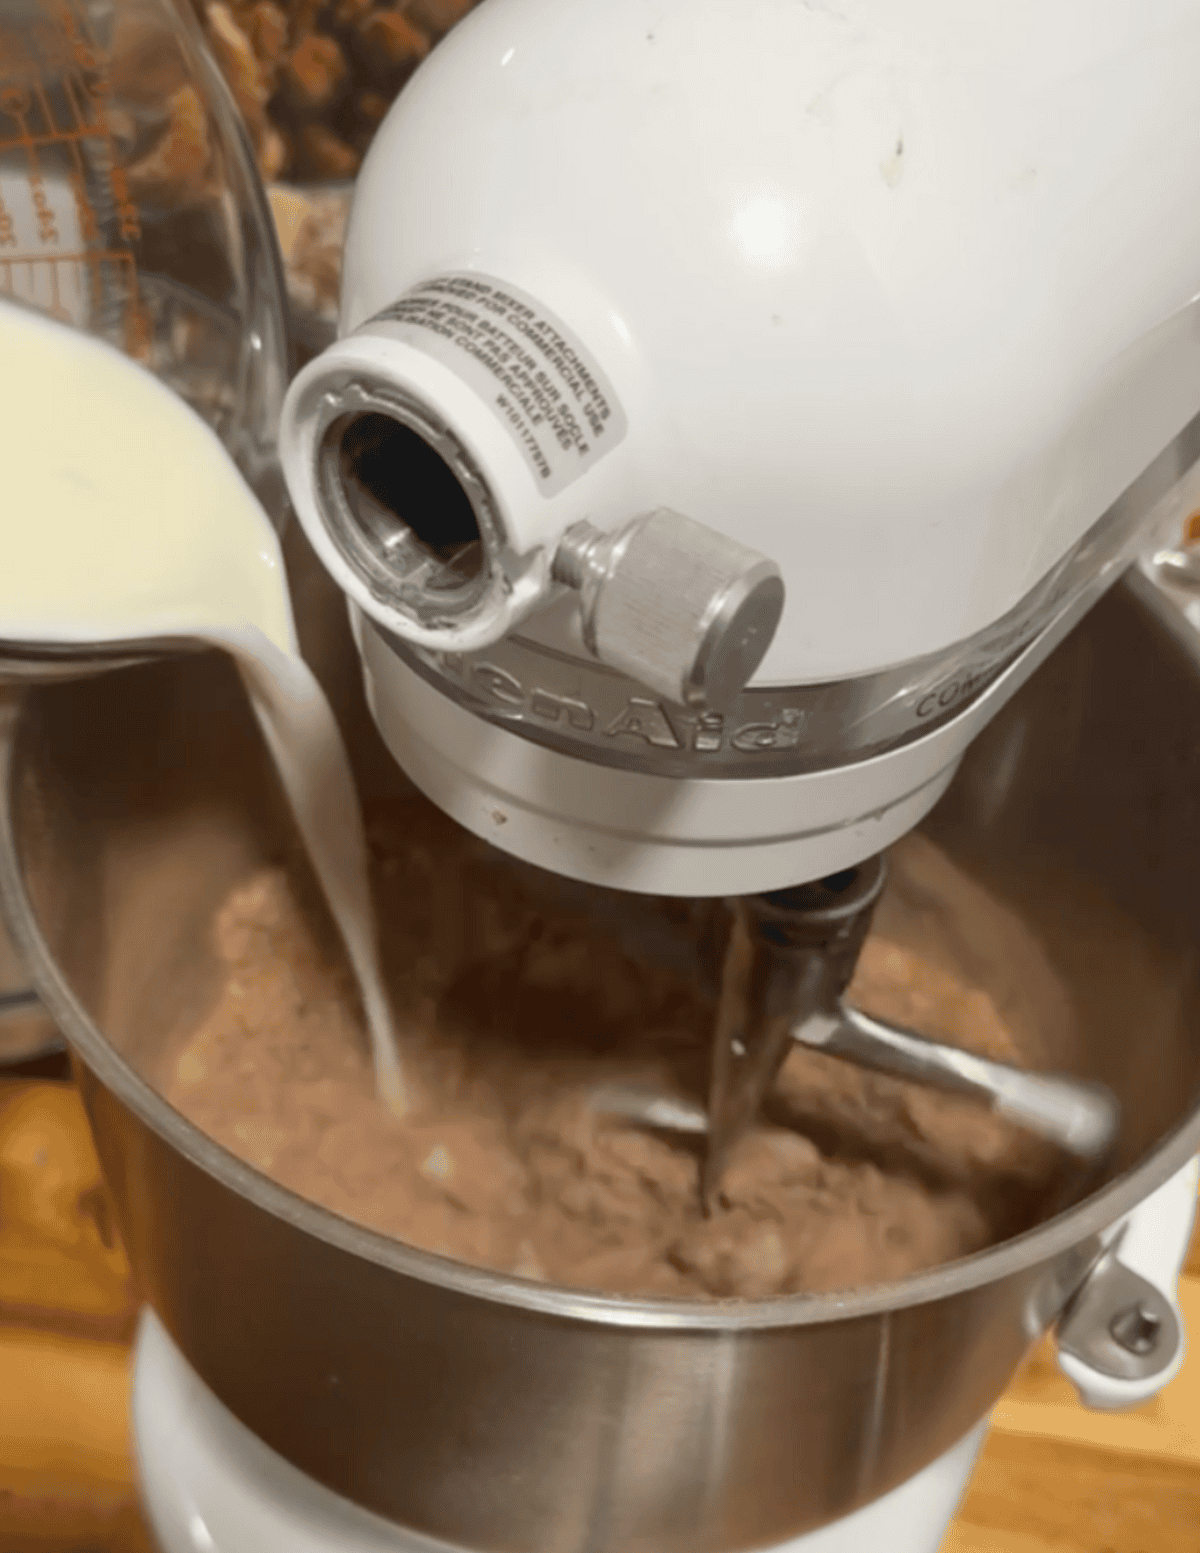
1. Mix all of the dry ingredients together in a mixing bowl.
2. Place in a stand mixer with a paddle attachment and pour in the wet ingredients.
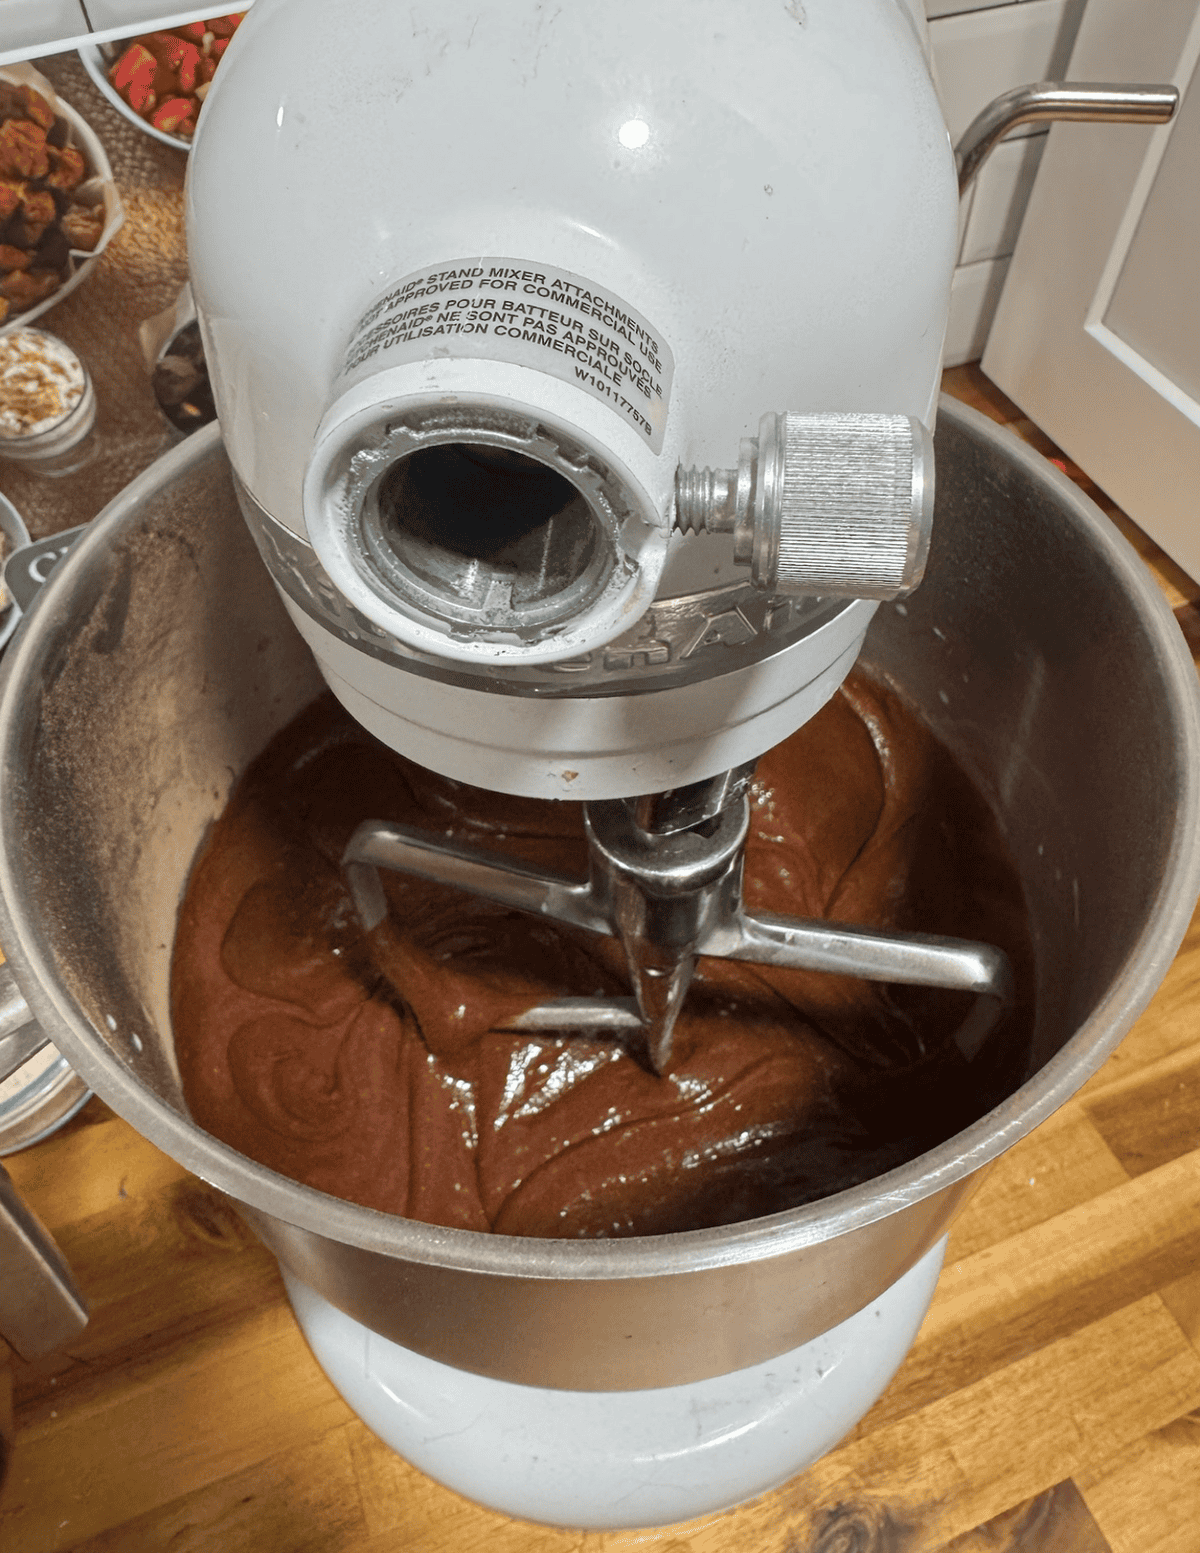
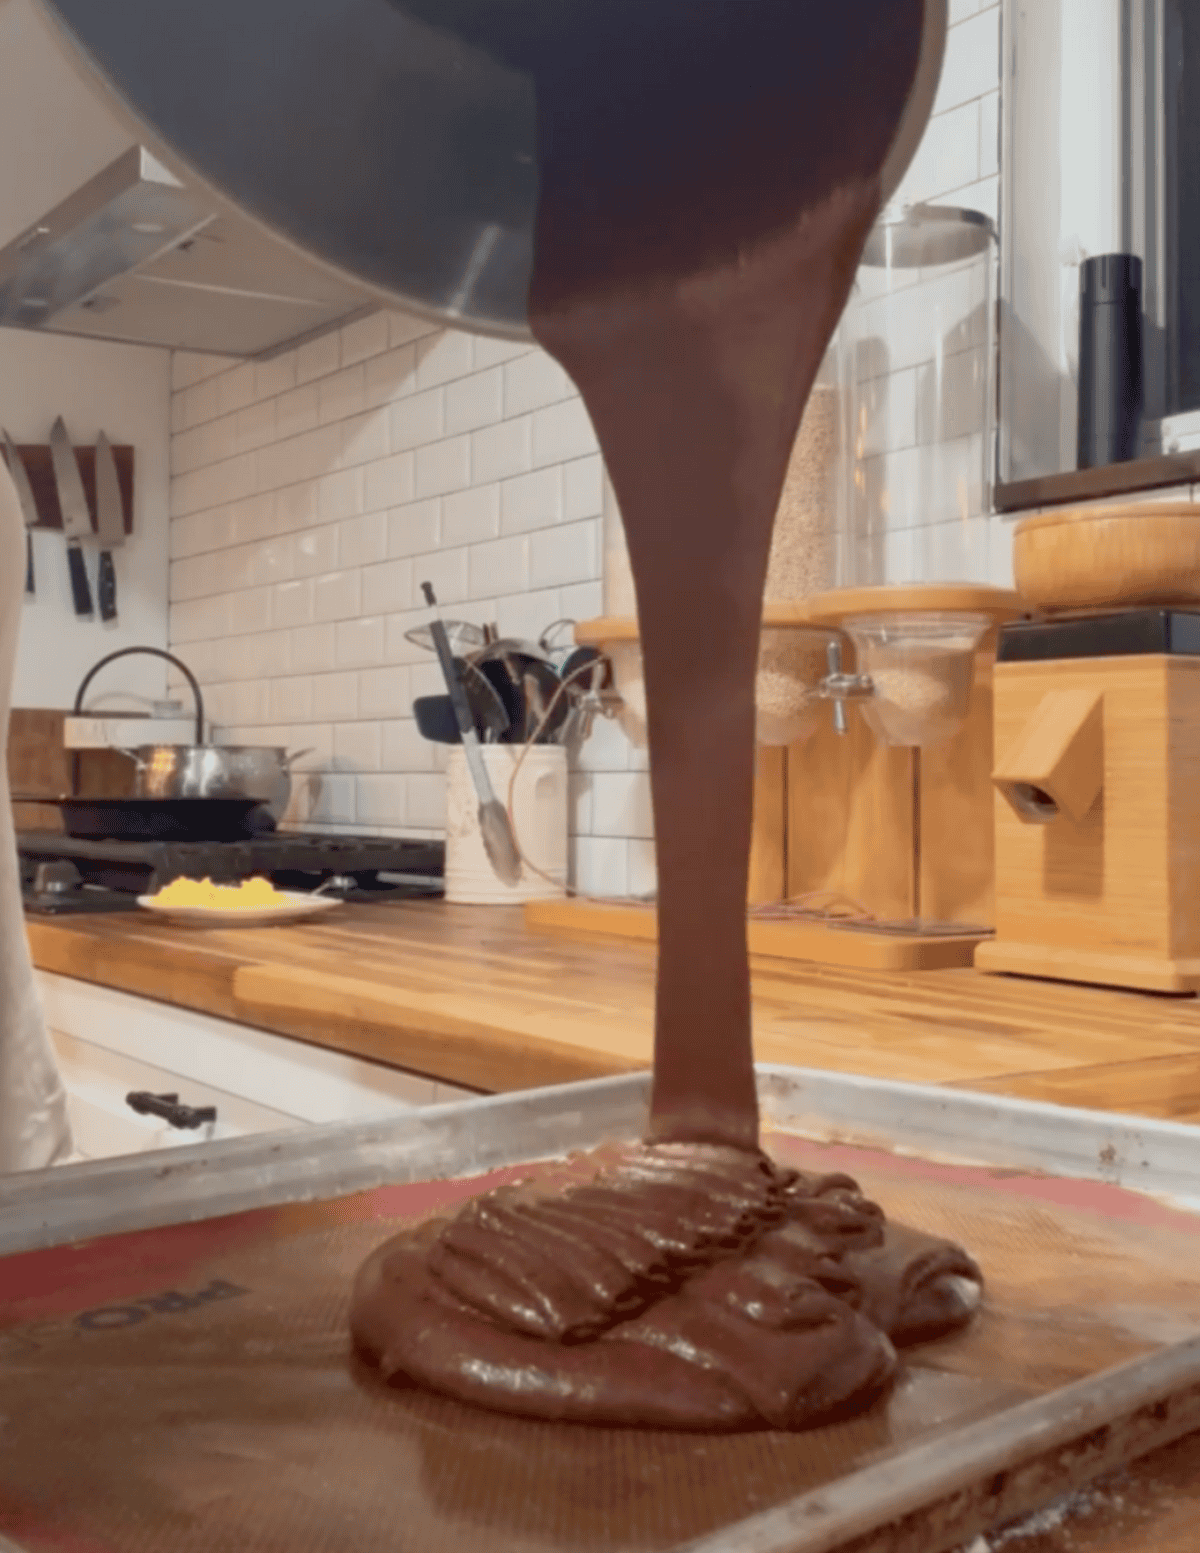
3. The batter consistency should look like this.
4. Pour the batter onto a silicone lined baking sheet.
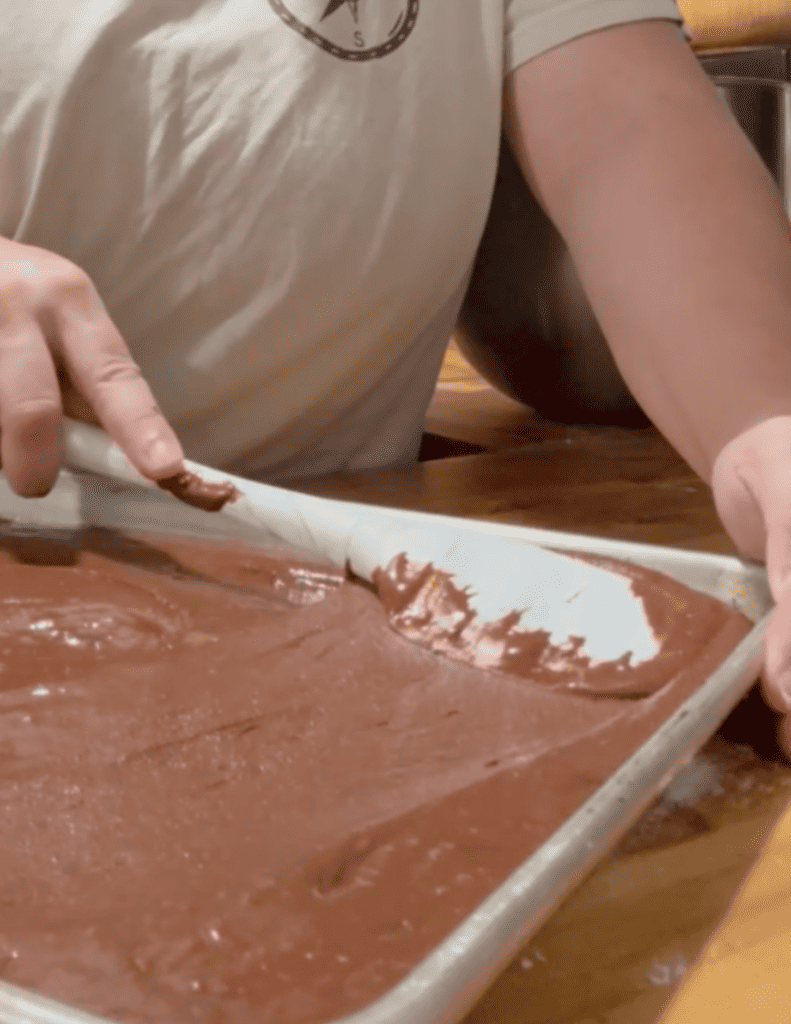
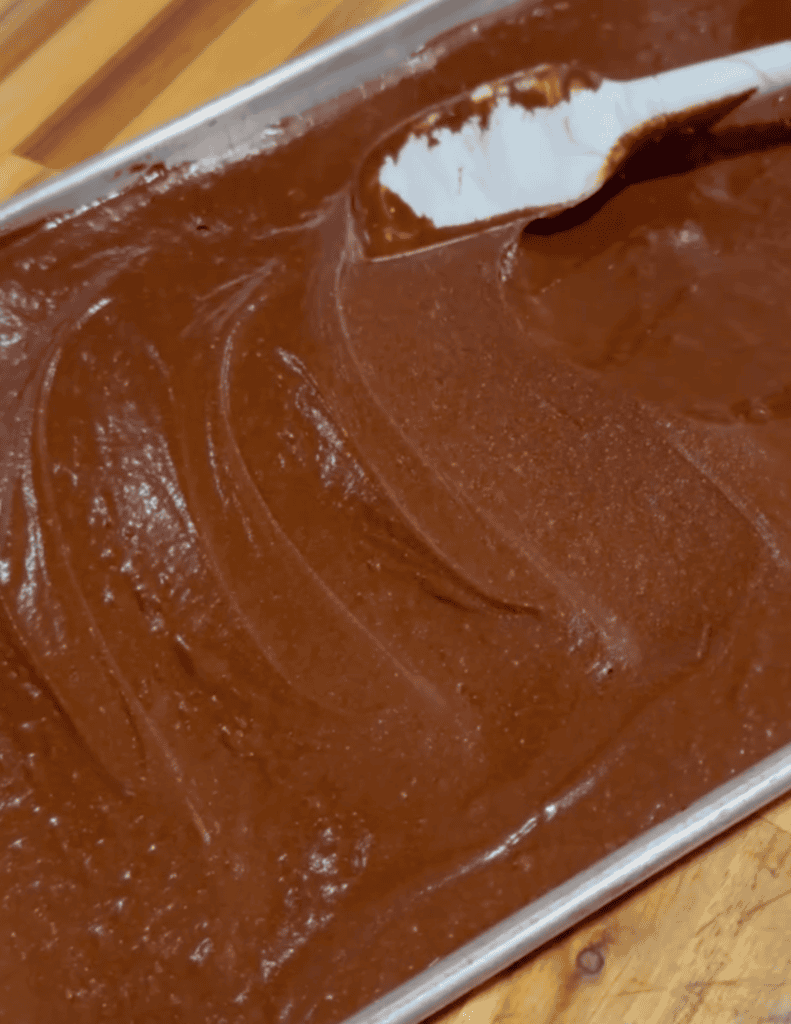
5. Gently encourage the batter to filling all four corners.
6. Even out the batter for an even bake.
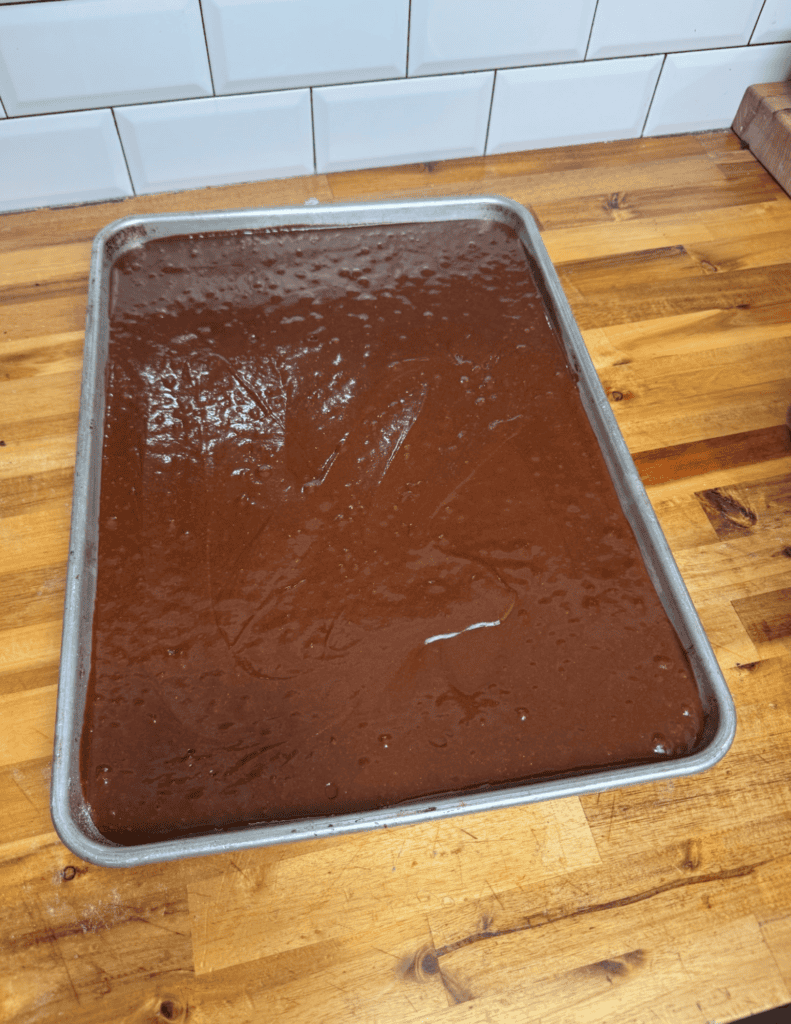
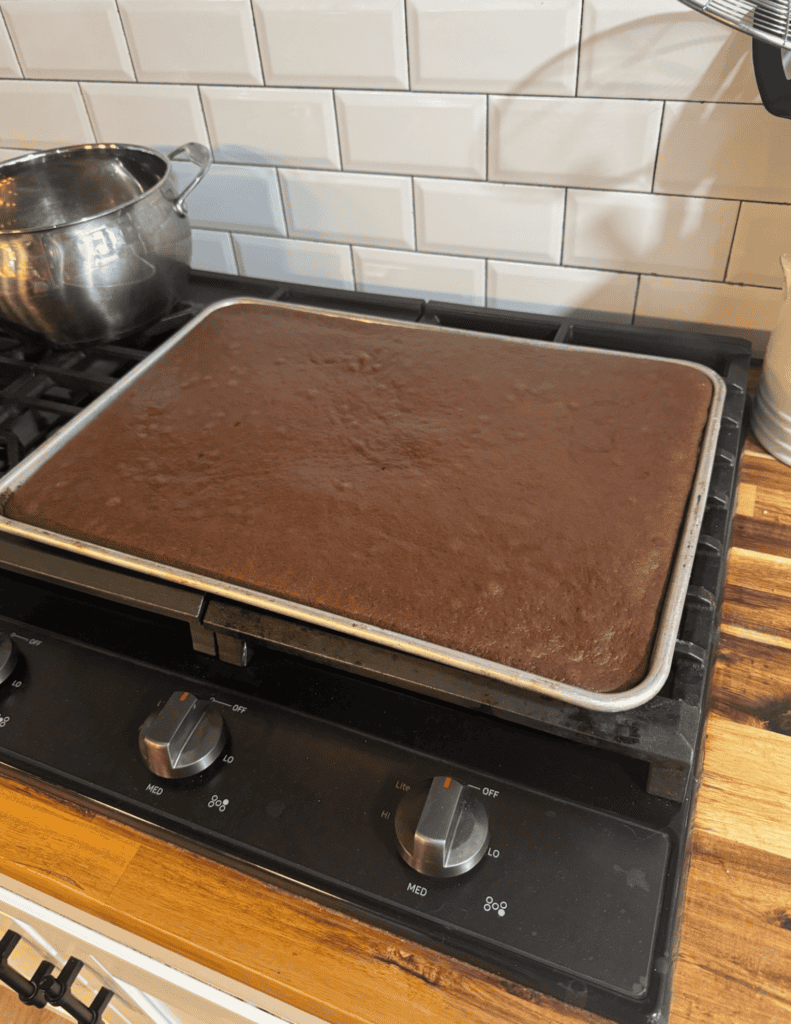
7. Preheat the oven and bake.
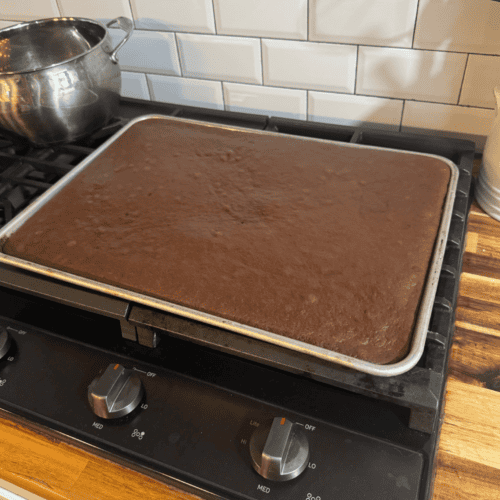
8. Cake will fluff up a little bit within the cookie sheet. You can decorate from here once cool or take it out of the pan.
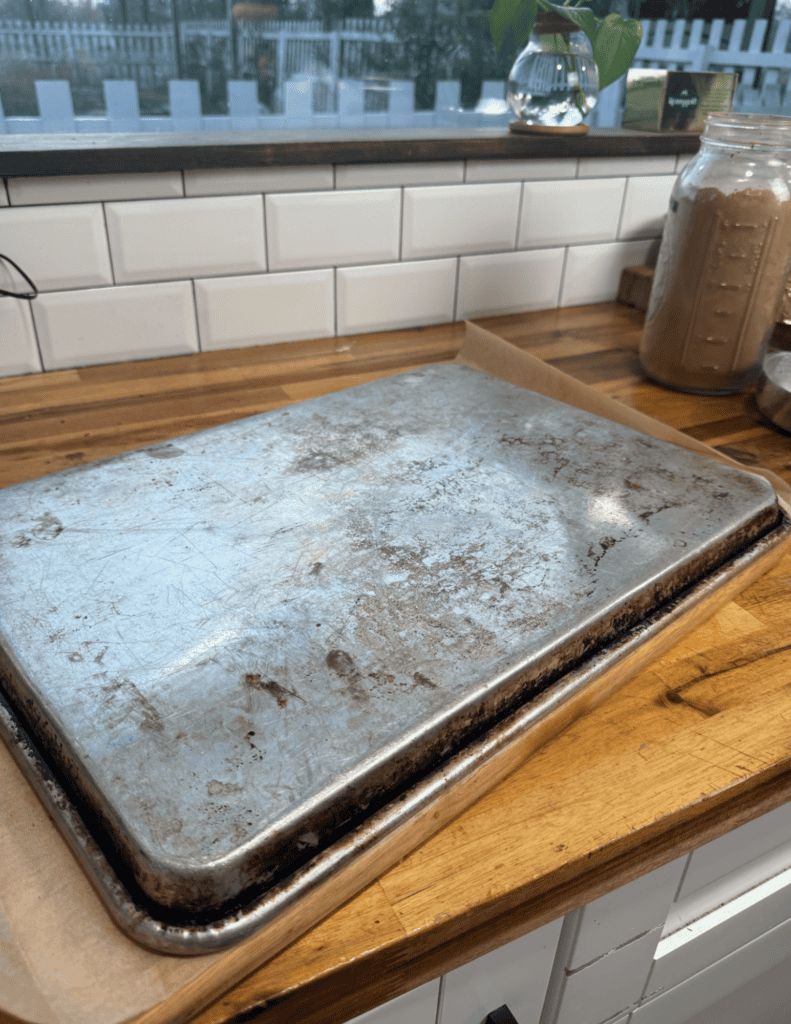
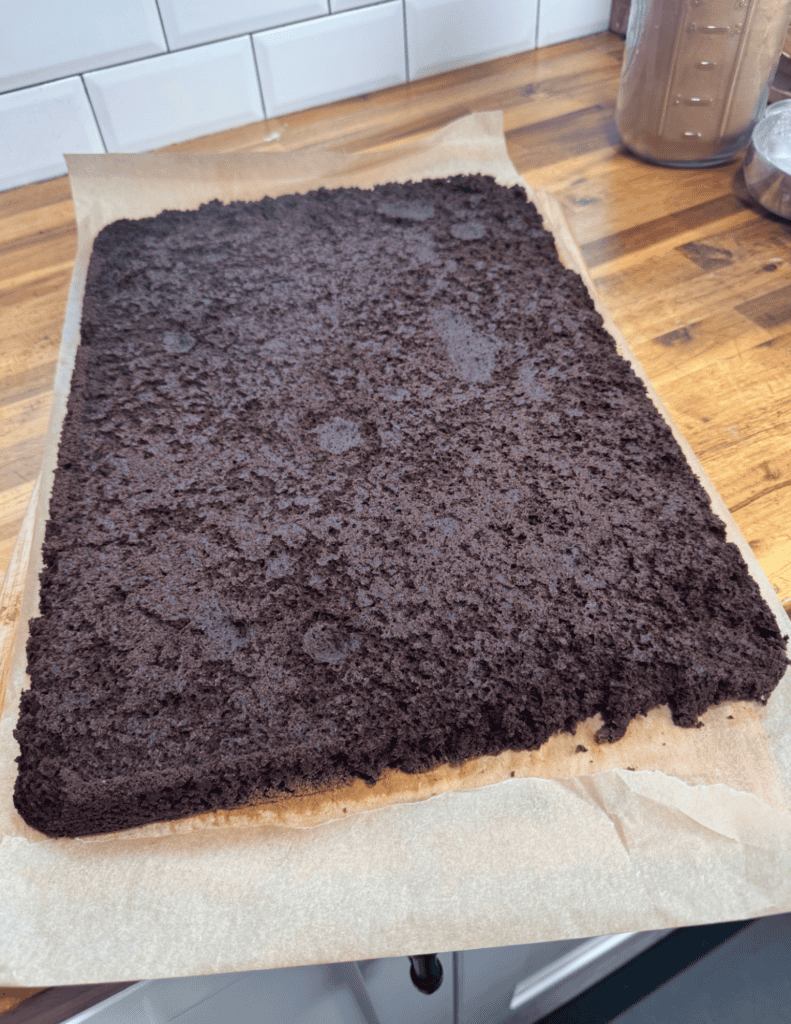
9. Use a cutting board or flat surface lined with parchment paper to flip the cake onto. I like to place a little cocoa powder on the top of the cake to help with sticking.
10. Remove the silicone mat and let the cake cool. Place in the refrigerator or freezer and then ice.
Common Mistakes to Avoid
- Overbaking → dry cake
- Skipping parchment (if needed) → sticking
- Frosting too early → melts too much
- Using low-quality cocoa → weaker flavor
Gluten Free Chocolate Sheet Pan Cake
Ingredients
- 1 ¾ cups Gluten Free Flour One-to-One
- ¾ cups Cocoa Powder
- 2 cups Maple Sugar
- 2 tsp Baking Powder
- 1 ½ tsp Baking Soda
- ½ tsp Salt
- 2 tsp Espresso Powder
- 2 Eggs
- 1 cup Raw Milk
- 1/4 cup Avocado Oil
- 1 tsp Vanilla Extract
Instructions
- Heat up tallow to 350°F. In a mixing bowl, combine the dry ingredients together.
- In a stand mixer or with a hand mixer, whisk in the remaining wet ingredients for 2-3 minutes until well combined. The batter should be fluffy and smooth.
- Pour the batter out onto a lined baking sheet and bake for 18-20 minutes.
- Let the cake cool a bit and use a butter knife to gently trace the sides of the cake to help it release easier. It’s also important to note here that you could just leave it in the pan as well and decorate as is for an even easier dessert!
- Cover the board with parchment paper and then place a cutting board on top and gently flip the cake.
- Tap the back of the pan gently to help it release.
- Add icing of choice and decorate the cake. Enjoy!
Additional Allergens/Suggested Modifications
- Dairy: sub raw milk for dairy free options.
- Eggs: sub with an egg replacer.
This recipe is naturally free of: nuts, fish, crustacean shellfish, tree nuts, peanuts, wheat, soybeans, seed oils and sesame.
Recipe Tips
Don’t overbake → gluten-free cakes dry out faster than regular cakes
Use hot liquid (coffee or water) to deepen chocolate flavor
Let cake cool before frosting, this will help keep the cake in tact and not melt the icing.
If cake feels dry, it likely baked too long—check early. If it is over-baked, poke holes in it and pour a thin layer of milk over it.
Storage Options:
- Room temp: Store covered for up to 2 days
- Fridge: Store in an airtight container for up to a week
- Freezer: Freeze slices and store in an airtight container for up to 2 months
- Make ahead: Bake ahead and store in the refrigerator, or free and thaw it out when ready to enjoy.
Recipe FAQs
If you love nostalgic candy recipes made with simple ingredients, check out more copycat treats inside Volume 2 (desserts & treats) of The Gluten Free Kitchen Cookbook Series.
Get on the List
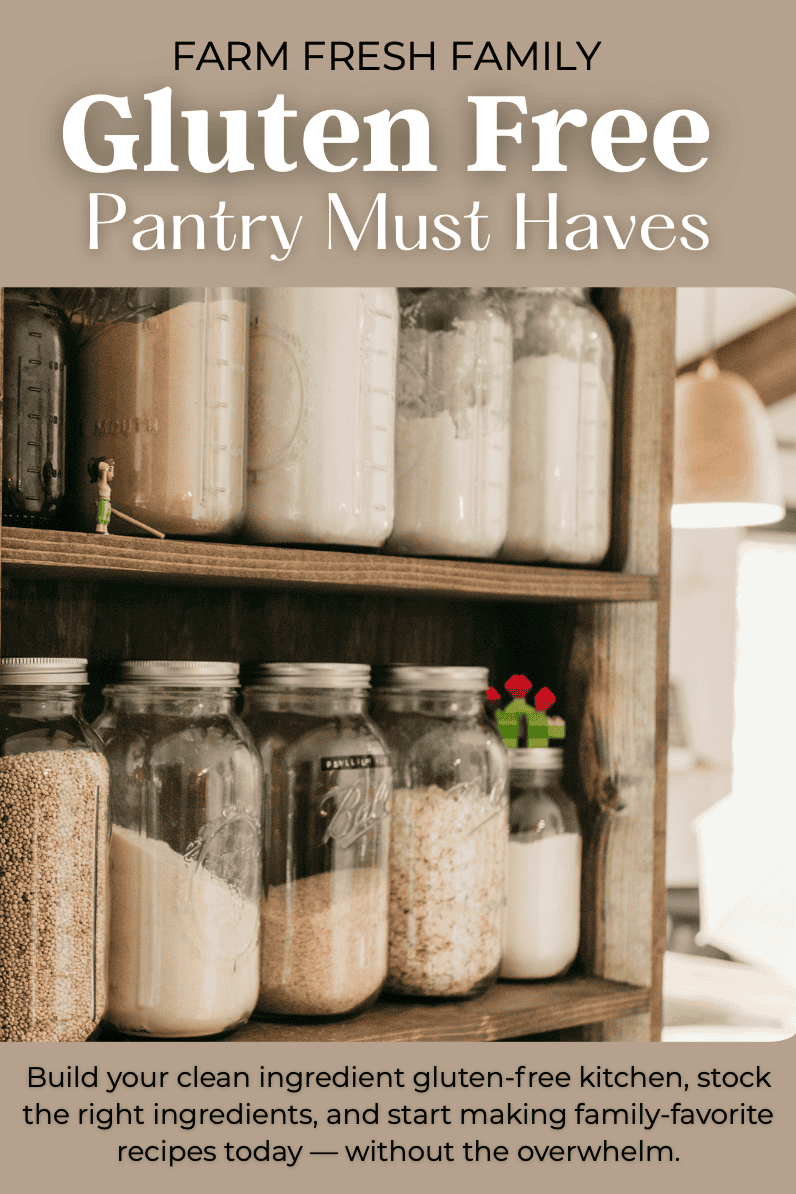
Subscribe to Receive the Gluten Free Pantry Must Haves Ebook
Did you make this recipe?
We’d love to see! Tag @farmfreshfamily on Instagram!