These gluten free chocolate cookie crumbles are one of those simple recipes that completely upgrades your desserts—crispy, rich, and packed with deep chocolate flavor without any of the junk ingredients you’ll find in store-bought versions.
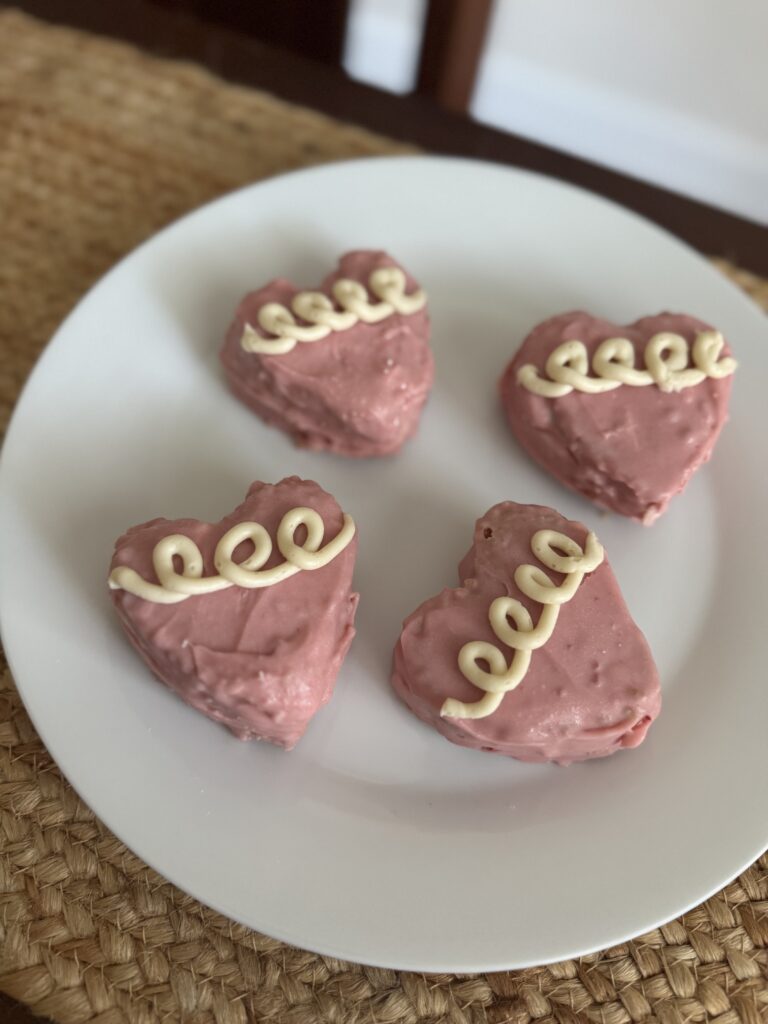
This recipe is my go to for all things gluten free cookies & cream. The cookie crumble perfectly sparks nostalgic memories of the dessert we used to love and have missed so much since going gluten-free.
They’re perfect for everything from crusts to toppings, and once you make them, you’ll use them everywhere—like in my triple layer dessert bars, ice cream sandwiches, ice cream nachos, or even as a crumble topping over homemade ice cream. This is one of those foundational recipes that makes the rest of your baking easier and better.
This post may contain affiliate links, please read our disclosure policy for details.
Why You’ll Love Cookie Crumbles
- Crispy, chocolatey texture that works for multiple desserts
- Made with simple, clean ingredients (no fillers or additives)
- Perfect base for crusts, bars, and no-bake desserts
- Easy to make and store for later use
- Gluten free but tastes like classic chocolate cookies
- Freezer-friendly and batch-prep approved
How to Serve This Recipe
- Use as a crust for cheesecakes or bars
- Sprinkle over ice cream or yogurt
- Layer into no-bake desserts or trifles
- Mix into homemade ice cream sandwiches
Common Mistakes to Avoid
- Not baking cookies long enough → results in soft crumbs
- Crushing while warm → leads to uneven texture
- Skipping binder for crusts → won’t hold together
- Over-processing → turns into powder instead of crumble
“We made these for family date night and they were a hit with the both the kids and adults!”
Ingredients
Please see recipe card at the bottom of this post for the full recipe details.
1. Gluten-Free One-to-One Flour
A high-quality gluten-free one to-one flour blend provides structure. I preferBob’s Red Mill Gluten-Free 1-to-1 Baking Flour for this recipe because it produces consistent results and bakes evenly. Be sure to use a one-to-one blend that already contains xanthan gum. If you’d like to substitute this ingredient out completely, increase the Xanthan Gum within the recipe by 1/2 tsp.
2. Unsweetened Cocoa Powder
Unsweetened cocoa powder gives these cookie wafers their rich chocolate flavor without adding excess sweetness. For best results, sift the cocoa powder before mixing to remove any clumps. This ensures a smooth dough and even chocolate distribution. A high-quality cocoa powder makes a big difference in both color and depth of flavor.
3. Butter
Butter adds richness and helps create a crisp yet tender texture in the cookie wafers. Using a high-fat butter like Kerrygold works especially well here. If you need a dairy-free option, you can substitute a dairy-free butter alternative without issue.
4. Baking Soda
Baking soda acts as a leavening agent that creates a soft, slightly fluffy and chewy texture. Be mindful of which baking soda you use as many contain unnecessary ingredients. I prefer to use this brand.
5. Baking Powder
Baking powder gives the cookies just enough lift without making them cakey. I recommend using a corn-free and aluminum-free baking powder, which is easier on digestion and keeps the flavor clean. This is my go-to option for all gluten-free baking.
6. Salt
A small amount of salt balances the sweetness and enhances the chocolate flavor. Don’t skip it—it makes a noticeable difference.
7, Maple Syrup
Maple syrup provides natural sweetness while adding moisture and depth to the cookie dough. It also helps
8. Vanilla Extract
Vanilla extract rounds out the chocolate flavor and adds warmth. Use a pure vanilla extract for the best results.
Additional Allergens/Suggested Modifications
- Dairy: Sub out topping ingredients for dairy free alternatives.
This recipe is naturally free of: eggs, nuts, fish, crustacean shellfish, tree nuts, peanuts, wheat, soybeans, seed oils and sesame.
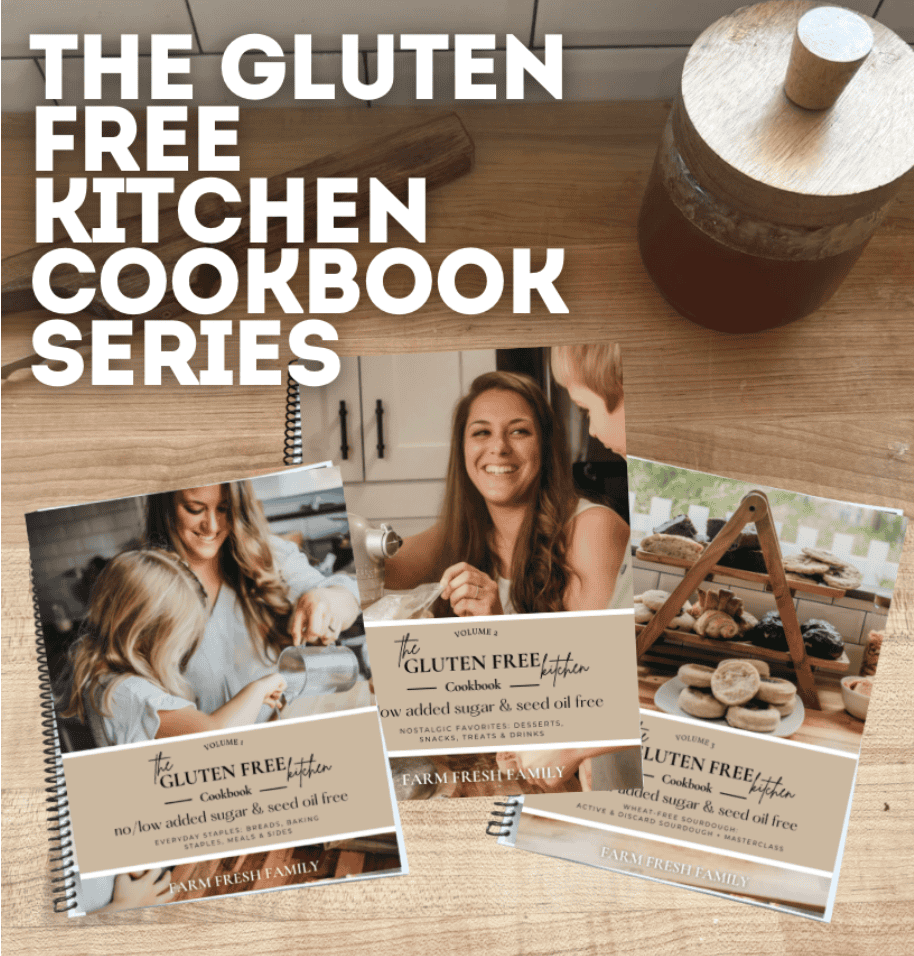
The Gluten Free Kitchen Cookbook Series
Healthy GLUTEN-FREE Recipes for Every Day LIFE
Your go-to cookbooks for all of the delicious & nutritious meals, sides, breads (yeast & sourdough), baking staples, snacks, desserts, drinks and more. With easy-to-follow instructions and beautiful step-by-step photography, every page invites you to explore nostalgic, healthy meals that make being gluten free a “get to” instead of a “have to”.
Whether you’re cooking for yourself or sharing with loved ones, The Gluten Free Kitchen Cookbook Series brings healthy living to your table every day.
Helpful Tools & Accessories
Shop The Tools
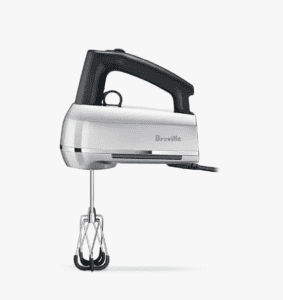
Hand Mixer
No special tools? Here’s how to make it work:
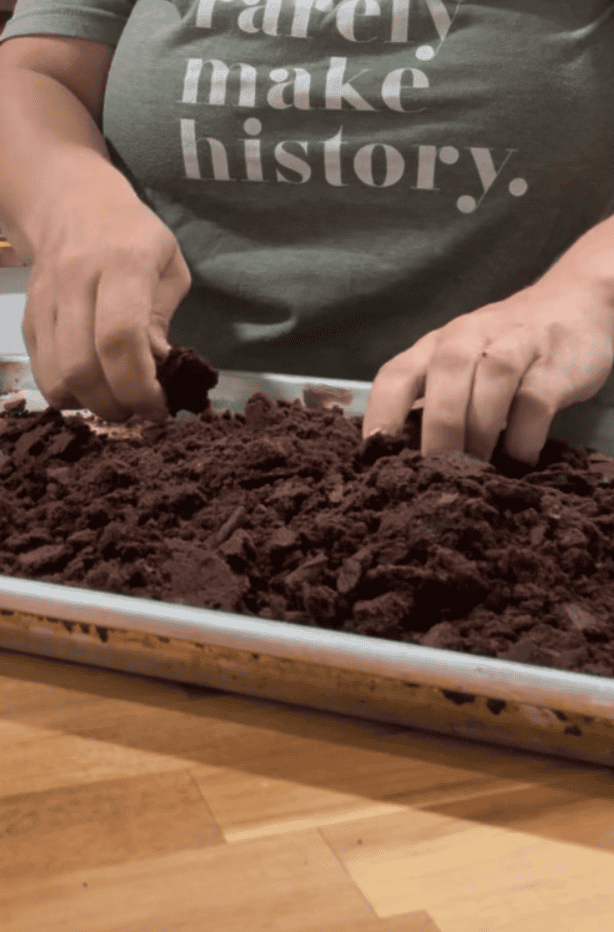
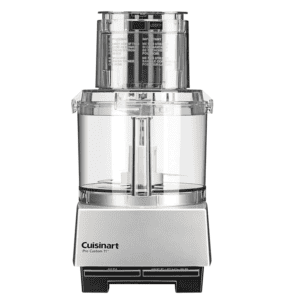
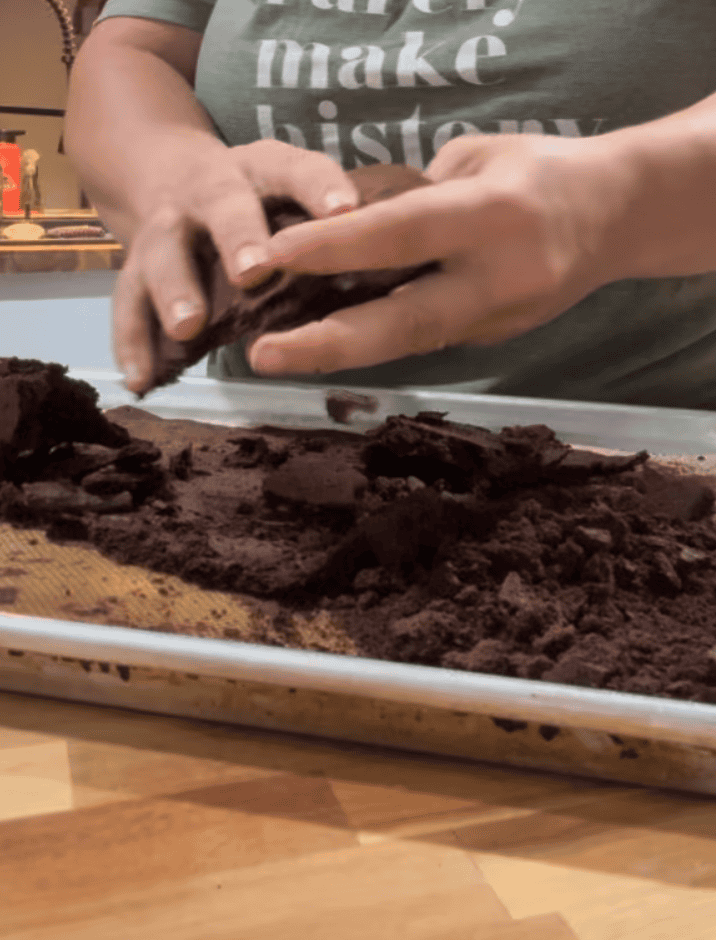
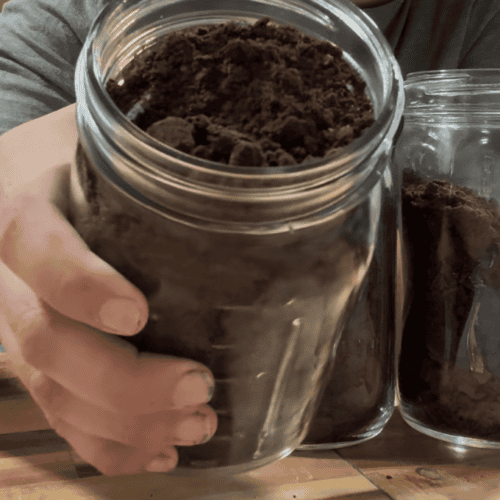
- No food processor → place cookies in a zip-top bag and crush with a rolling pin or crumble with hands (as shown below).
- No parchment → lightly grease your pan to make it easier for the crust to release when you’re ready to cut.
- No hand mixer → use a whisk to mix it together.
How to Assemble Gluten Free Cookie Crumbles
1. Mix the Batter
2. Roll & Shape

3. Bake
4. Fill & Enjoy
Gluten Free Cookie Crumble (Chocolate Crumbs)
Ingredients
- 1 cup Gluten Free Flour One-to-One
- 1/2 cup Cocoa Powder
- 1/4 cup Butter softened
- 1/2 tsp Baking Soda
- 2 tsp Baking Powder
- 1/4 tsp Salt
- 1 cup Maple Syrup
- 1/2 tsp Vanilla Extract
Instructions
- Mix all the ingredients together in a bowl until well combined.
- Preheat oven to 375°F.
- Spread the mixture out thinly onto a lined baking pan.
- Bake for 15 minutes – or until crisp. Be mindful not to burn the cookie.
- Remove from heat and let cool.
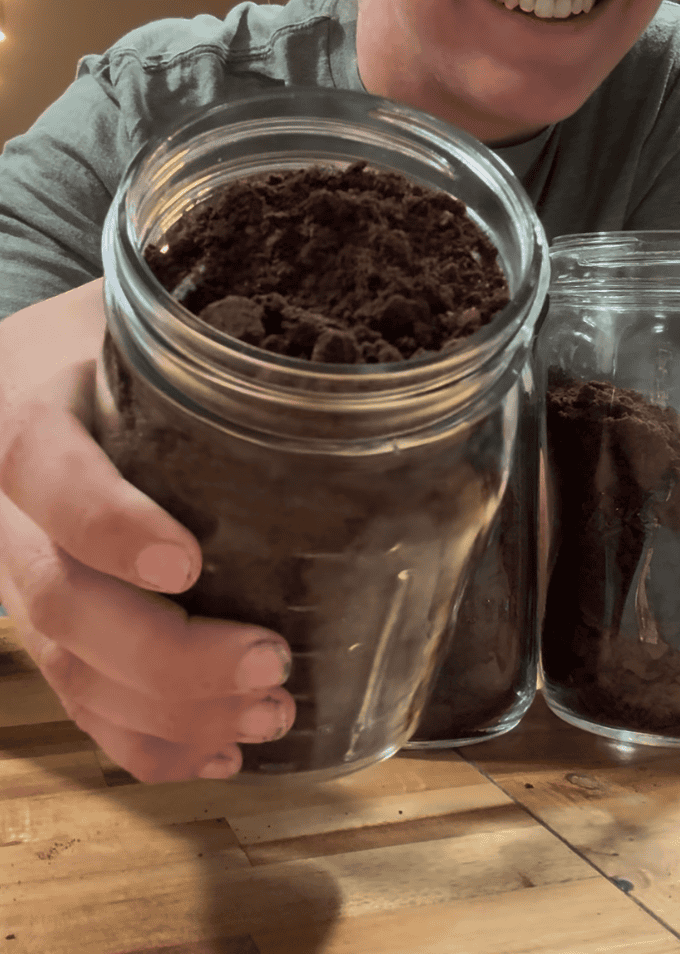
- Once cooled, crumple the cookie into small pieces and store in an airtight jar.
Recipe Tips
Bake until fully crisp → slightly underbaked cookies won’t crumble well
Let cookies cool completely before crushing for best texture
For finer crumbs, use a food processor; for chunkier texture, crush by handIf using for a crust, mix with melted butter or coconut oil to help bind
Want extra flavor? Add a pinch of salt or espresso powder to deepen the chocolate
Pre-Prep/Storage Options:
- Pre-Prep: The cookie batter can be prepped ahead of time and kept in the refigerator in an airtight container for up to one week.
- The baked cookie can be stored in the refrigerator in an airtight container.
- The icing can be prepped ahead of time as well and stored in the refrigerator in an air tight container.
- Storage: Store in the refrigerator in an airtight container for the best results. Let the cookies soften before eating them.
- Freezing Options: Baked cookies and baked + filled cookies can be store in the freezer for up to 6 months in an air tight container.
Recipe FAQs
Get on the List
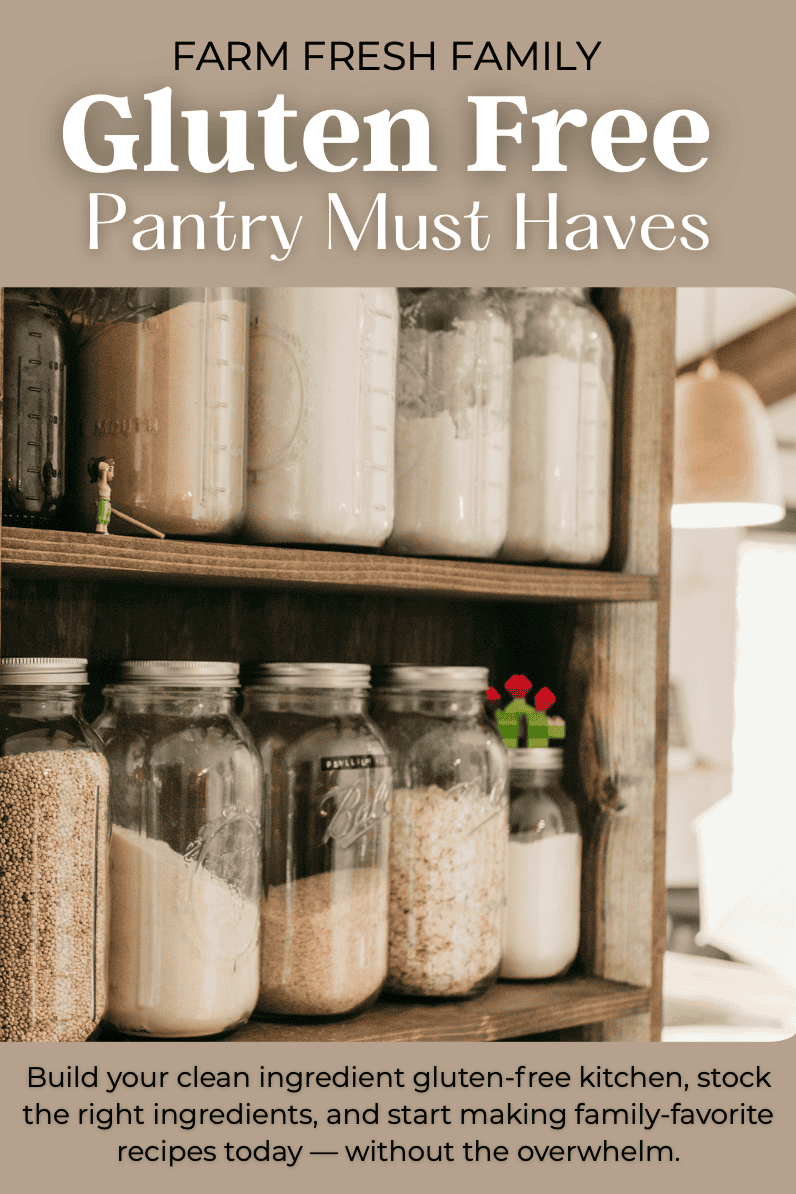
Subscribe to Receive the Gluten Free Pantry Must Haves Ebook
Did you make this recipe?
We’d love to see! Tag @farmfreshfamily on Instagram!