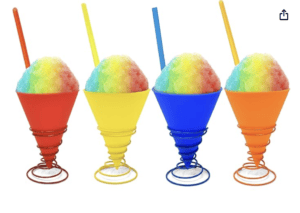
This strawberry snow cone syrup is naturally sweet, vibrant, and made with real strawberries—no artificial dyes, corn syrup, or seed oils. With a rich, fruity flavor and bright natural color, it’s the perfect clean ingredient alternative to store-bought syrups. It’s easy to make, kid-approved, and perfect for snow cones, drinks, and summer treats.
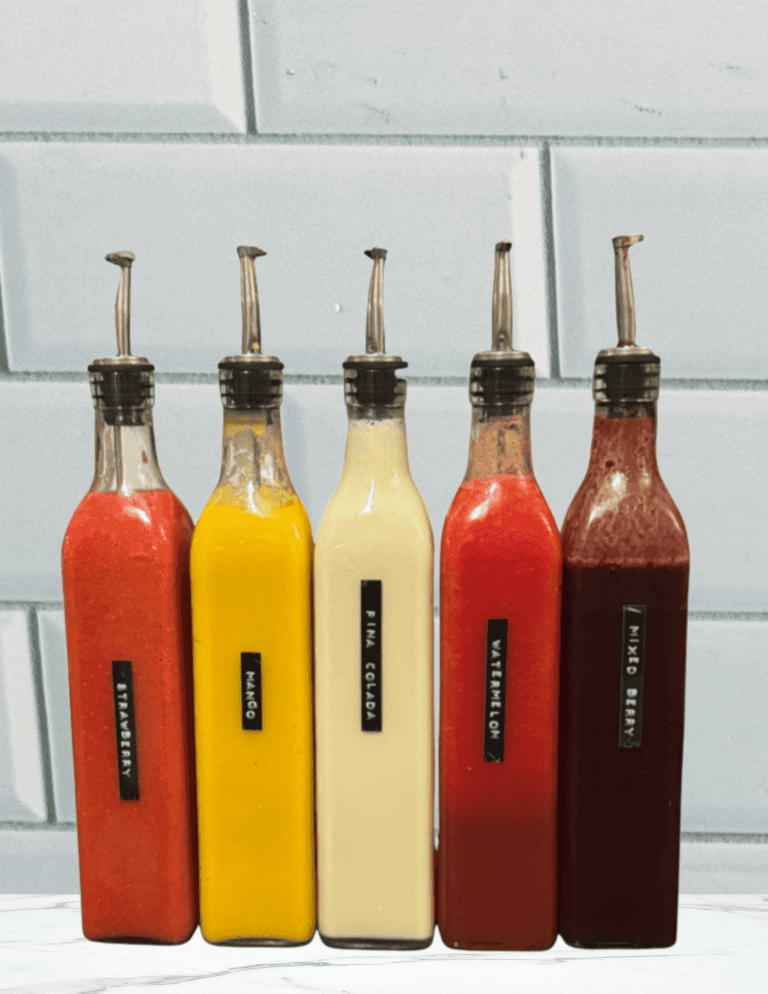
This syrup pairs amazing with my other homemade syrups: Mango, Pina Colada, Watermelon, Mixed Berry
This post may contain affiliate links, please read our disclosure policy for details.

Recipe Variations
Ingredients
1. Strawberry
Fresh fruit is the key to a tasty, naturally flavored snow cone syrup recipe. These flavors can be interchanged with other fruit as well for more fun syrup concoctions.
2. Maple Sugar
Maple sugar adds sweetness with a subtle caramel note that pairs beautifully with fresh fruit. It also changes texture when heated and creates a thicker syrup.
3. Lemon Juice
Fresh lemon juice adds a bright, natural acidity that enhances flavor and balances the sweetness within the recipe. Fresh squeezed lemon juice provides a clean, citrus-forward taste without artificial additives, bottled preservatives, or added sugars.
Ice Texture
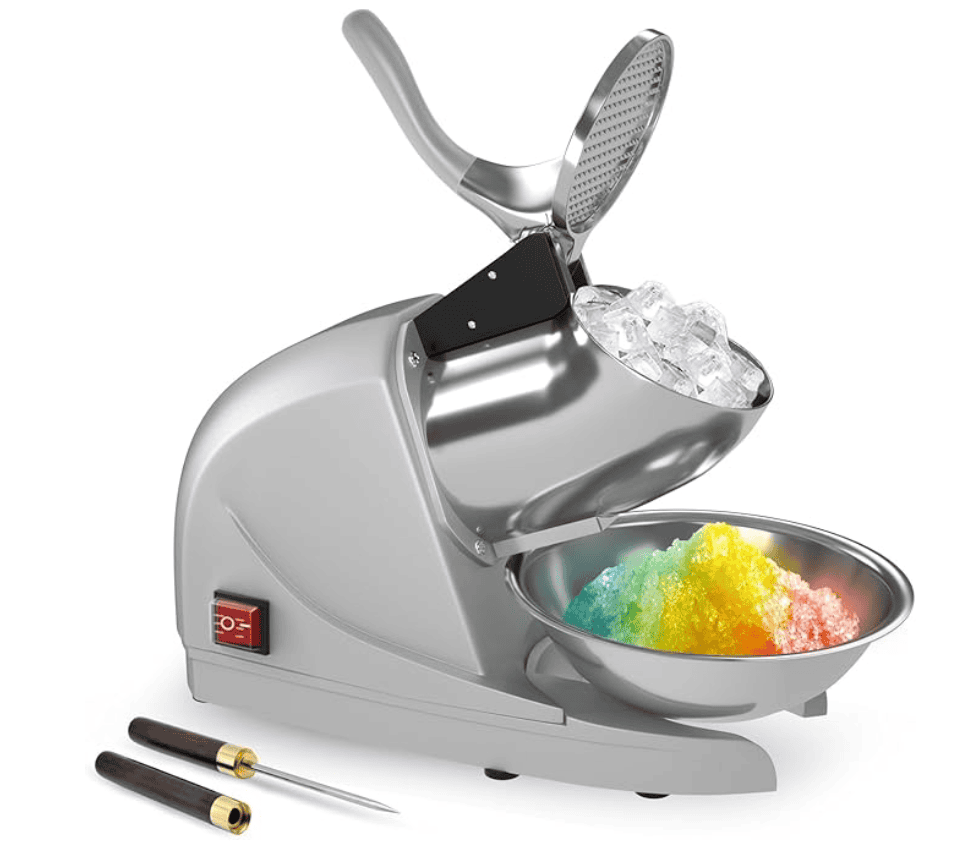
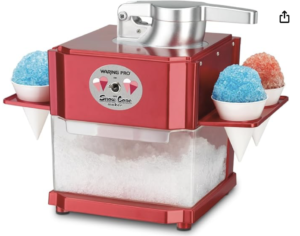
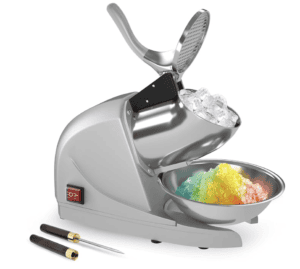
When making snow cones, it’s important to choose the machine you want based on the texture of ice you’re wanting to enjoy. Below are the two machines I own (and love) and the differences between the two.

Shaved Ice is a powdered, finely shaved ice that absorbs the syrup at a higher ratio. It’s less crunchy and melts in your mouth.
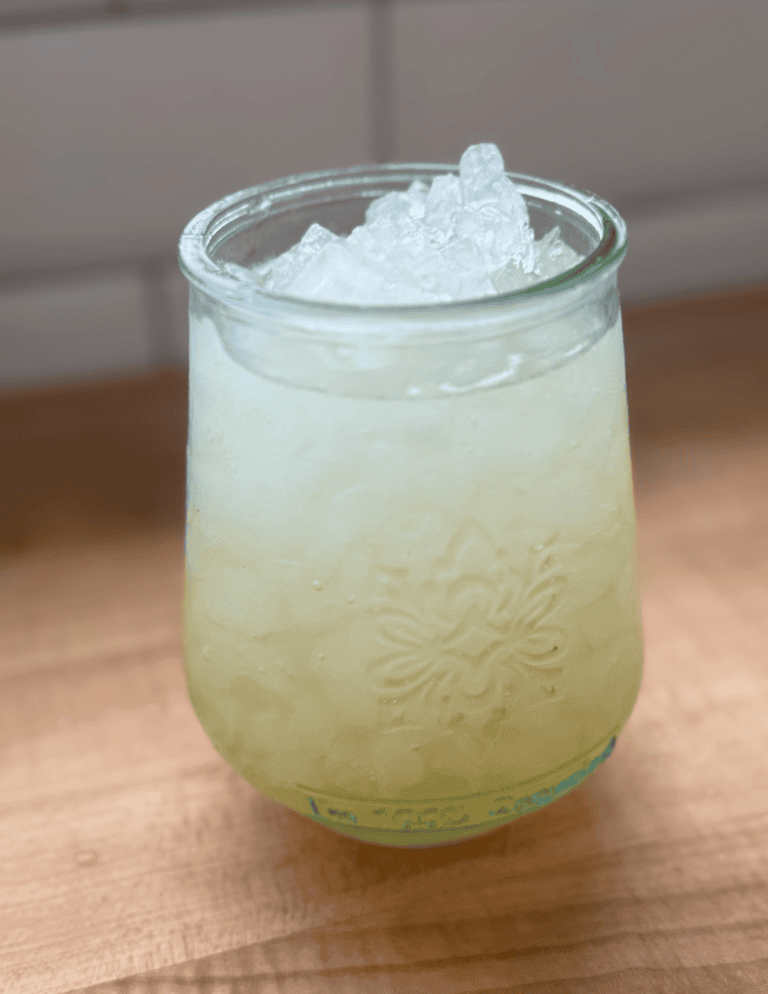
Crushed Ice is chunkier and due to the higher surface area making the ice last longer before melting away. It’s crunchy and refreshing.
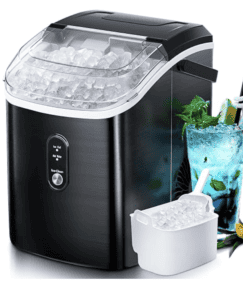
Helpful Tools & Gadgets


Additional Allergens/Suggested Modifications
This recipe is naturally free of: dairy, eggs, nuts, fish, crustacean shellfish, tree nuts, peanuts, wheat, soybeans, seed oils, and sesame.

Dye-Free Homemade Strawberry Snow Cones (No Corn Syrup)
Ingredients
- 4 cups Strawberries Diced
- 1 1/3 cups Maple Sugar
- 1 cup Water
- 1 cup Lemon Juice
Instructions
- Mash the strawberries together and combine with the other ingredients.
- Place in a saucepan over medium heat and bring to a boil. Allow the syrup to thicken.
- Use an immersion blender carefully and strain the syrup. Pour the remaining syrup into a container and store in the refrigerator.
- When ready to use, take it out for 10 minutes and shake prior to use.
Recipe Tips
Fresh fruit levels up the flavor profile and natural sweetness within the recipe.
Heating the syrup allows it to thicken and create a lush pouring syrup vs. a thinner alternative.
Instead of dumping it all at once, drizzle syrup slowly over the top so it soaks evenly through the ice. This gives you flavor in every bite—not just at the top.
Keep the syrups cold. Warm syrup melts ice fast. Let syrups cool completely before using, and keep them chilled in the fridge until ready to serve.
DIY Snow Cone Bars – Set out a few syrup options and let kids build their own. It’s an easy way to make this feel like a special summer activity without extra work.
Prep/Storage Options:
- Pre–prep: Making the syrups ahead of time is encouraged as it lasts for up to 3 weeks in the refrigerator.
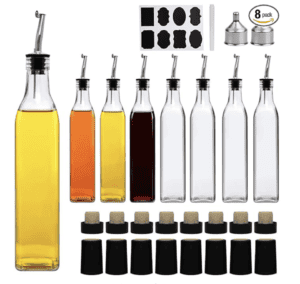
- Storage: Store in an airtight glass container or dispenser jar.
- Freezing: Syrups can be frozen for up to 6 months in an airtight container. I suggest pouring into an ice cube tray or soupercube tray and then transferring to a gallon sized plastic bag.
Recipe FAQs
Get on the List
Subscribe to Receive the Gluten Free Pantry Must Haves Ebook
Did you make this recipe?
We’d love to see! Tag @farmfreshfamily on Instagram!