These gluten free pretzel sticks are soft, chewy, and perfectly golden with that classic salty finish—everything you want in a pretzel, just made with real ingredients and no weird additives. If you’ve ever struggled with gluten-free doughs that don’t stretch, hold shape, or bake up dense, this recipe fixes that with a dough that’s easy to work with and actually delivers that pretzel texture.
They bake up with a soft center and slightly crisp exterior, mding them perfect for dipping, snacking, or serving alongside meals. This recipe use mygluten-free bread flour mix for an easy scoop-and-go experience. If you’ve made my gluten free bread recipes or soft pretzels before, this version gives you that same comfort but in a fun, easy-to-eat stick form.
This post may contain affiliate links, please read our disclosure policy for details.
Fresh Milling Flour
Before we dive in here, I want to note, you don’t have to use fresh milled flours to successfully make this recipe. There are already milled versions of the flours I’m sharing that I will link in the ingredient’s list section!
Using fresh milled flours instantly levels up the nutrient density of your recipe. In our house, if you’re going to indulge, mama is going to stack the recipe with healthier ingredients! If you’ve never milled fresh gluten-free grains, this step may seem intimidating, but let me ease you’re mind, it’s easily the most simple hack you could ever do to level up your recipes.
To unlock this health hack, all you need are gluten free grains from a trusted source and a grain mill. My favorite is the Nutrimill Harvest Grain Mill. You’ll flip the switch on, pour the grains into the hopper, and fresh milled flour will flow out into a bowl. It’s really that simple.
Here’s a video walk through of fresh milling grains:
“This recipe comes together so quickly and is easy to make!”
Ingredients
Please see recipe card at the bottom of this post for the full recipe details.
1. Jen’s Bread Flour Mix
I’ve hand crafted a Gluten-Free Bulk Bread Flour Mix that is perfect for making you feel like you’re not gluten-free with all of the flours on bake day. I highly recommend doubling or tripling the bulk mix and storing it in half gallon or gallon glass jars.
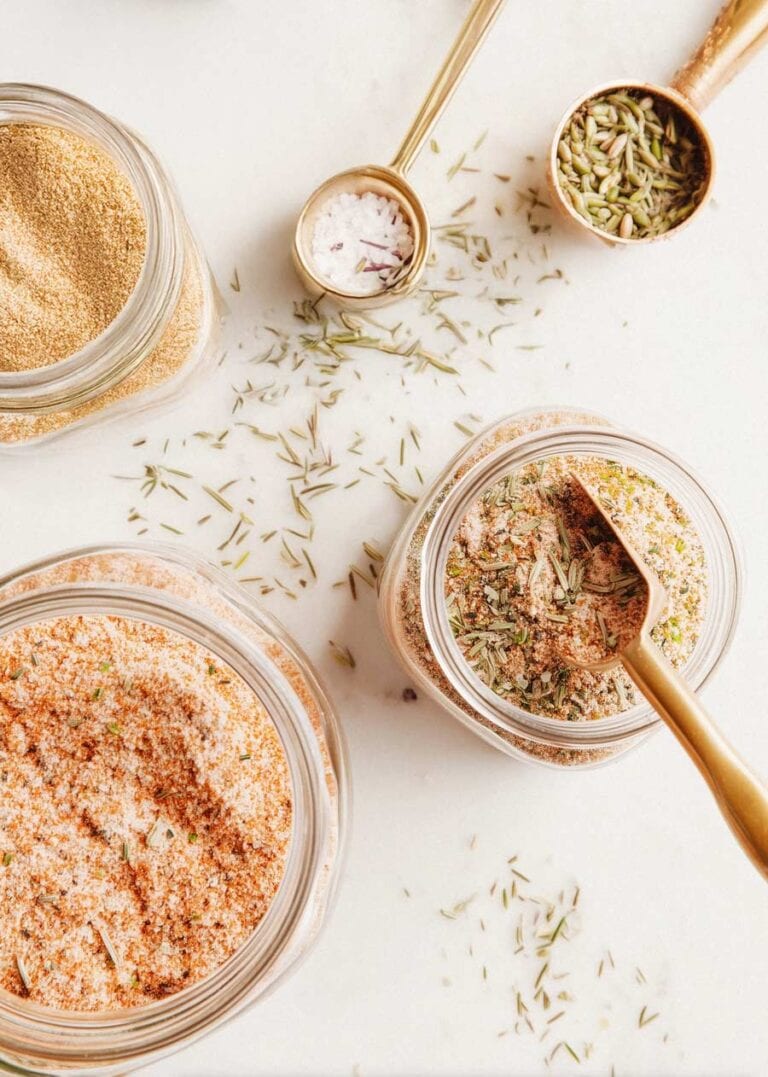
2. Arrowroot Powder
Arrowroot powder is a light, grain-free starch that works to soften the fresh milled grains and aids in the absorption of the wet ingredients within the recipe. Arrowroot also helps to play a major supporting role in the fluffiness of the breads it produces.
3. Baking Powder
Baking powder gives the pretzels just enough lift without making them flimsy.. I recommend using a corn-free and aluminum-free baking powder, which is easier on digestion and keeps the flavor clean. This is my go-to option for all gluten-free baking.
4. Maple Sugar
Maple sugar allows for a very subtle sweetness. Using maple sugar instead of refined white sugar keeps the flavor warm and well-balanced.
4. Salt
A small amount of salt goes a long way. Don’t skip it—it makes a noticeable difference.d
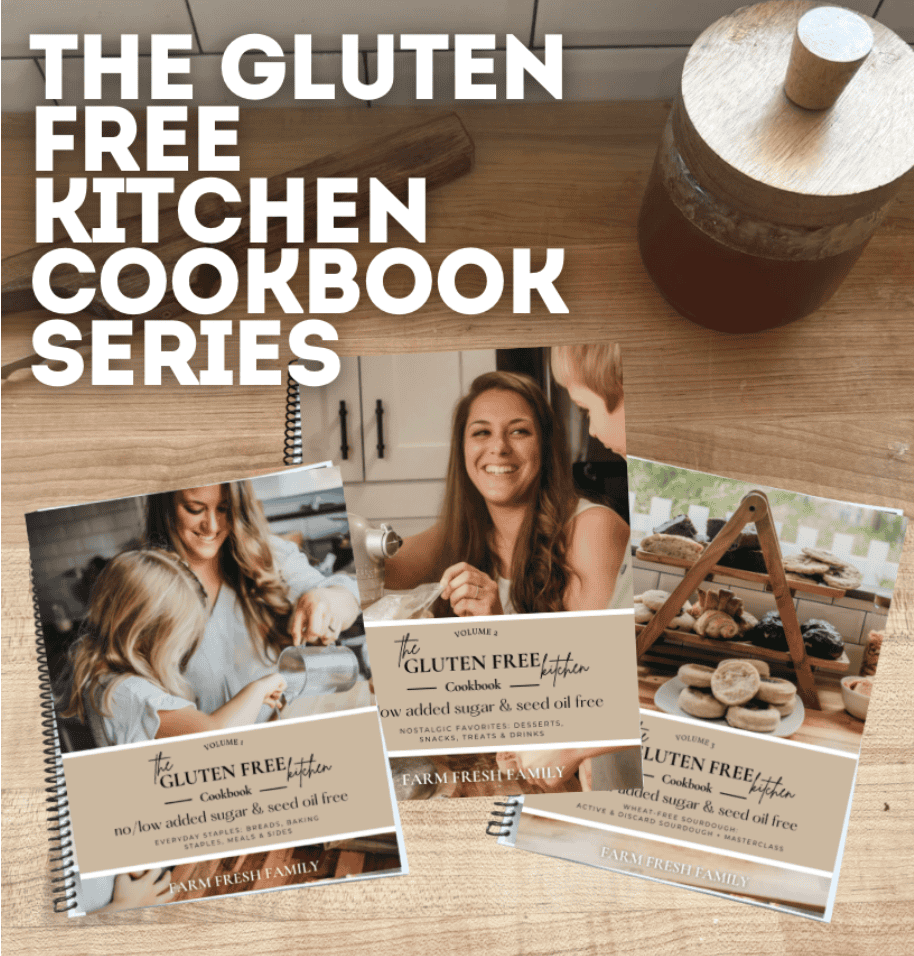
The Gluten Free Kitchen Cookbook Series
Healthy GLUTEN-FREE Recipes for Every Day LIFE
Your go-to cookbooks for all of the delicious & nutritious meals, sides, breads (yeast & sourdough), baking staples, snacks, desserts, drinks and more. With easy-to-follow instructions and beautiful step-by-step photography, every page invites you to explore nostalgic, healthy meals that make being gluten free a “get to” instead of a “have to”.
Whether you’re cooking for yourself or sharing with loved ones, The Gluten Free Kitchen Cookbook Series brings healthy living to your table every day.
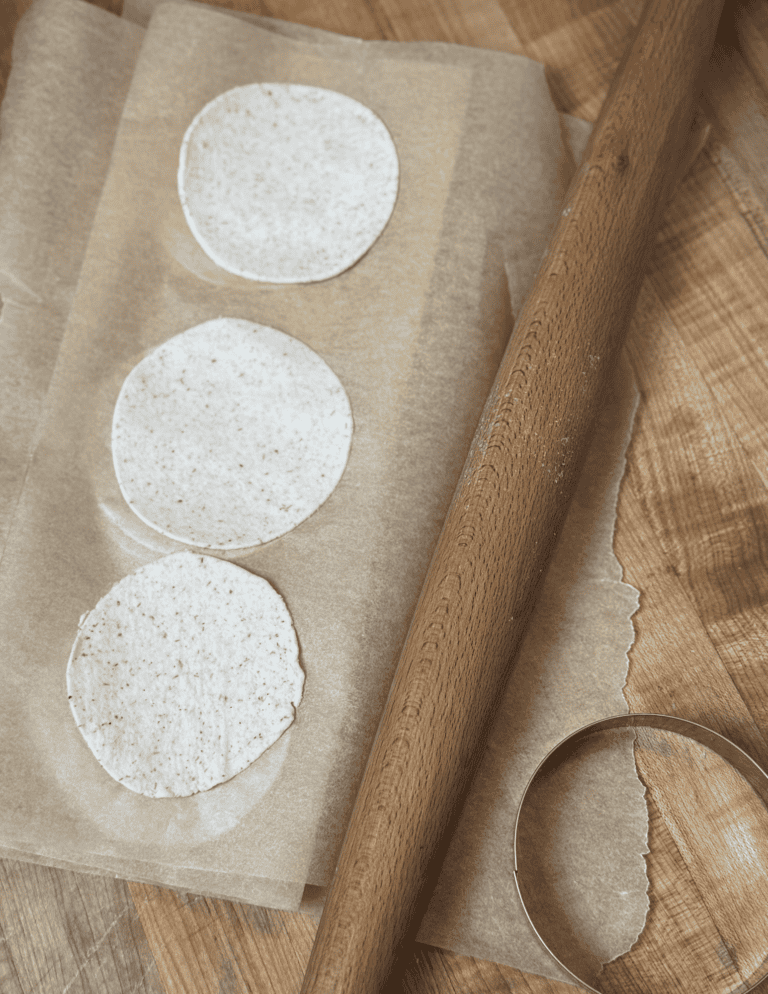
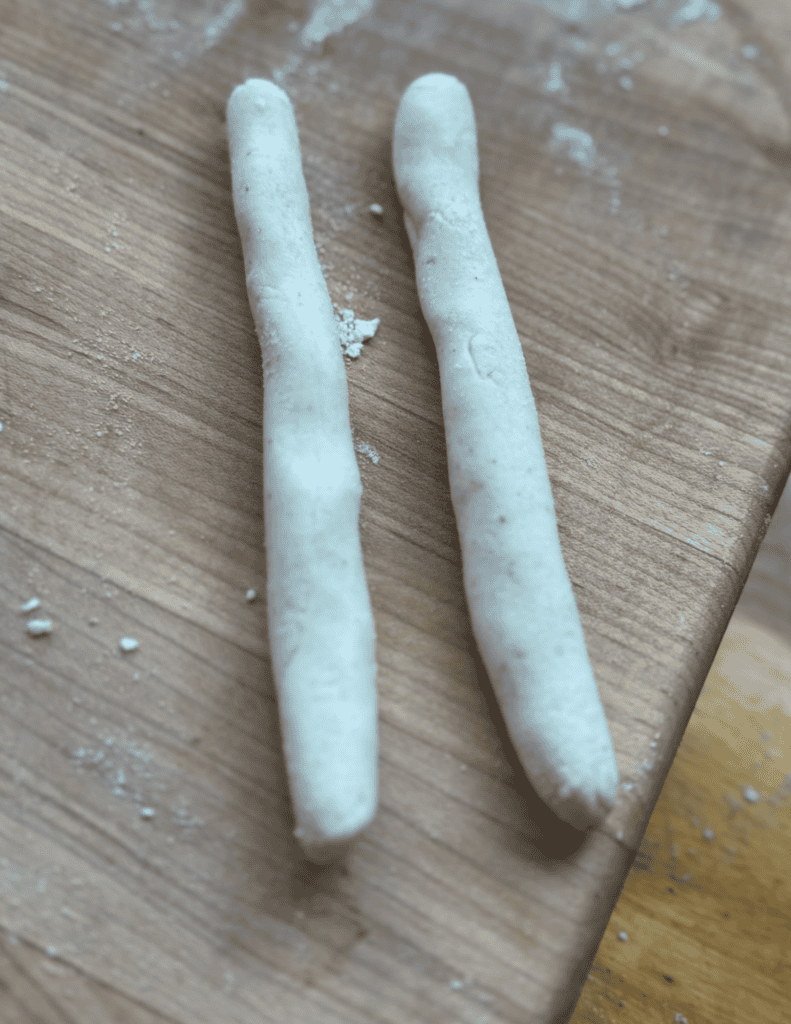
Making the Dough
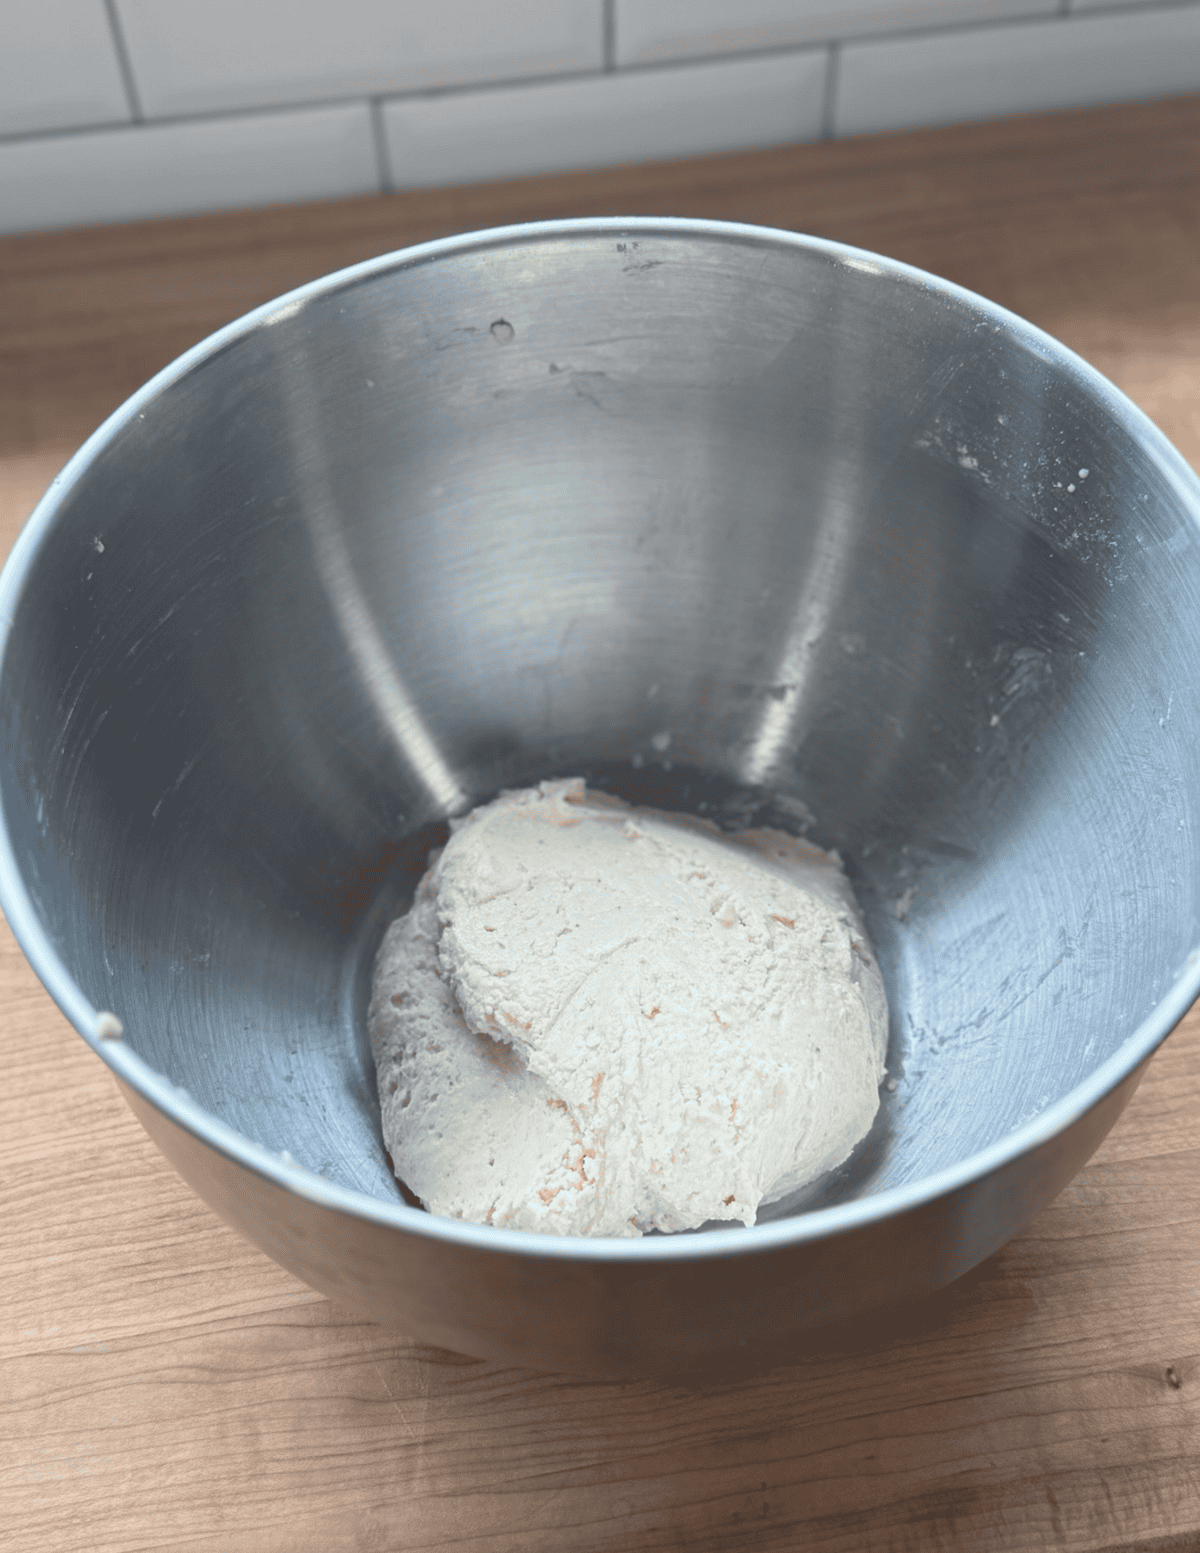

1.Mix all of the ingredients together.
2. Gently flour the surface and get dough to a workable texture (not sticking).
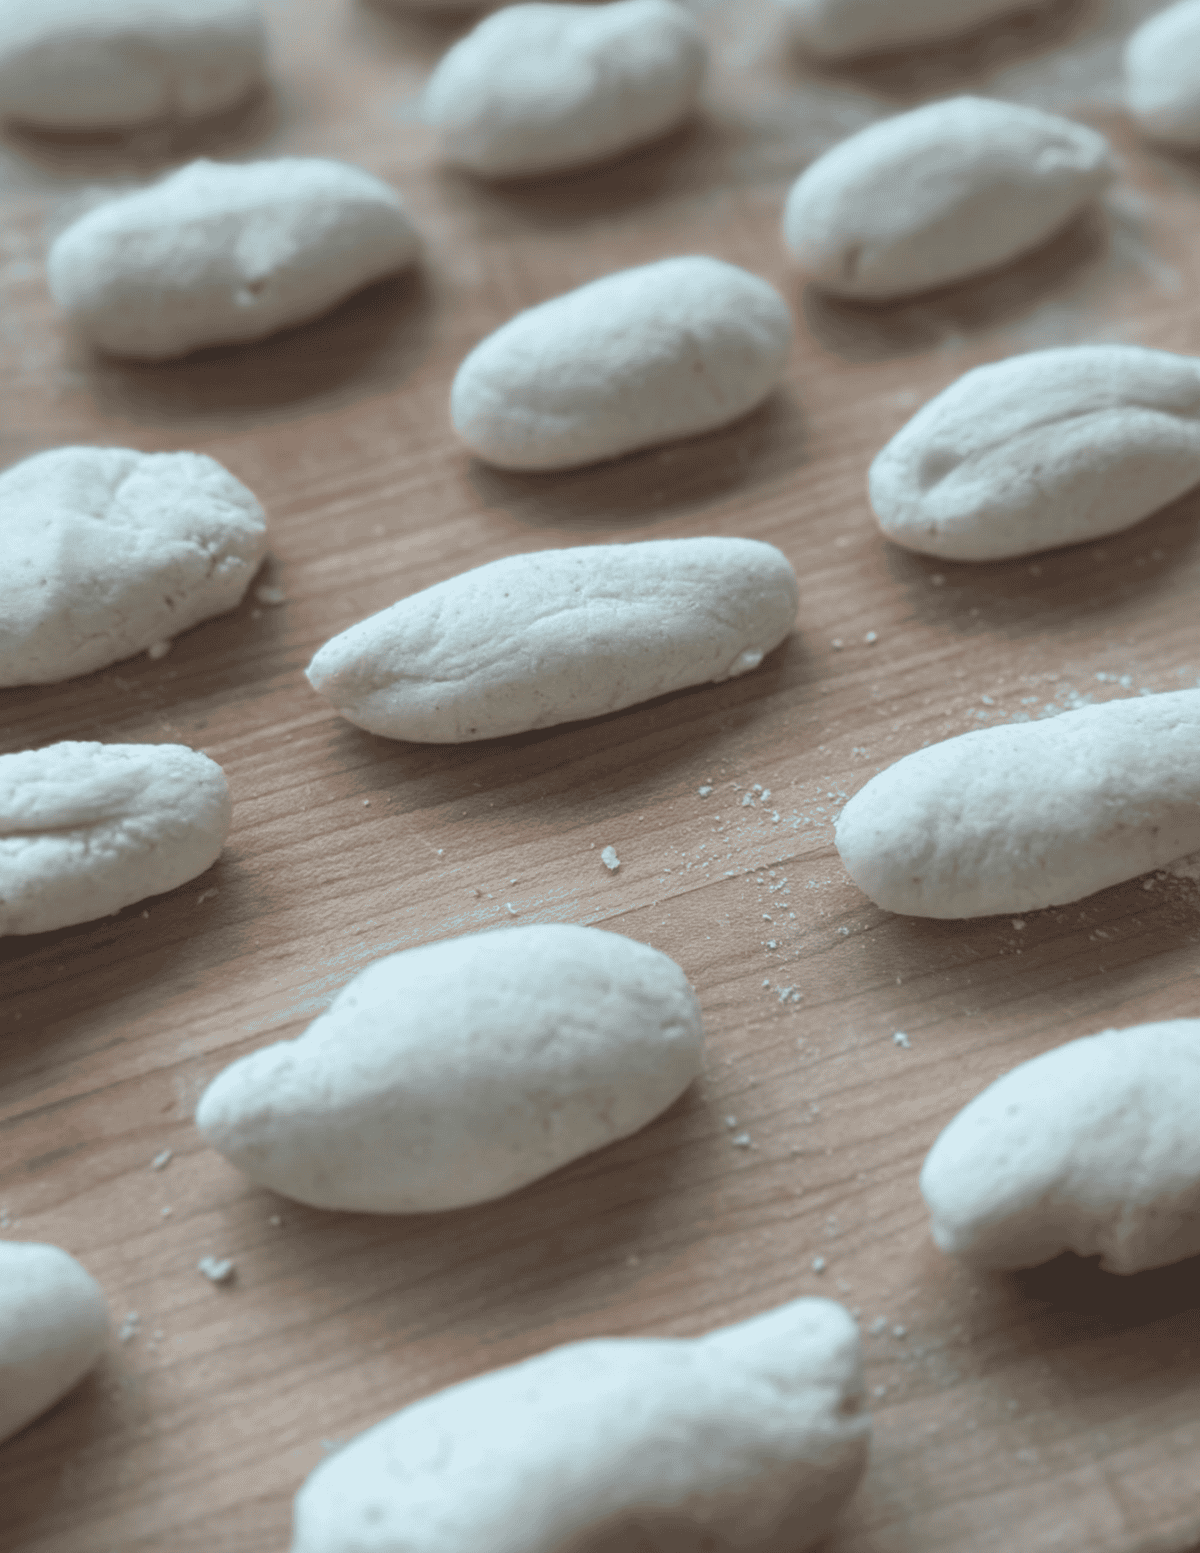
3. Divide dough into 0.5oz portions.
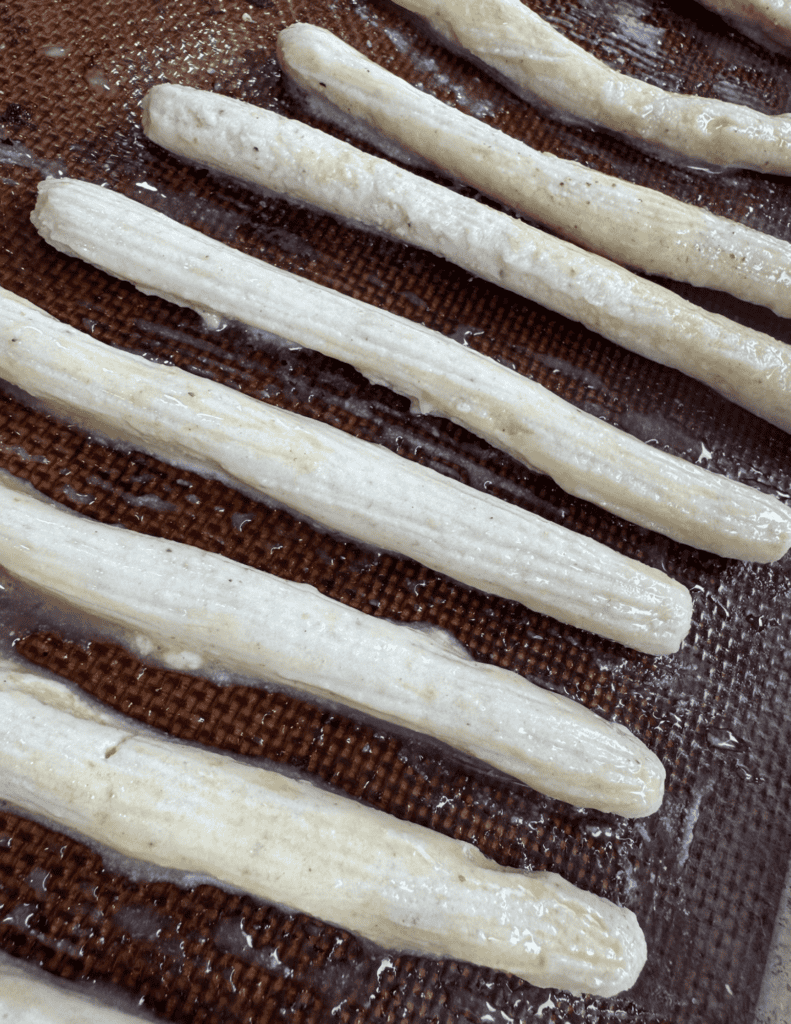
4. Shape dough into pretzel sticks with hands rolling the dough on the surface.
Baking Soda Bath and Baking
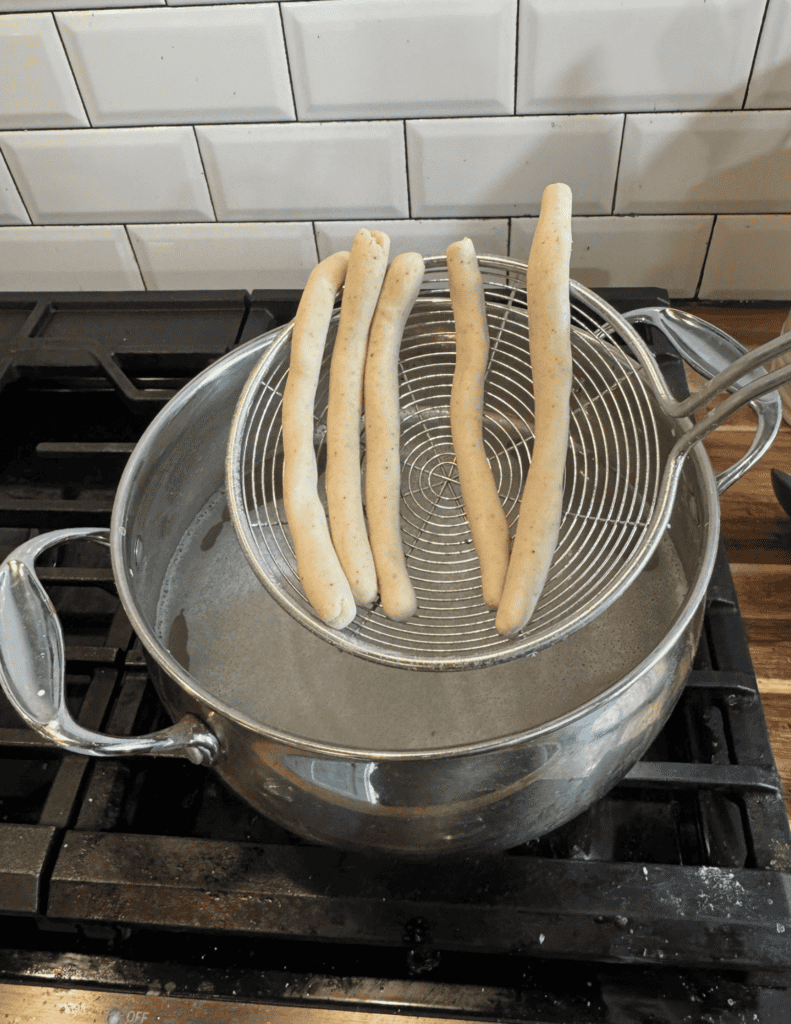
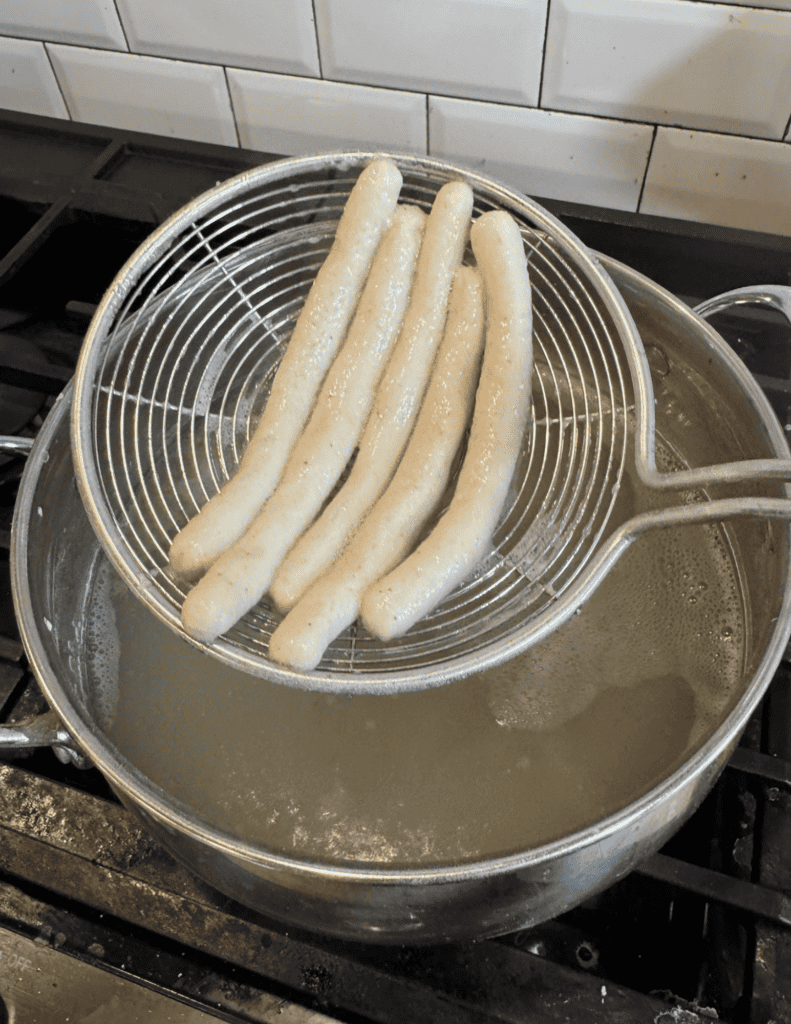
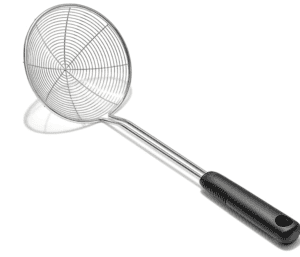
1. Use a spider strainer to gently lower the pretzel dough into a hot baking soda bath.
2. Remove after 30 seconds of simmering.
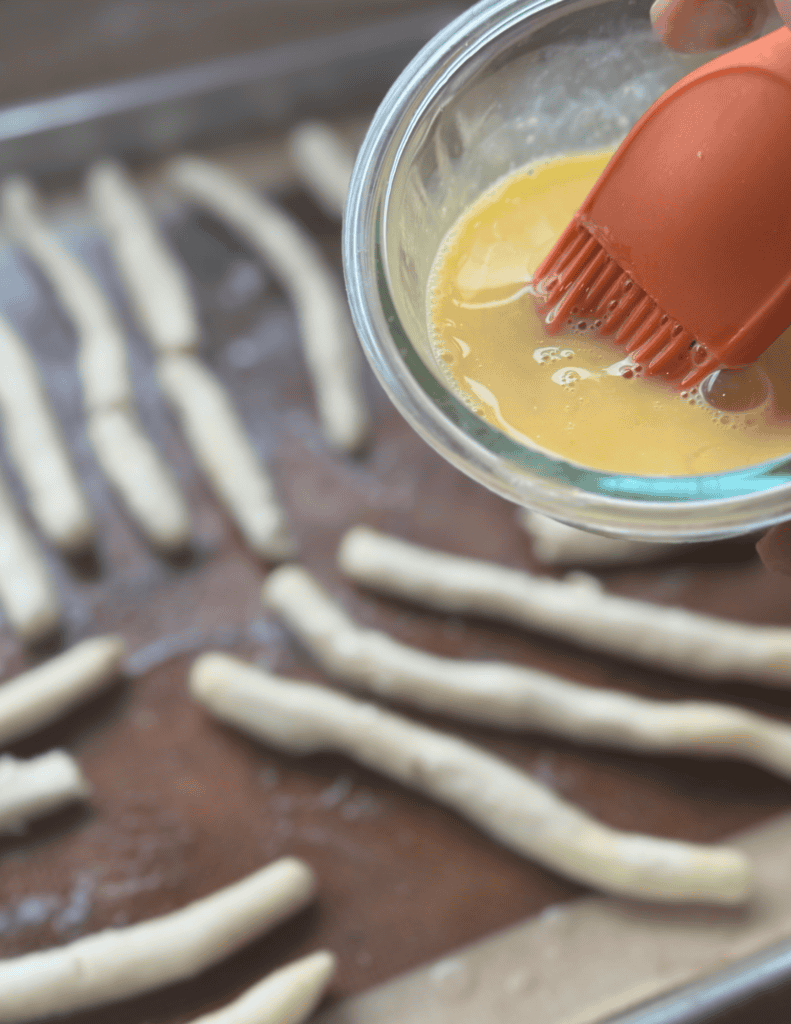
3. Whisk together the egg wash.
4. Brush the egg wash on the pretzels.
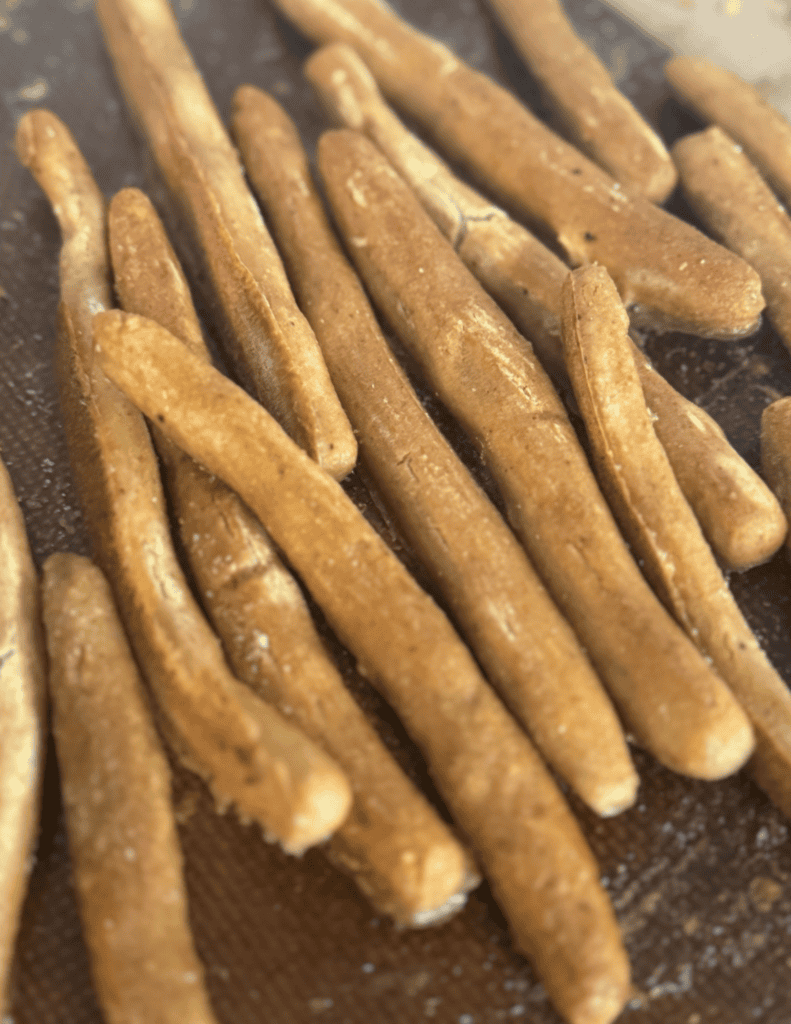
5. Bake
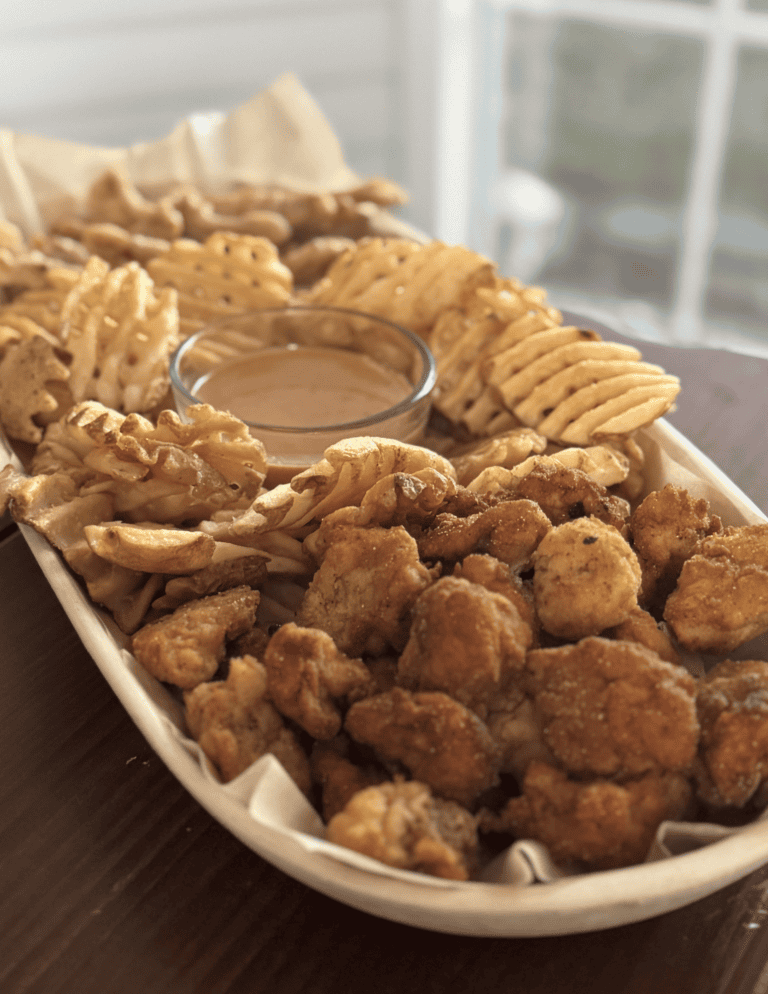
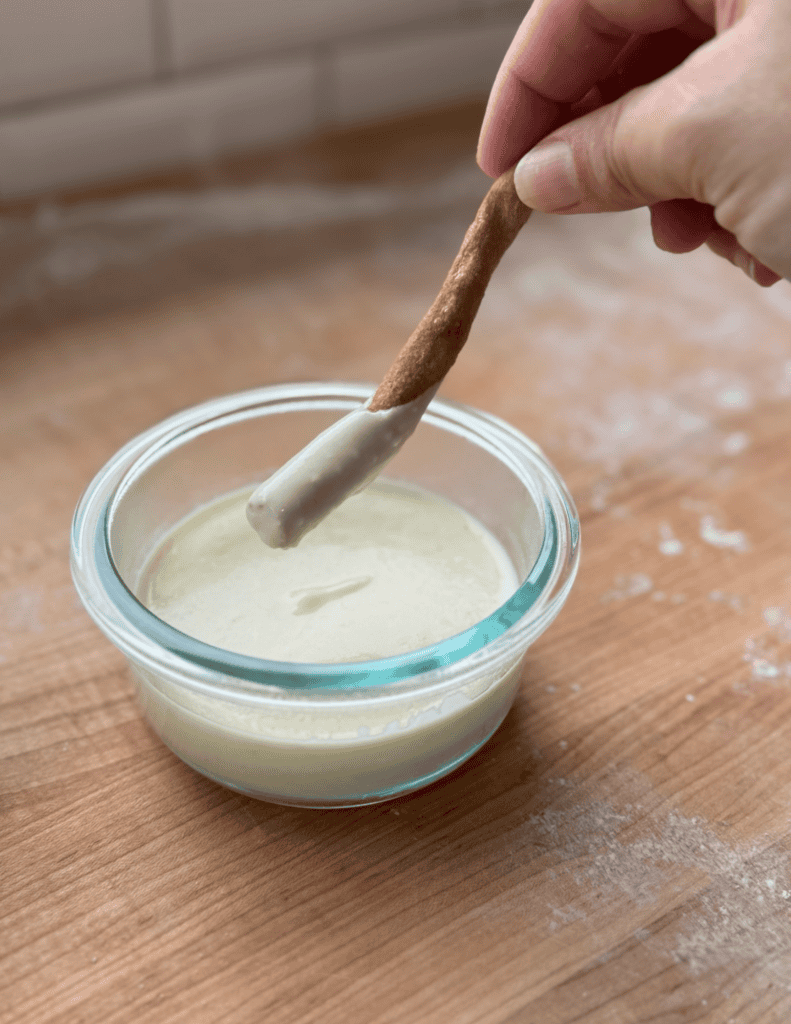
6. Pair with cheese dipping sauce and enjoy!
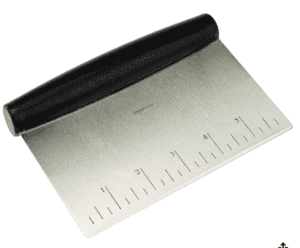
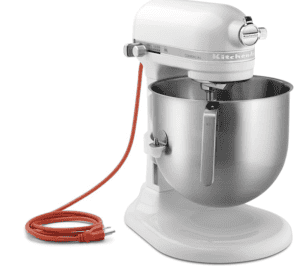
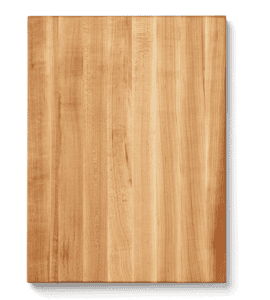
Shop The Tools

Grain Mill 
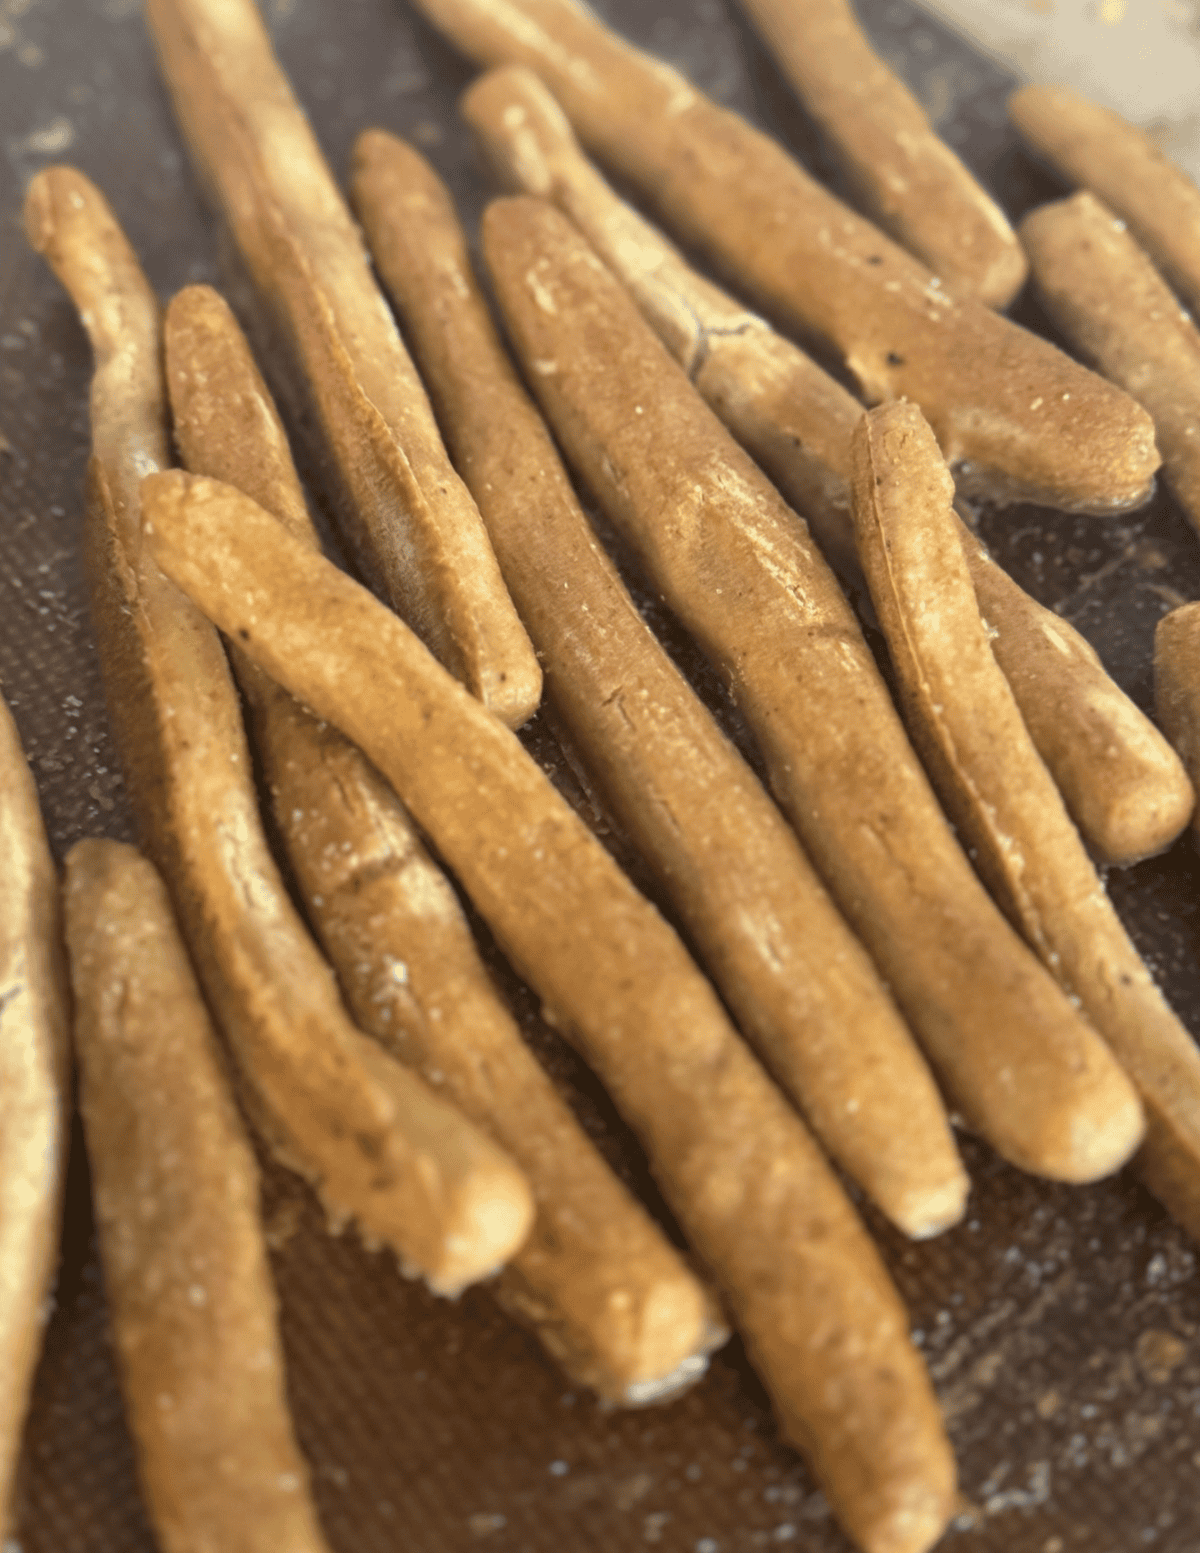
Close-up of fresh, handmade dough prepared for baking at Farm Fresh Family.
Recipe Tips
Don’t skip the baking soda bath → this creates that classic pretzel flavor and color
Keep dough slightly soft—too much flour makes them dense
Wet or lightly oil your hands to prevent sticking while shaping
Space evenly on the baking sheet for proper baking
Brush with butter after baking for extra flavor and softness
Sprinkle salt immediately after baking so it sticks
Prep/Storage Options:
- Make and freeze: This dough can be made and frozen for later use if stored in an airtight container. I like to use the soupercube containers to form the dough into 1 or 2 cup portions and then once they are frozen move them to a freezer safe plastic bag. You can also pre-make the pretzel sticks by rolling them out and then freeze them flat with a little spacing on a lined cookie sheet for the initial freeze and then move them to a freezer safe bag. Pull out, do a baking soda bath and bake.
- Refrigerated & Cold Fermented: This dough can also be mixed, made and stored in the refrigerator for 48 hours to develop more flavor and have a chewier consistency when baked.
- These are best warm and fresh. Be sure to reheat to restore softness after storing in the refrigerator or freezer with the options below.
- Refrigerator: Store baked pretzel sticks in the refrigerator in an airtight container for up to 1 week.
- Freezer: Store baked pretzel sticks n the freezer in an airtight container for up to 3 months.
Recipe FAQs
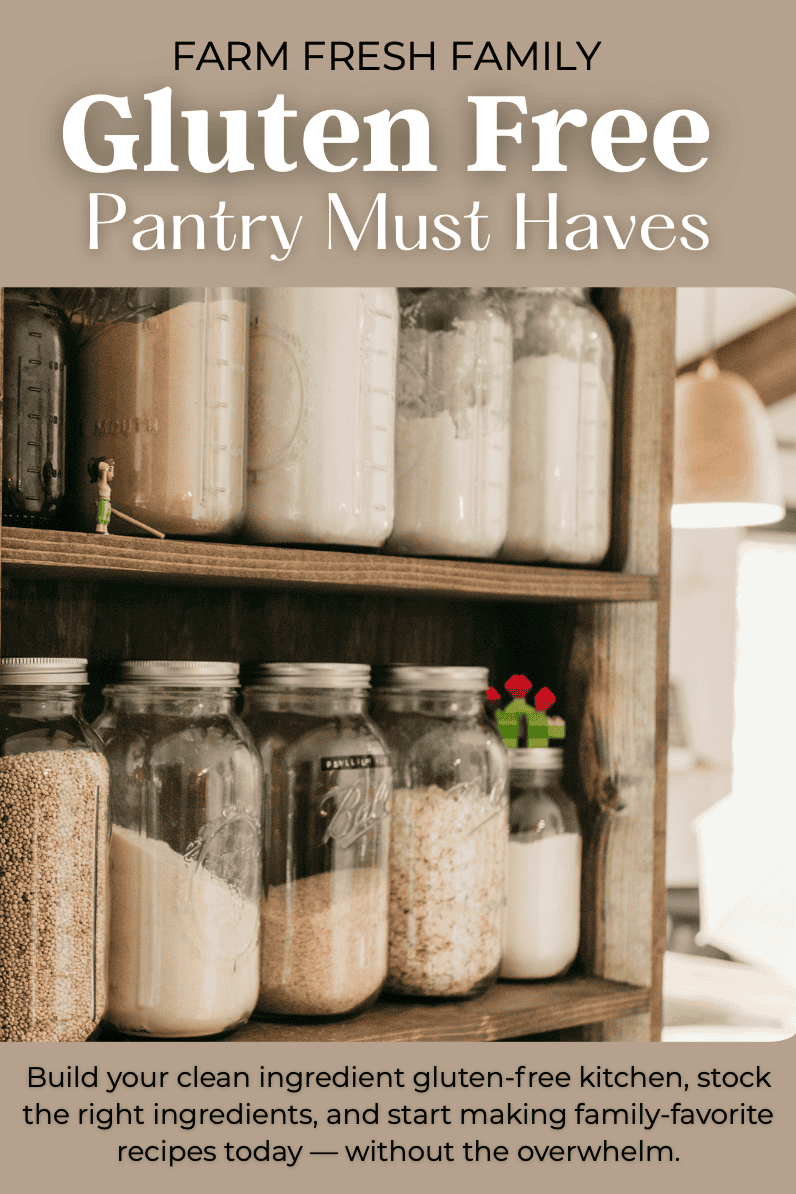
Get on the List
Subscribe to Receive the Gluten Free Pantry Must Haves Ebook
Did you make this recipe?
We’d love to see! Tag @farmfreshfamily on Instagram!